
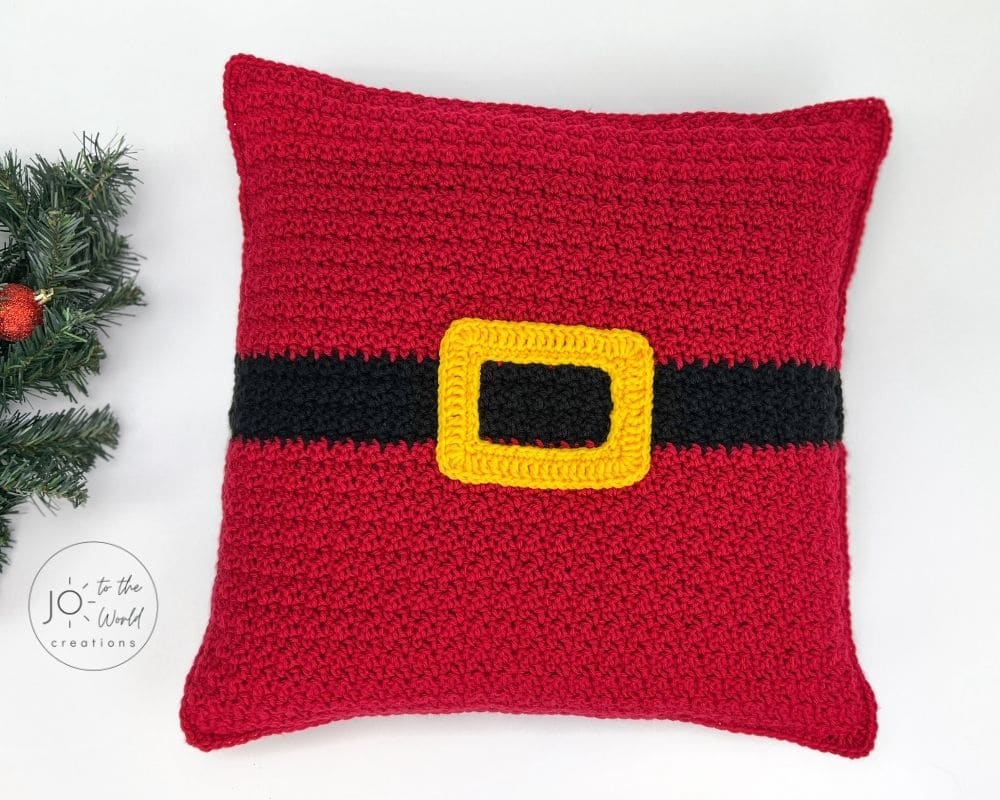
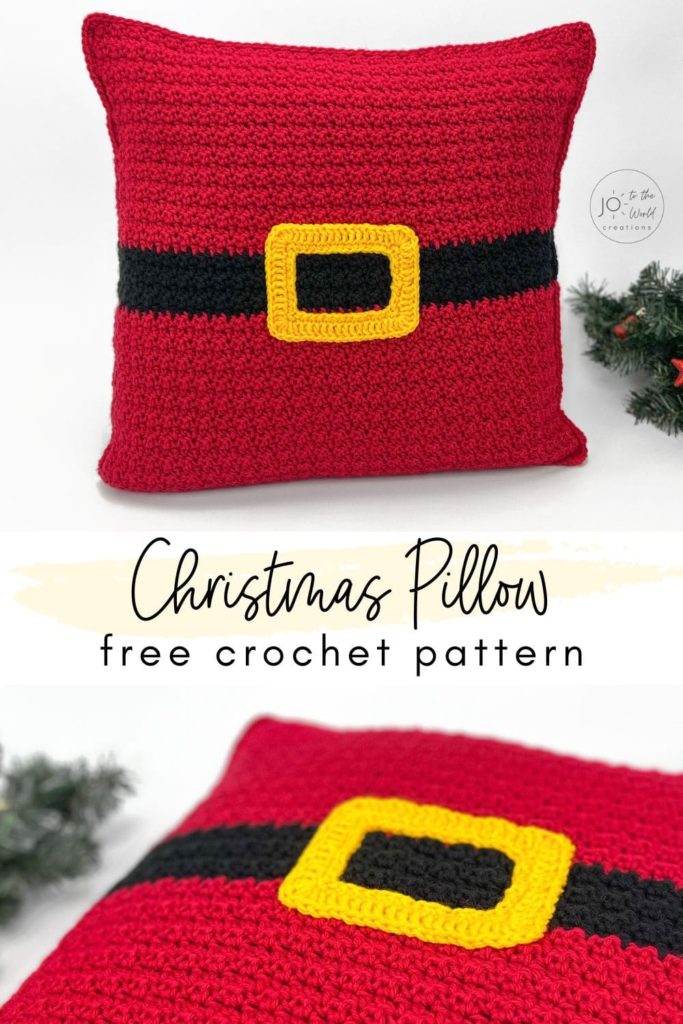
Crochet Christmas Pillow – Free Pattern
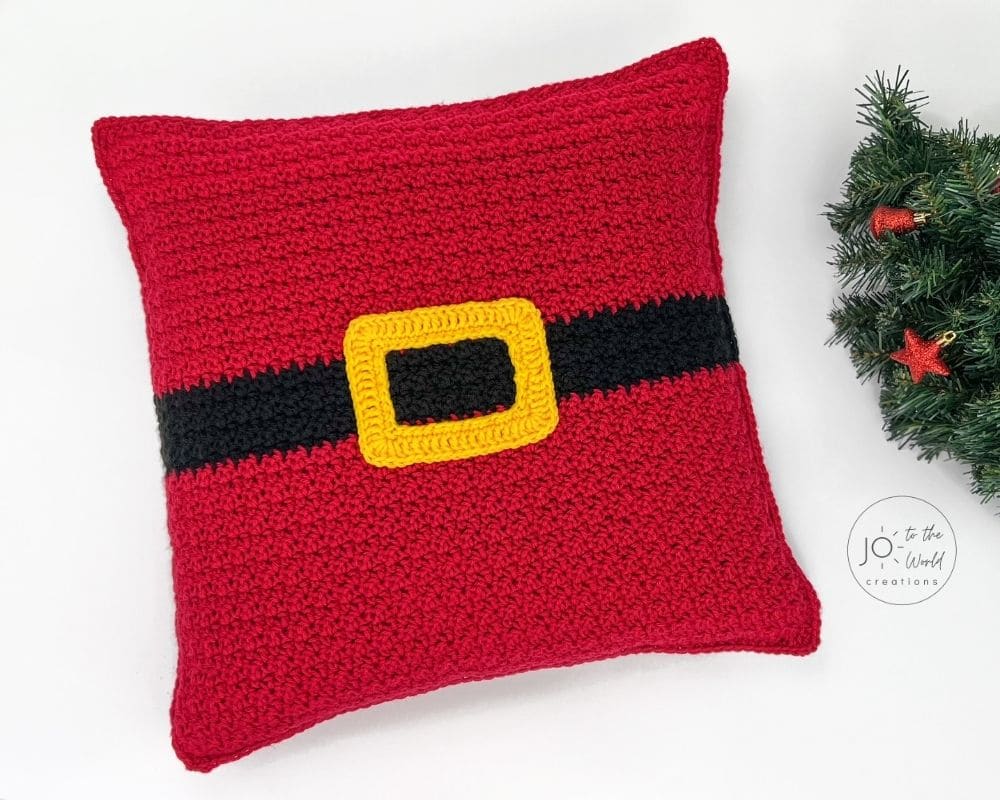
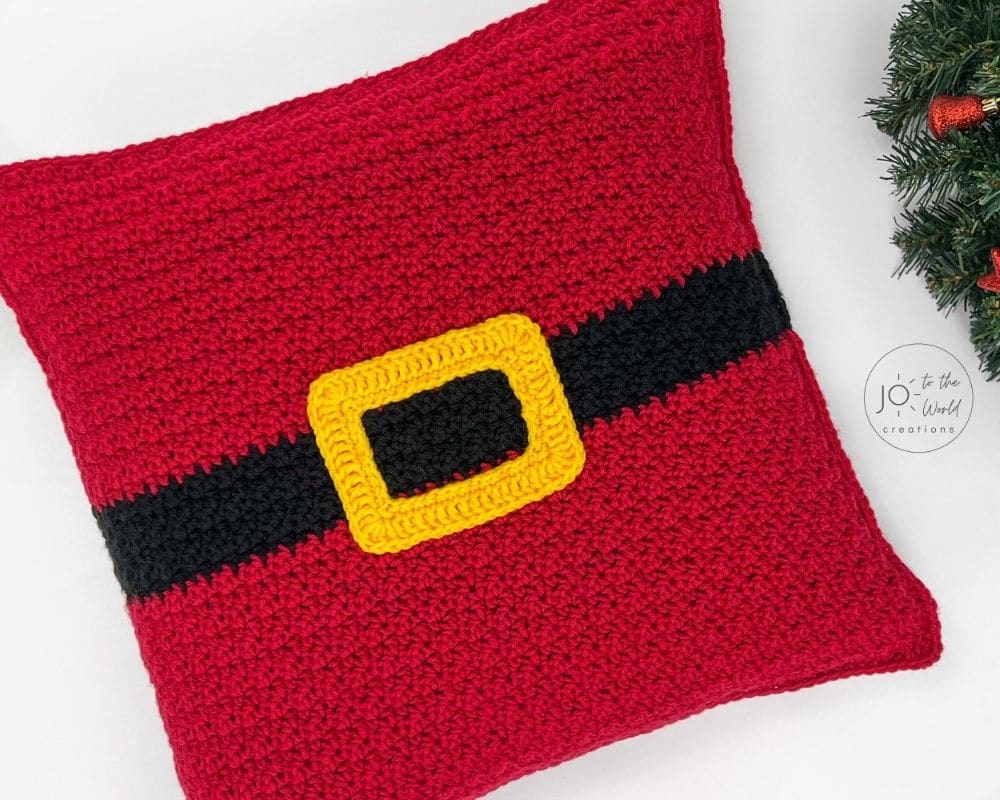
Decorate your home this holiday season with this easy and free Crochet Christmas Pillow! The pattern creates a lovely, textured removable crochet pillow cover that fits over a 16″ x 16″ pillow insert.
Before we begin, I would like to thank you for visiting Jo to the World Creations, a site dedicated to helping you give the gift of crochet.
More free patterns (that make awesome crochet gifts) are on the way! Sign up for my emails, follow me and never wonder “What should I make for…” again!
FREE PATTERNS FOR CROCHET GIFTS
Delivered to your inbox
AND GET A FREE PDF OF THE LOVE PILLOW
& A FREE CROCHET CHEAT SHEET
Unsubscribe at any time.
Delivered Socially
Follow Me on

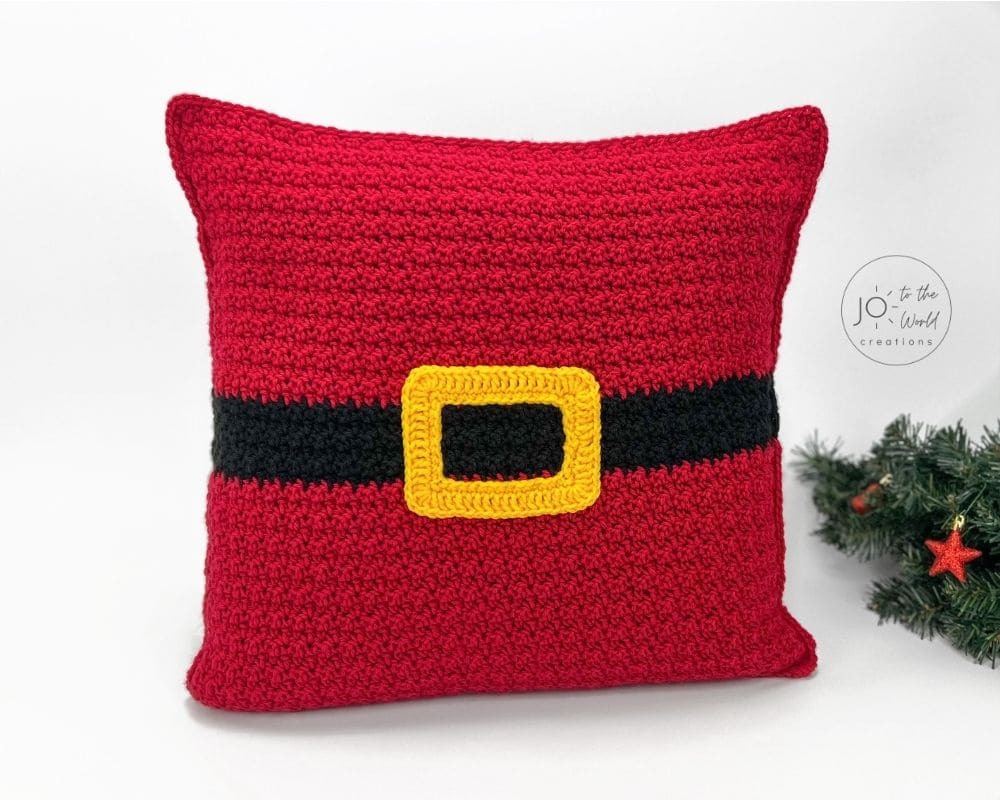
Crochet Christmas Pillow Pattern
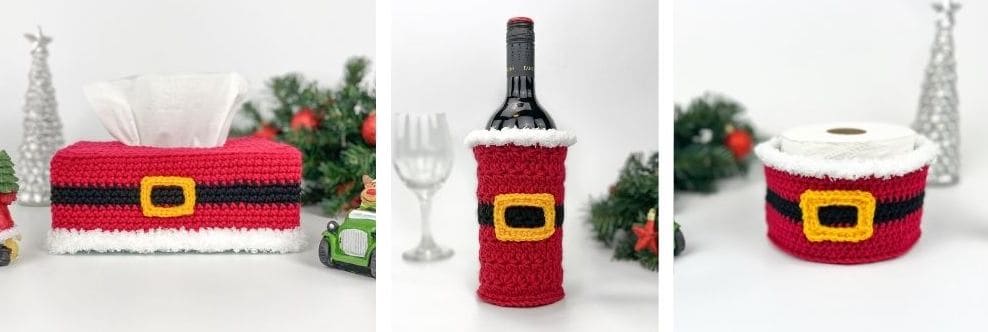
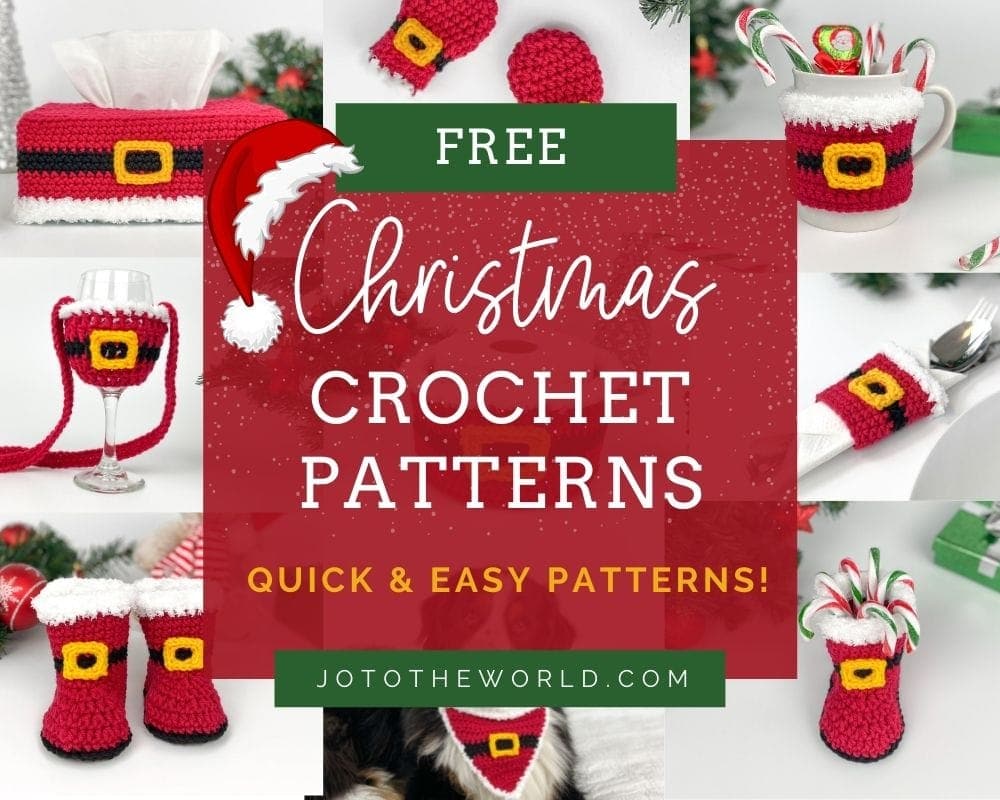
I absolutely love crocheting for Christmas. You can see all my free Christmas crochet patterns here. As soon as December arrives, I get to bring out my box of crochet Christmas decorations like my Christmas Tissue Box Cover, my Christmas Wine Bottle Holder, and my Christmas Toilet Paper Roll Holder, just to name a few.
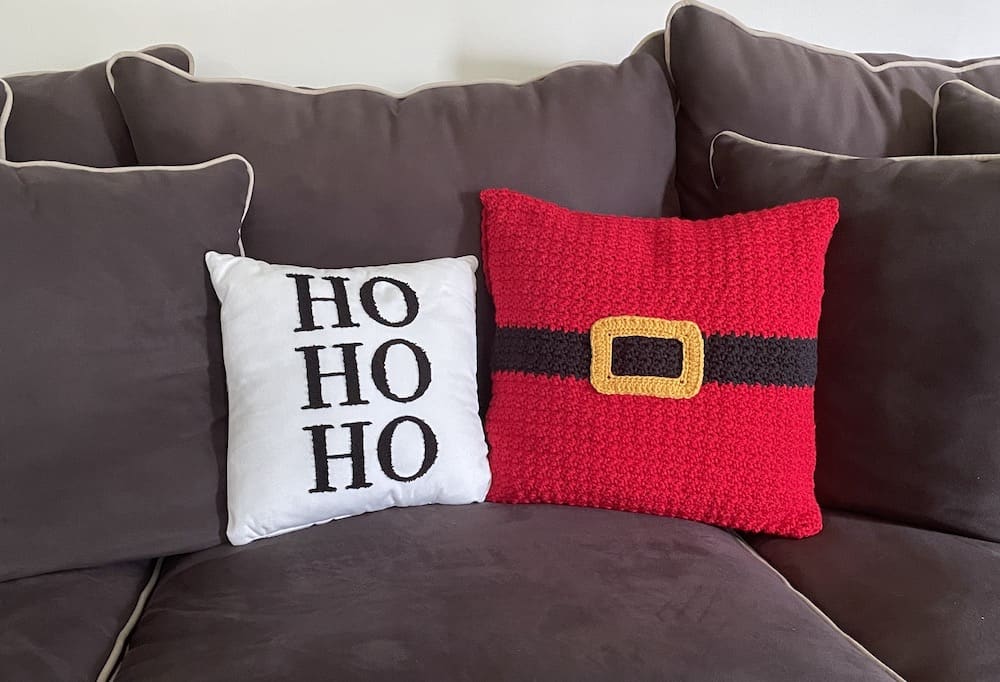
But oh how my couch and arm chair looked so bare without crochet Christmas pillows! This year, I feel like my home will now be complete thanks to this Crochet Christmas Pillow.
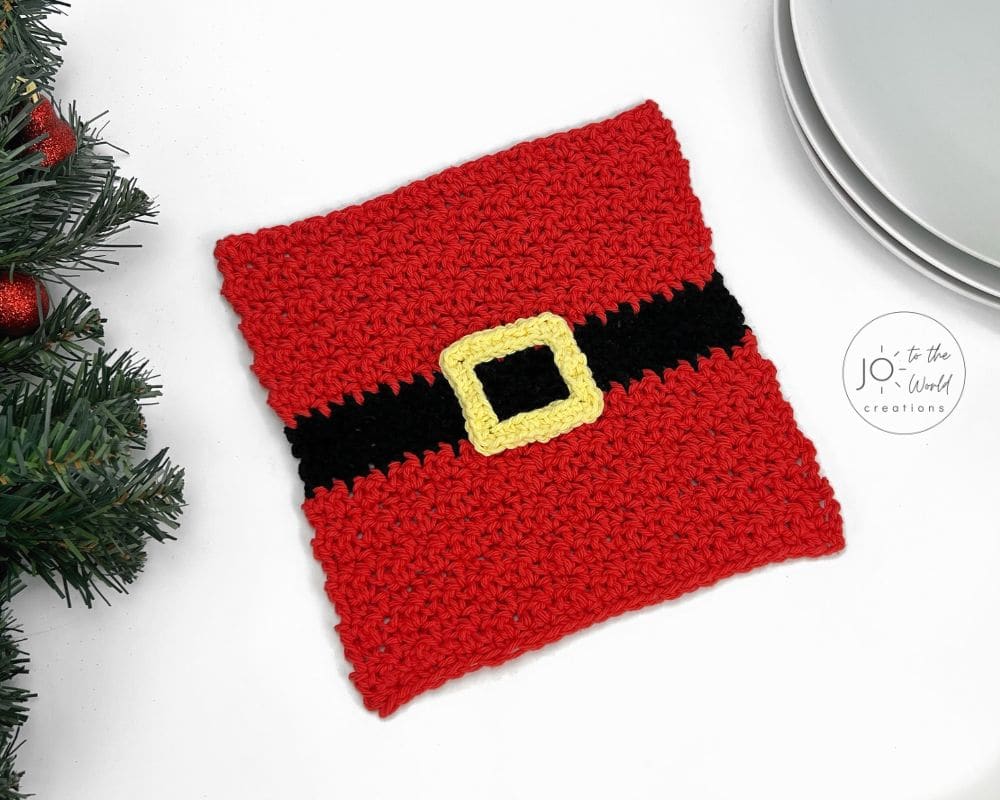
Speaking of crochet Christmas pillow patterns (free), I have another festive pillow pattern that is great for the holiday season and you can leave out all winter long… Check out my free Snowman Crochet Pillow.
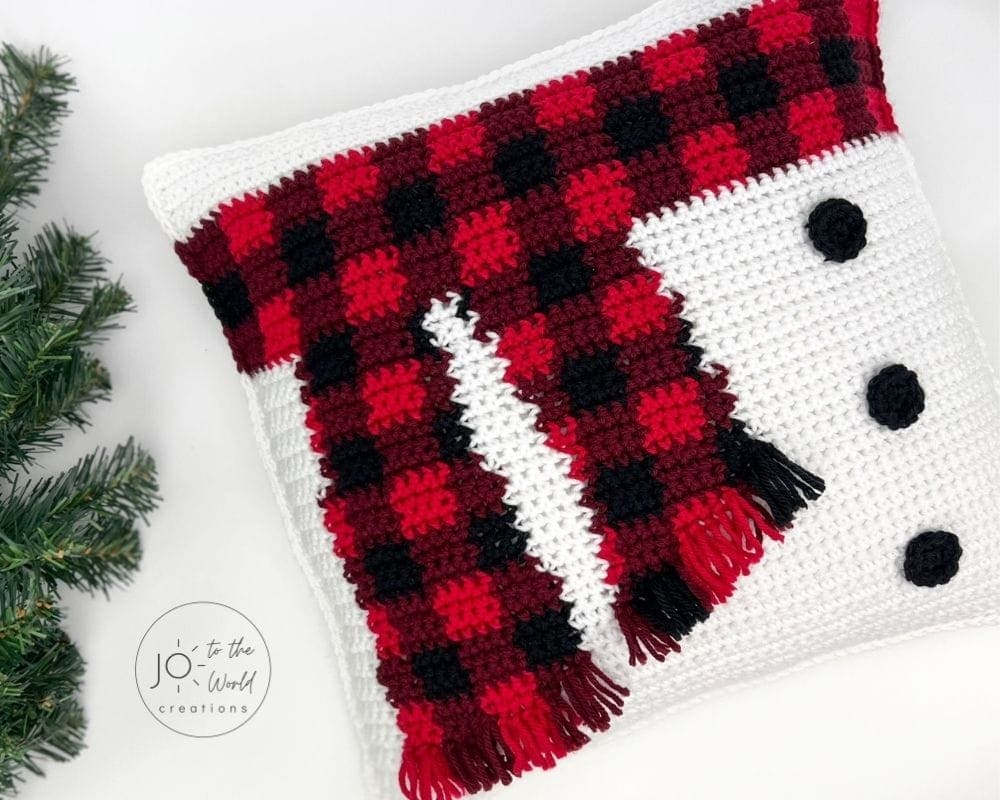
You might also like this Christmas Tree Pillow! The pattern creates a removable pillow cover with a textured Christmas tree that’s decorated with lights and a star!

About This Crochet Christmas Pillow Pattern
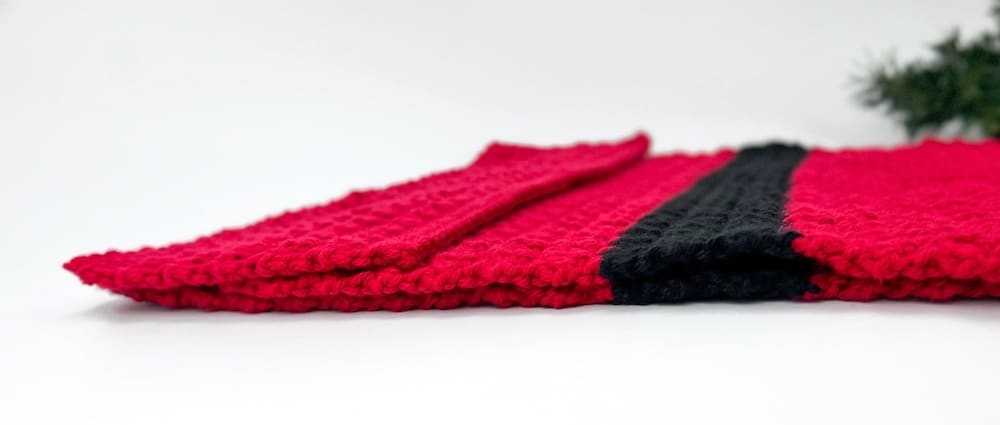
- The pillow is made from two simple stitches – single crochet and double crochet and by alternating them, creates a lovely, modern textured look.
- It works up really quickly, making it a very enjoy-ho-ho-able Christmas crochet pattern!
- The pillow cover is completely removable, so you can easily take it off after the holidays or if you use yarn that is washable, throw it in the washing machine if some eggnog happened to fall on it 🙂
Affiliate Disclosure: This post may contain affiliate links meaning I may receive a commission for purchases made through links in this post at no extra cost to you. As an Amazon Associate, I earn from qualifying purchases.
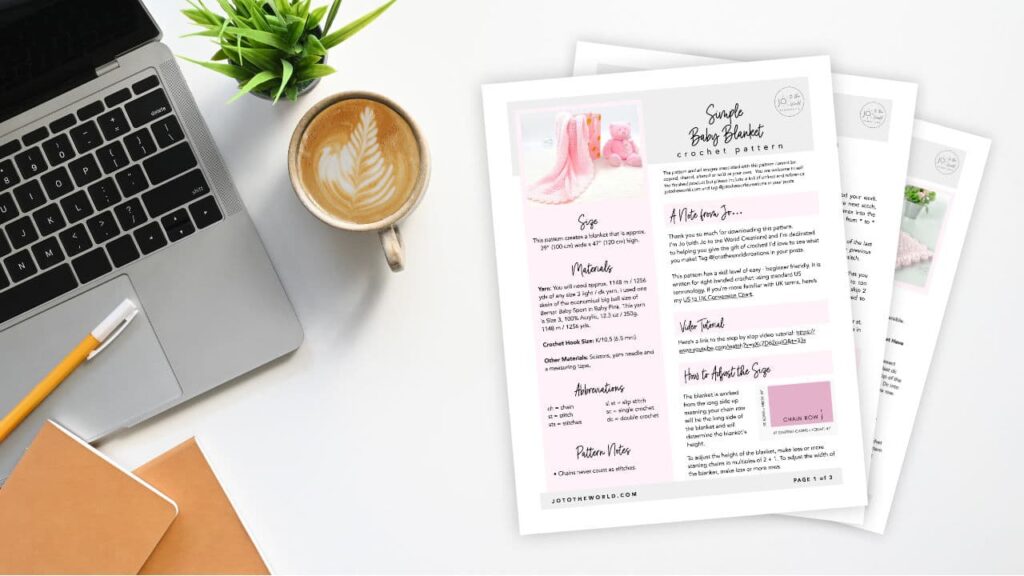
Get the PDF!
Purchase the printer-friendly PDF of this pattern that you can instantly download! It includes everything from this free pattern but you can easily save, print and access it anytime!
You can also purchase it on Etsy or Ravelry.

All-Access Membership
For only $0.14 a day, you can get this pattern as a PDF and my entire library of 100+ print-ready, ad-free PDF crochet patterns!
Crochet Christmas Pillow Pattern Details
Skill Level
Easy
Size
This pattern creates a removable pillow cover that is approx 17” x 17” and fits over a 16” x 16” pillow insert.
Materials
Yarn: Any Worsted Weight / Medium (4), 100% Acrylic yarn. I used Impeccable by Loops and Threads, Solid in “Cherry” (red), “Sunny Day” (gold) and “Black.” The size is 4.5 oz / 127.5 g. A skein is 285 yd./260m.
Amount of yarn required:
- Red: approx 710 yds / 650 m (2.5 skeins of Impeccable)
- Black: approx 70 yds / 65 m (1/4 of a skein of Impeccable)
- Gold: approx 20 yds / 38 m (less than 1/4 of a skein of Impeccable)
Crochet Hook: H/8 (5.00 mm) or size needed to obtain gauge and an F/5 (3.75mm) for the belt buckle.
Other Materials: yarn needle, scissors, measuring tape, and one 16” x 16” pillow insert. Optional: 4 x 19mm (3/4”) buttons, sewing needle and thread.
Gauge
4” x 4” = 13 sts and 12 rows following the pattern.
Abbreviations
ch = chain
st = stitch
sts = stitches
sl st = slip stitch
sc = single crochet
dc = double crochet
Terminology
This pattern is written in English for right-handed crochet using standard US terminology.
Please note: This pattern and all images associated with this pattern cannot be copied, shared, altered or sold on your own. You are welcome to sell the finished product but please include a link (if online) and reference jototheworld.com.
Christmas Pillow Crochet Pattern Notes
- The panels are made from the bottom up.
- Always start a row in the first stitch (the stitch attached to the chain).
- Chain 1 does not count as a stitch.
- All rows have the same number of stitches (56).
- You can tell which side is the right side (RS) by where the starting tail is. With your work facing you, if the starting tail is on the left, you are looking at the right side. If the starting tail is on the right, you are looking at the wrong side.
Just a Reminder!
This pattern is also available as a PDF, which includes everything listed here but as a printer-friendly PDF that you can instantly download, save, print, make notes on and keep forever.
You can also purchase it on Etsy or Ravelry.
Get this PDF with an All-Access Membership!
Only $0.14 a day!
- Instant Access to 100+ Premium PDF Crochet Patterns
- Make Gifts for Every Occasion!
- Save, Print & Keep Forever
- No Ads or Popups
- Happiness Guaranteed!
Crochet Christmas Pillow Pattern Instructions
Piece A: Front Pillow Panel
Foundation/Chain Row: With red yarn, ch 57. (Continue using red until instructed to switch on Row 23).
Row 1 (RS): In the 2nd ch from hook, sc. In the next ch, dc. *In the next ch, sc. In the next ch, dc.* Repeat from * to * across entire row (56 sts).
Row 2 (WS): Ch 1 and turn. Sc into the 1st st (the top of the last dc you completed). Dc into the next stitch (the top of the sc from the previous row). *Sc into the next st. Dc into the next stitch.* Repeat from * to * across entire row (56 sts).
After Row 2, pillow panel should measure approx 16.5” wide (the width should grow to 17” after Row 8).
Row 3 – 22: Repeat Row 2.
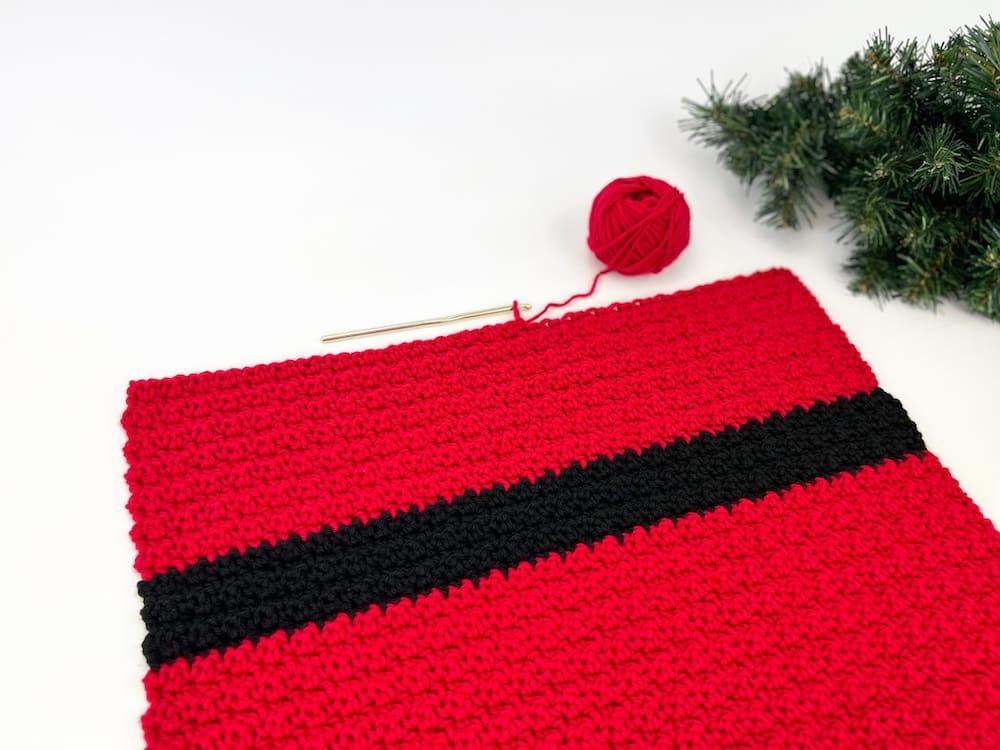
Row 23: Attach black yarn. Fasten off red yarn. With black, repeat Row 2.
Rows 24 – 28: With black, repeat Row 2.
Row 29: Attach red yarn. Fasten off black yarn.
With red, repeat Row 2.
Rows 30 – 50: With red, repeat Row 2.
After Row 50, pillow panel should measure approx 17” wide x 17” high.
Fasten off and weave in all loose ends.
Piece B: Bottom Back Pillow Panel
Follow the same instructions as for Piece A: Front Pillow Panel from the start to the end of Row 29.
Rows 30 – 44: With red, repeat Row 2.
After Row 44, pillow panel should measure approx 17” wide x 14.5” high.
Fasten off and weave in all loose ends.
Piece C: Top Back Pillow Panel
Foundation/Chain Row: With red, ch 57 (continue using red for all of Piece C).
Row 1 (RS): In the 2nd ch from hook, sc. Sc in each ch across (56 sts).
Row 2 (WS): Ch 1 and turn. Dc in each st across (56 sts).
Row 3: Ch 1 and turn. Sc into the 1st st. Dc into the next stitch. *Sc into the next st. Dc into the next stitch.* Repeat from * to * across entire row (56 sts).
Row 4: Ch 1 and turn. Sc into the 1st st (the top of the last dc you completed). Dc into the next stitch (the top of the sc from the previous row). *Sc into the next st. Dc into the next stitch.* Repeat from * to * across entire row (56 sts).
Rows 5 – 16: Repeat Row 4.
After completing Row 16, fasten off and weave in loose ends.
After Row 16, pillow panel should measure approx. 17” wide x 5” high.
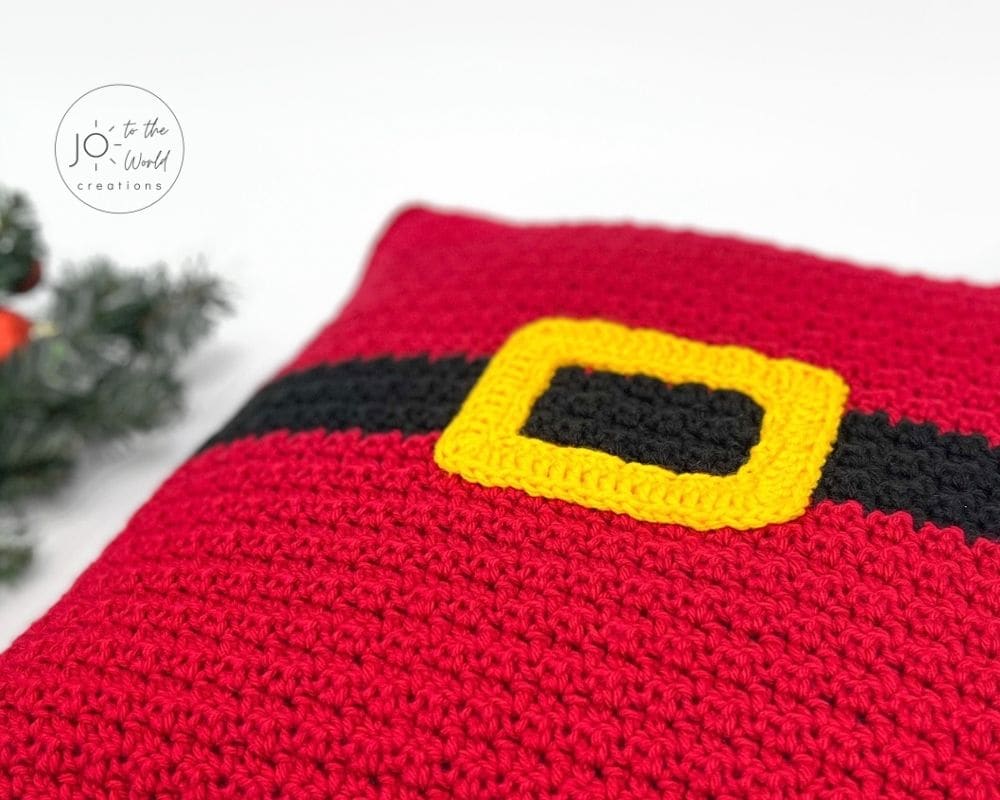
Belt Buckle
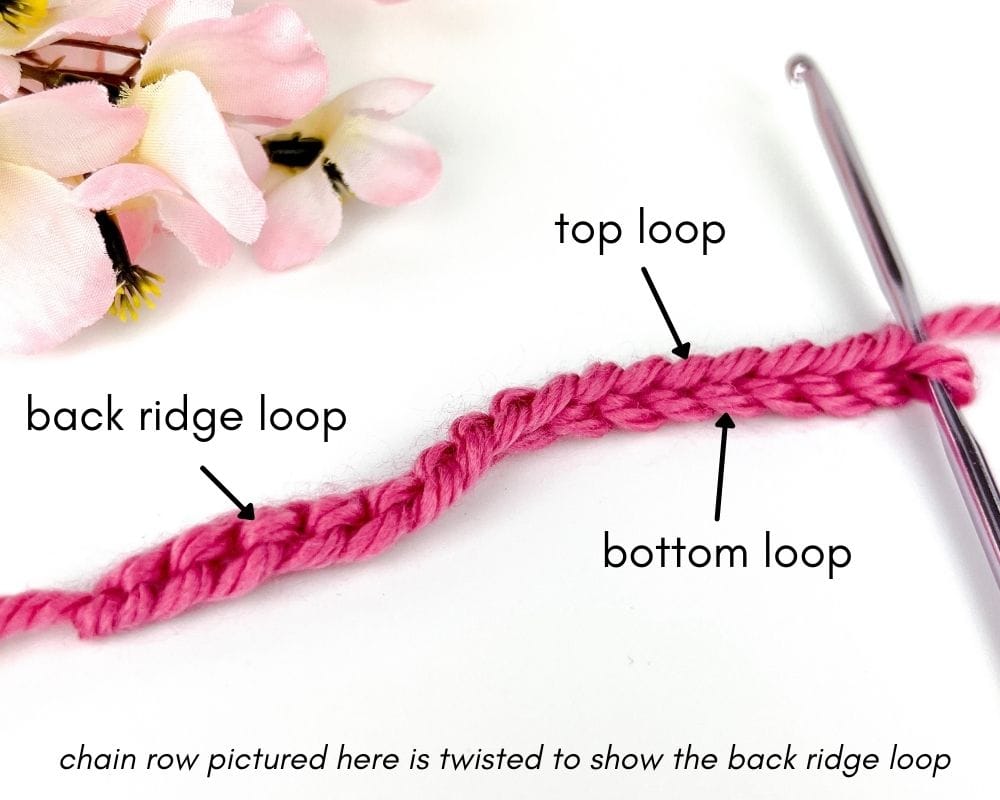
Foundation/Chain Round: With an F/5 (3.75mm) hook and yellow/gold yarn, leave a 12” starting tail and ch 46.
For Round 1 (only), work into the back ridge loops.
Round 1 (RS): In the 2nd ch from hook, sc. 1 sc in next 3 chains. In the next ch (the corner), 3 sc into the same ch. 1 sc in the next 13 chains. In the next ch (the corner), 3 sc into the same ch. 1 sc in the next 8 chains. In the next ch (the corner), 3 sc into the same ch. 1 sc in the next 13 chains. In the next ch (the corner), 3 sc into the same ch. 1 sc in the next 3 chains. Sl st into the 1st sc to join. (53 sts).
Round 2 (RS): Ch 1. Do not turn. 1 dc in the next 5 sts. In the next st (the corner), 5 dc into the same st. 1 dc in the next 15 sts. In the next st (the corner), 5 dc into the same st. 1 dc in the next 10 sts. In the next st (the corner), 5 dc into the same st. 1 dc in the next 15 sts. In the next st (the corner), 5 dc into the same st. 1 dc in the next 4 sts. Sl st into the top of the 1st dc to join. (69 sts).
Fasten off leaving a 36” tail.
Using the 12” starting tail and a yarn needle, sew the Foundation/Chain round’s start and end together. Try to line them up so it looks like a continuous piece.
PLACEMENT OF BELT BUCKLE
The belt buckle should be placed on the right side of Piece A: Front Pillow Panel. Ensure front pillow panel’s row of starting chains is at the bottom. The belt buckle should be centered, with the rows of black in the middle.
ATTACHING THE BELT BUCKLE
Using the 36” end tail and a yarn needle, weave the yarn in and out of the top of the dc sts all the way around. Then weave the yarn in and out of the chain sts all the way around. Fasten off and weave in all loose ends.
Buttons for Back (Optional)
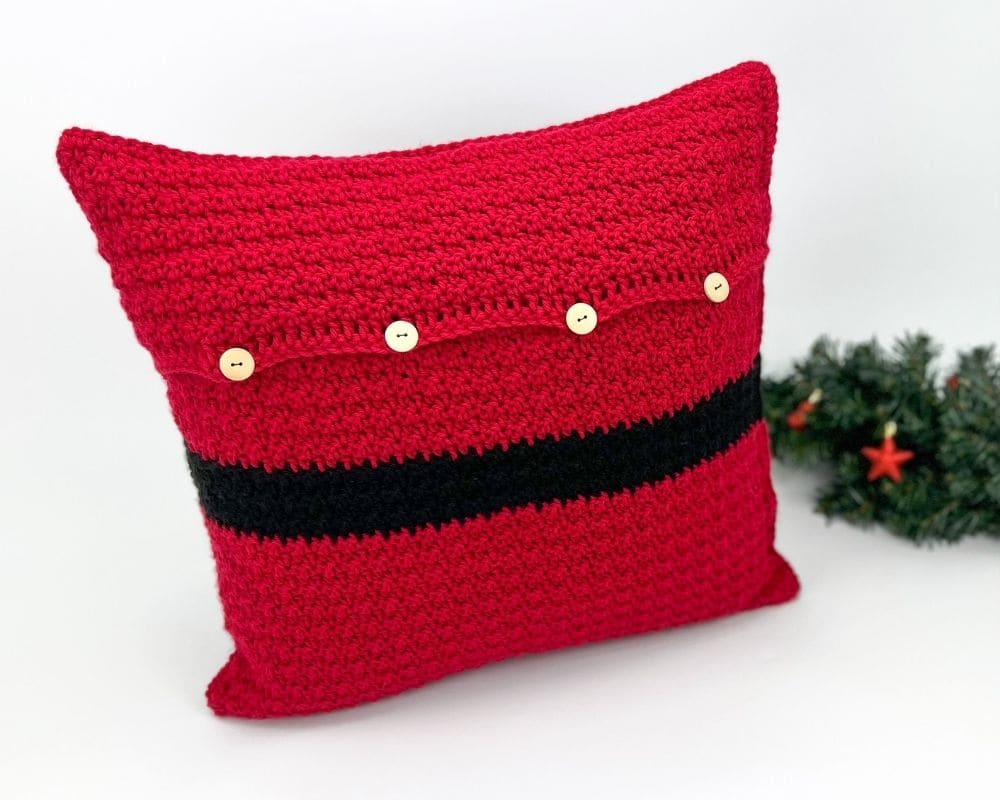
Sew on four 19mm (3/4)” buttons to Piece B: Bottom Back Pillow Panel. Attach buttons, spaced evenly approximately 8 rows from top of panel (line up your panels to ensure placement of buttons will go into the row of double crochet stitches on Piece C: Top Back Pillow Panel).
Christmas Pillow Assembly
Place Piece A (the front) wrong side up, with the belt buckle facing down. Place Piece B (bottom of back) wrong side down directly over Piece A, with the ch row at the bottom. Place Piece C wrong side down directly over Piece A, with the row of dc sts at the bottom.
Note: Piece C will slightly overlap Piece B.
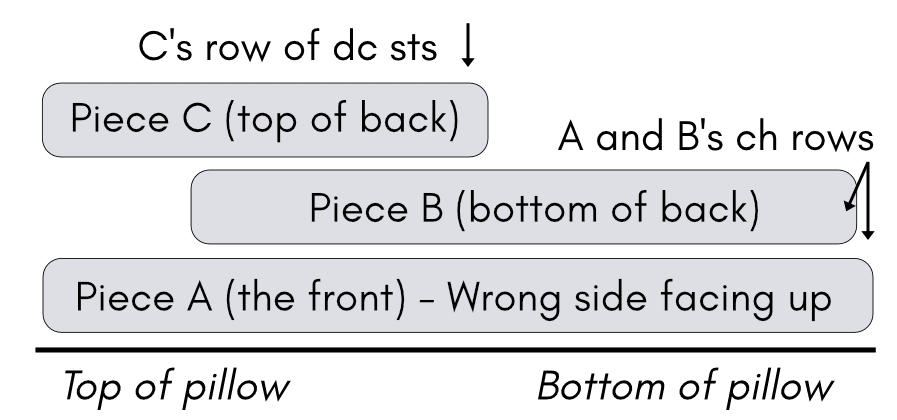
Ensure that all the stitches are lined up exactly (especially the black belt sections) and pin the three pieces in place. Turn everything over so the belt buckle is facing you.
You will be single crocheting the panels together. Always work into both or all panels (insert hook through lined-up stitches of both/all panels, pull loop through both/all pieces and sc).
Using an H/8 (5.00mm) hook, attach red yarn to bottom left corner (in the corner sts) with a sl st. Make 2 sc into the same st. Keeping the right side of the front pillow panel (and belt buckle) facing you the entire time, sc across the bottom. At corner, make 3 sc into same corner st. Sc evenly up the right side until you arrive at the belt buckle section.
During your last stitch before the belt buckle section, when you have two loops of red on your hook, attach the black yarn by placing it on your hook and pulling it through. Drop the red yarn (you can leave it hanging as long as it’s on the inside of the pillow). With black yarn, sc until the end of the belt buckle section. During your last stitch of the belt buckle section, when you have two loops of black yarn on your hook, attach the red yarn by placing it on your hook and pulling it through. Fasten off black yarn and weave in black loose ends. With red, sc for the remainder of the side.
At the corner, make 3 sc into same corner st. Sc across the top, make 3 sc into the corner st. Sc evenly down the side until you arrive at the belt buckle section. Repeat instructions for arriving at belt buckle section for other side.
When arriving back where you started, sl st into the 1st sc to join. Fasten off and weave in all loose ends.
Put your pillow insert inside and now you have a very festive new pillow cover!
More Crochet Christmas Patterns


I’m Jo, the designer behind Jo to the World Creations, and I’m dedicated to helping you make the perfect crochet gift! I love designing and sharing free crochet patterns that you can make for every gift occasion.
About →Let’s Connect
Download. Print. Keep.
Get Instant Access to ALL Printable Patterns
Make your crocheting more enjoyable, relaxing and productive with printable PDF patterns.
- 100+ premium crochet patterns.
- Download, save and print from any device.
- No ads or popups!
Not sure yet? Take a look at the Pattern Library and see all the patterns you can download once you’re a member.

Save with Pattern Bundles
For a limited time, I’ve grouped some of my most popular crochet patterns and I’m offering them as pattern bundles where you can get the printable versions for one low, discounted price. Check out these incredible Crochet Pattern Bundles.
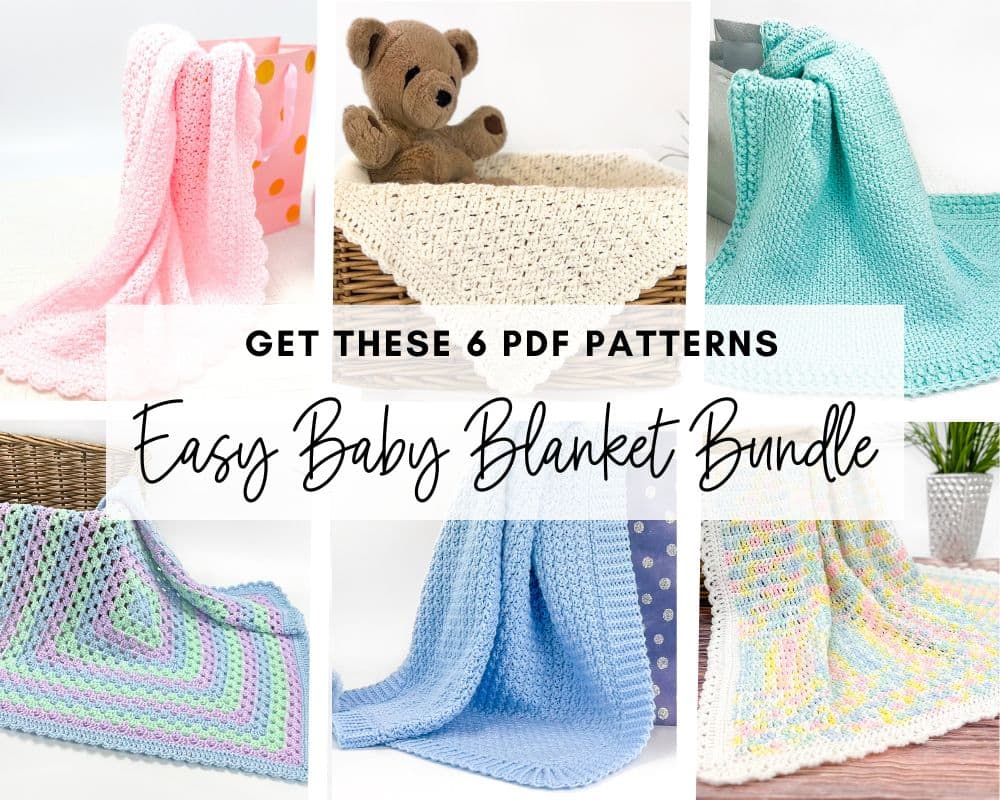
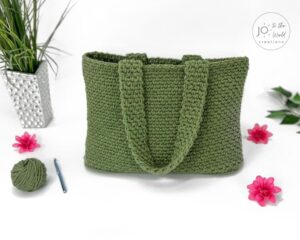
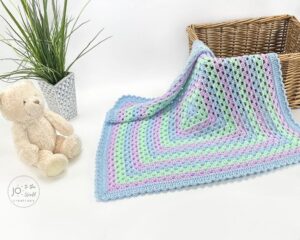
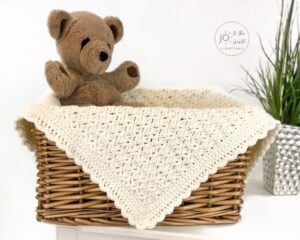
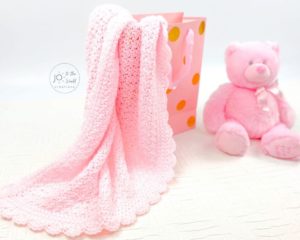
Easy Baby Blanket Bundle
With this Easy Baby Blanket Bundle, you’ll get SIX easy crochet baby blankets as printable downloads. Each pattern includes step-by-step instructions and a full video tutorial.
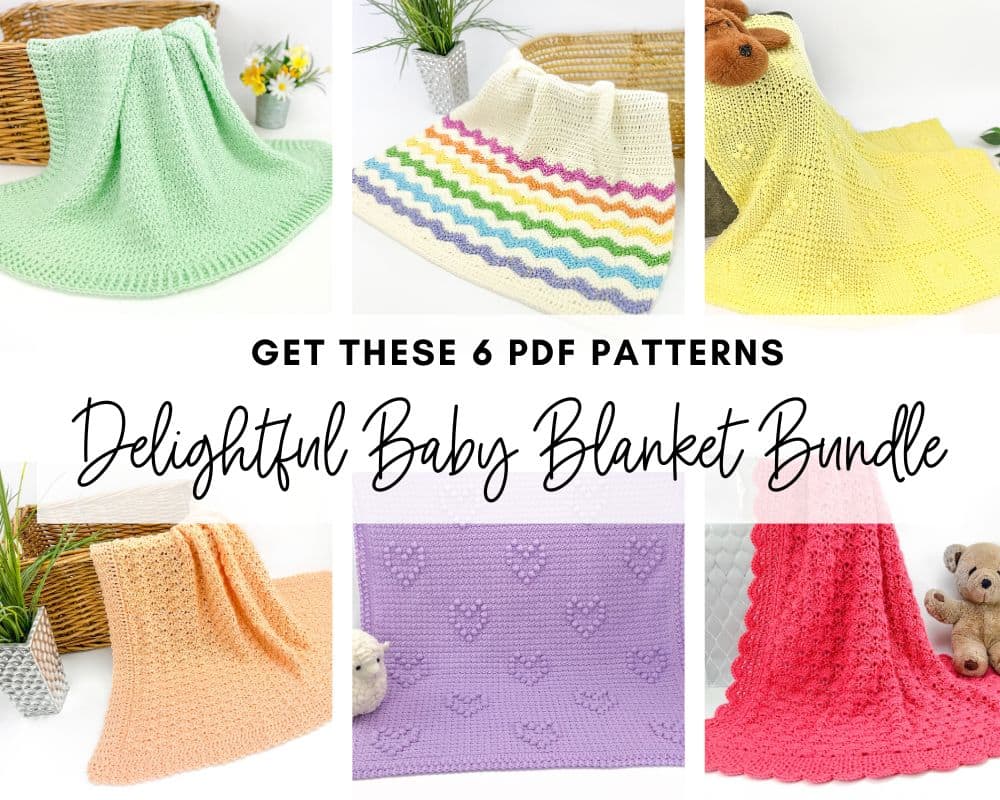
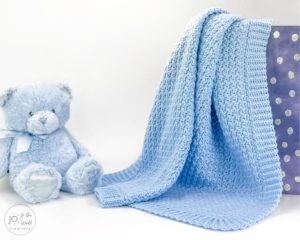
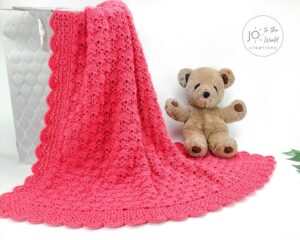
Delightful Baby Blanket Bundle
This incredible deal includes six SIX blanket patterns that are a delight to make and create truly stunning blankets – all as printable PDFs for one low, discounted price.
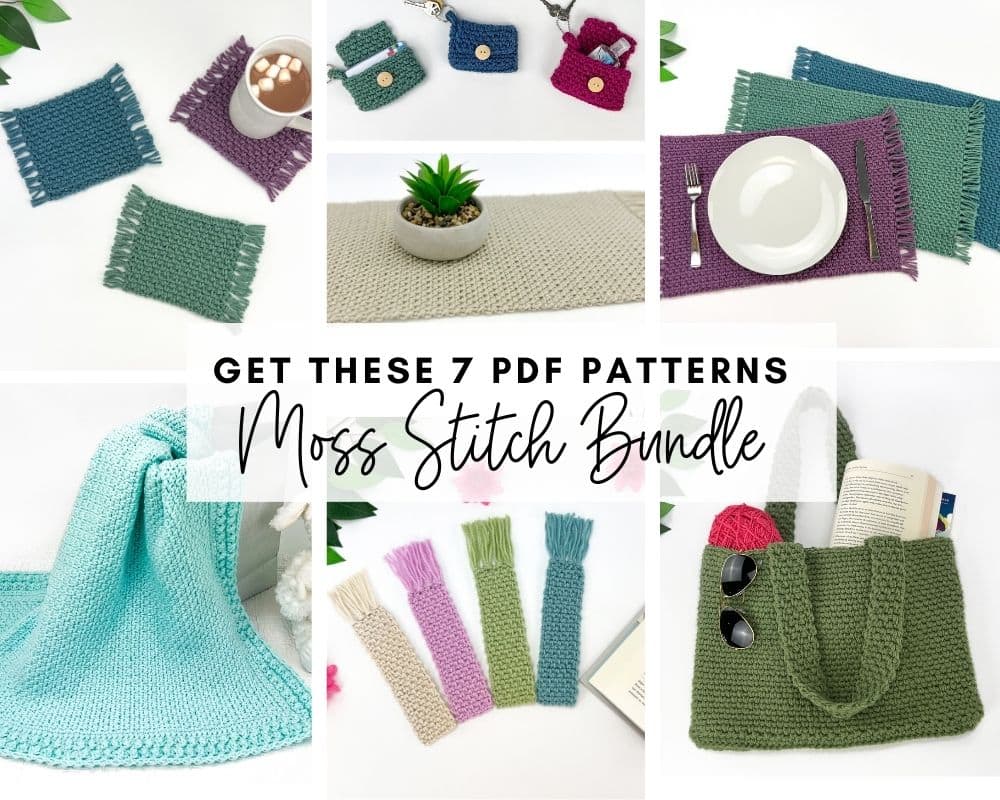
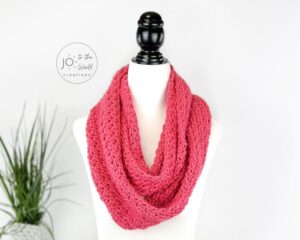
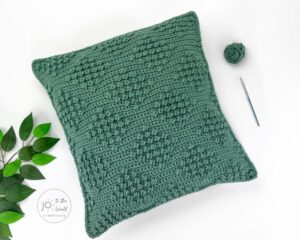
Moss Stitch Pattern Bundle
All your favorite Moss Stitch patterns in one bundle! Get SEVEN easy Moss Stitch crochet patterns as ad-free, print-ready PDFs to print, save and keep forever.
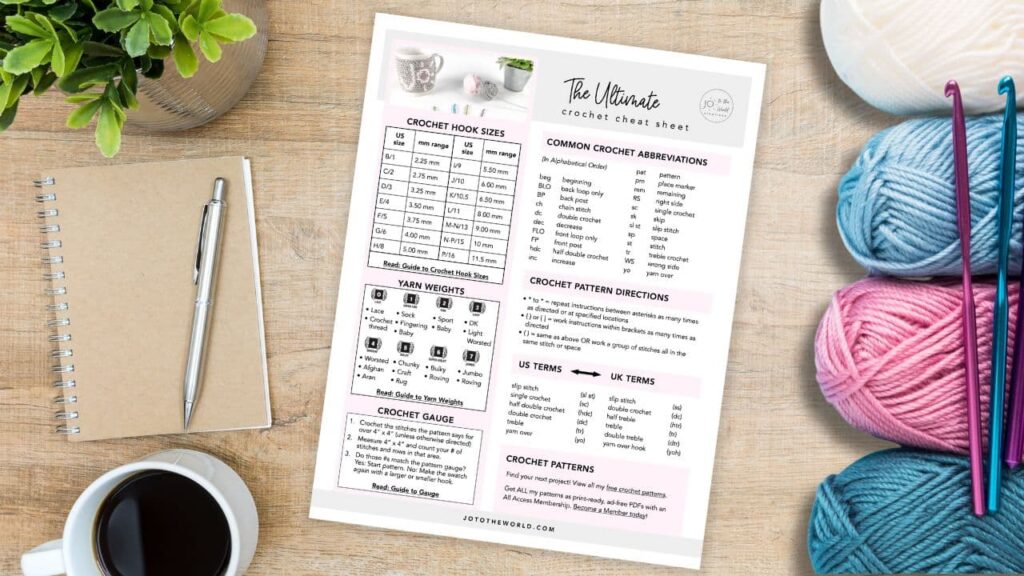
Free Crochet Cheat Sheet
Get instant access to this Ultimate Crochet Cheat Sheet! Plus you’ll receive free patterns for crochet gifts delivered right to your inbox!
Featured Crochet Patterns


Pattern Collections


Free Patterns for Crochet Gifts
Never miss a pattern! Get all my secrets to making incredible crochet gifts as well as new free crochet patterns and exclusive deals when you sign up for my newsletter (it’s free!).