
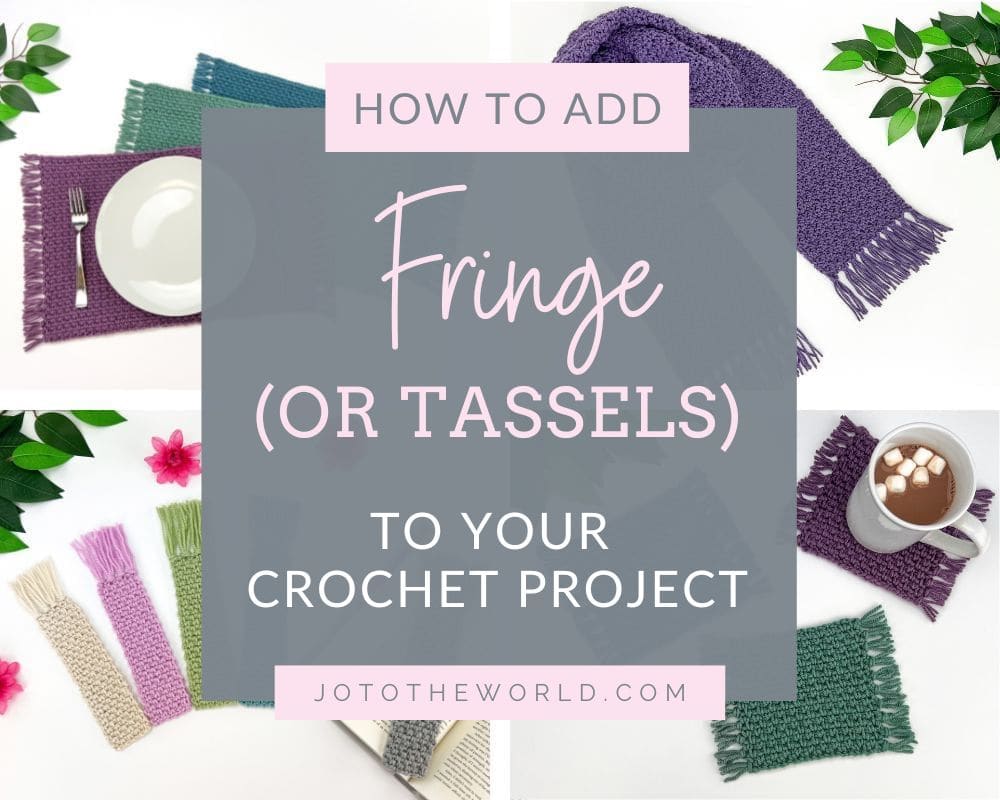
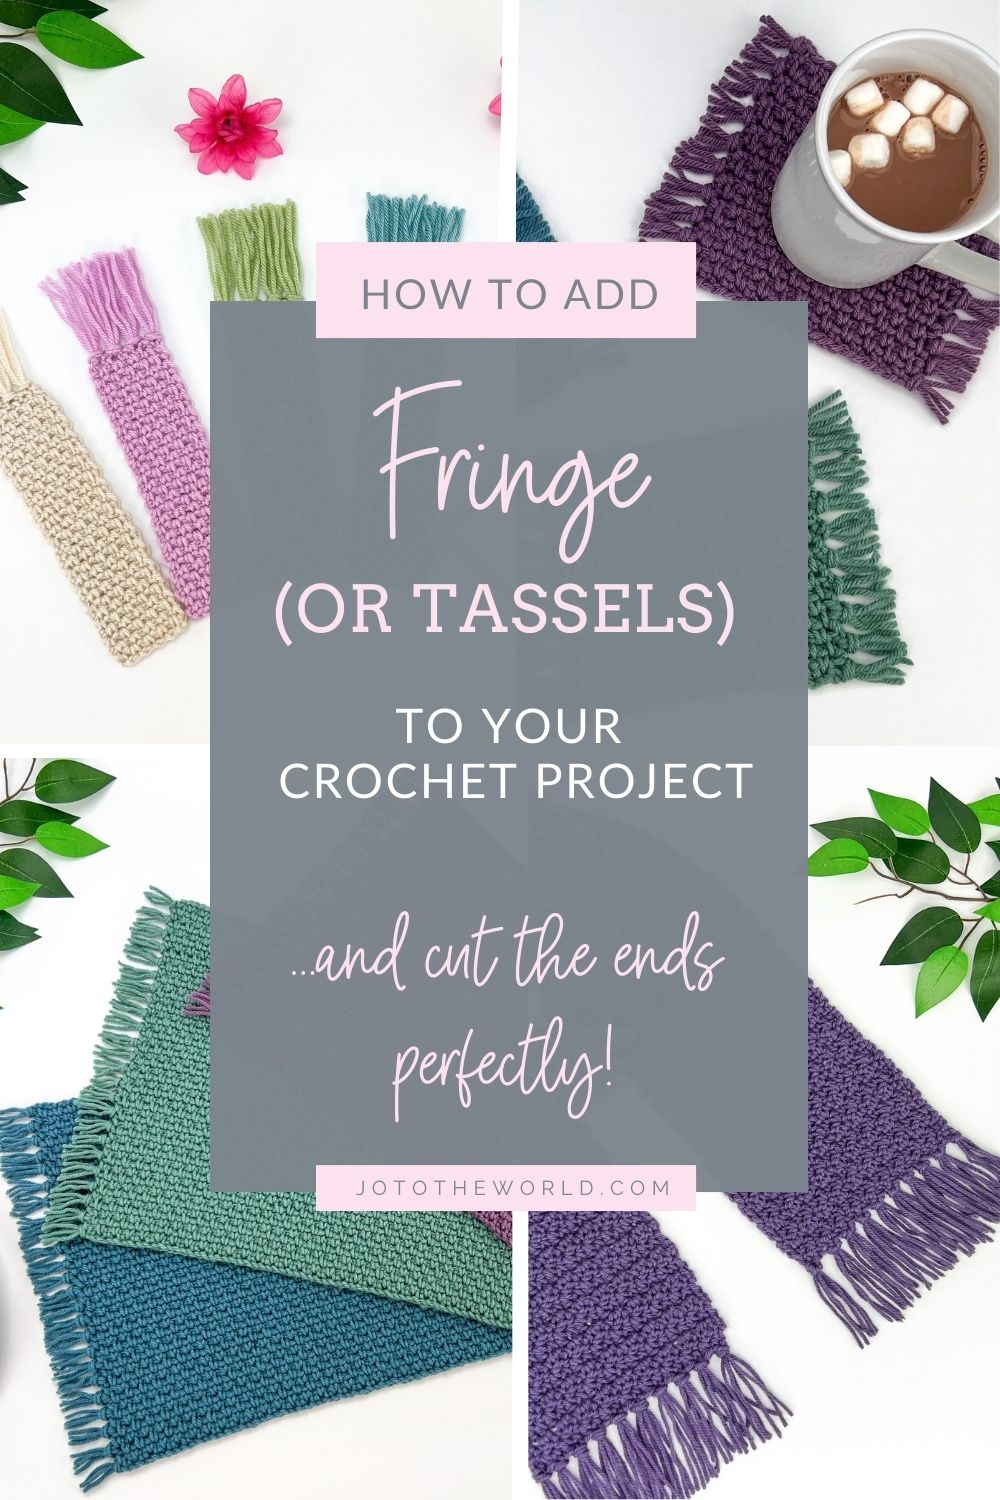
How to Add Tassels/Fringe to a Crochet Project (Cut Perfectly!)
The ultimate guide to crochet fringe and tassels including how to add fringe to a scarf, blanket or other crochet project – with perfectly even ends!
Before we begin, I would like to thank you for visiting Jo to the World Creations, a site dedicated to helping you give the gift of crochet.
More free patterns (that make awesome crochet gifts) are on the way! Sign up for my emails, follow me and never wonder “What should I make for…” again!
FREE PATTERNS FOR CROCHET GIFTS
Delivered to your inbox
AND GET A FREE PDF OF THE LOVE PILLOW
& A FREE CROCHET CHEAT SHEET
Unsubscribe at any time.
Delivered Socially
Follow Me on
Crochet Fringe
Adding fringe to a crochet project is very easy to do and is a wonderful (and quick) way to complete your item. In this guide to crochet fringe, we will go through step by step how to make crochet fringe, how to add it to your scarf, blanket or any other crochet project and how to cut your fringe so the ends are perfectly even.
Crochet Tassels
The terms “fringe” and “tassels” can both mean the same thing and can be used interchangeably. In my patterns, I have tended to use the word tassels instead of fringe since the strands of yarn form a group that are attached to the crochet pattern, which looks like a tassel. If you are looking for instructions for crochet blanket tassels or crochet scarf tassels or just how to add crochet tassels to a crochet project, follow the guide below! The instructions for adding crochet tassels are the same as adding crochet fringe.
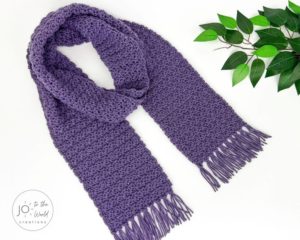
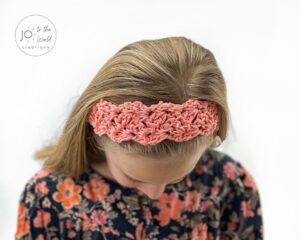
How to Add Fringe to a Crochet Scarf
Adding fringe to a crochet scarf is the same as adding fringe to any other crochet project. If your crochet scarf pattern has specific instructions for how many strands of yarn you will need, how long to make the strands and the number of strands to use for each tassel, take note of those and then follow along this guide, which will show you exactly how to add fringe to a crochet scarf.
For example, in my Simple Crochet Scarf with Tassels free pattern, the instructions state to make 60 x 8″ strands and to use three strands of yarn for each tassel. Scroll down below for both written instructions and a video tutorial showing you how to make crochet scarf tassels.
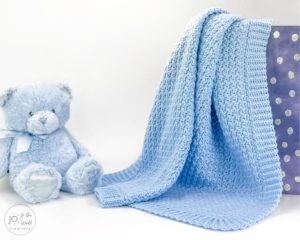
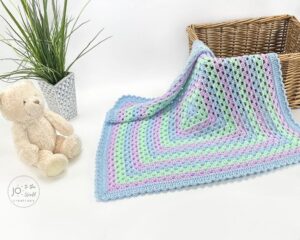
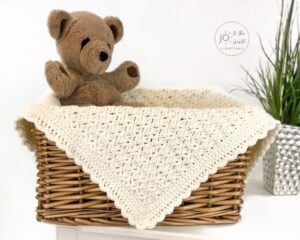
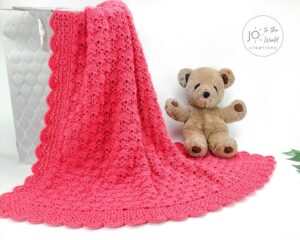
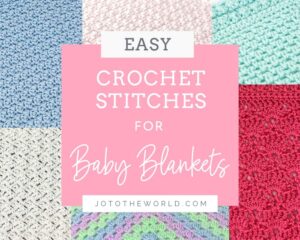
How to Add Fringe to a Crochet Blanket
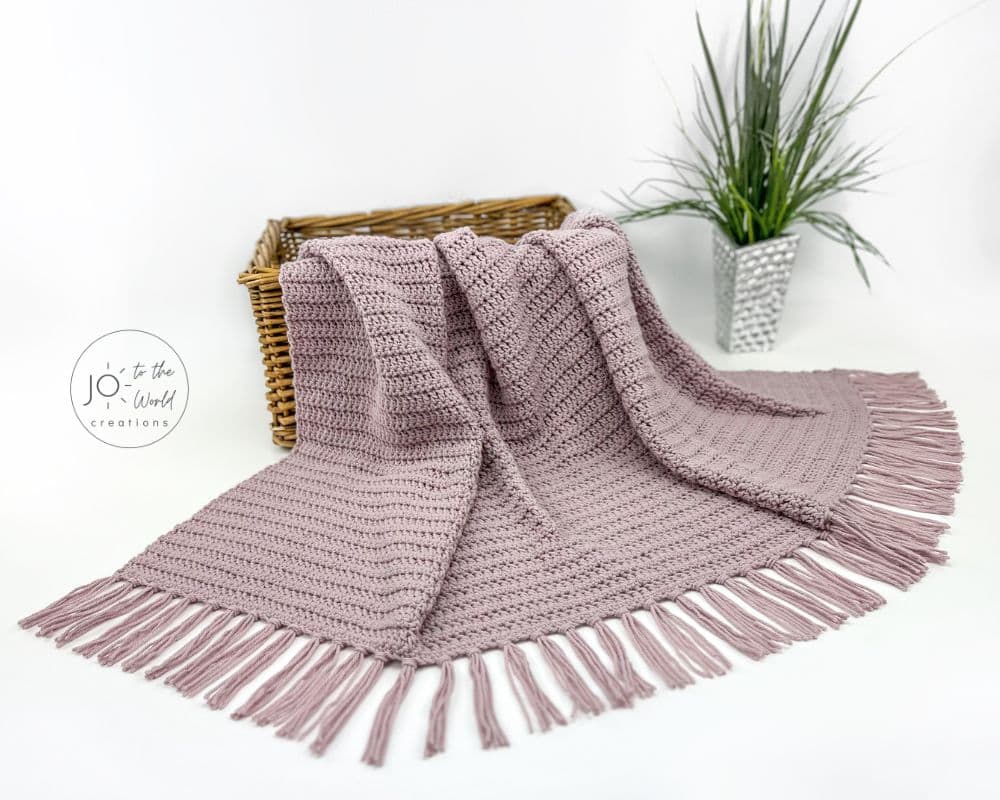
Similarly, adding fringe to a crochet blanket is exactly the same. You’ll want to know how many strands of yarn you will need, how long to make the strands and how many strands are used on each tassel. If you don’t know, that’s ok! The best part about making fringe for a crochet blanket is there is so much flexibility. Follow the guide below and then try out different looks to see what works best. Fringe is easily removed without harming the project so feel free to experiment with different lengths, number of strands and spacing.
Fringe Crochet Patterns
Once you’ve mastered adding fringe, take a look at some of these free crochet patterns that all have fringe / tassels:
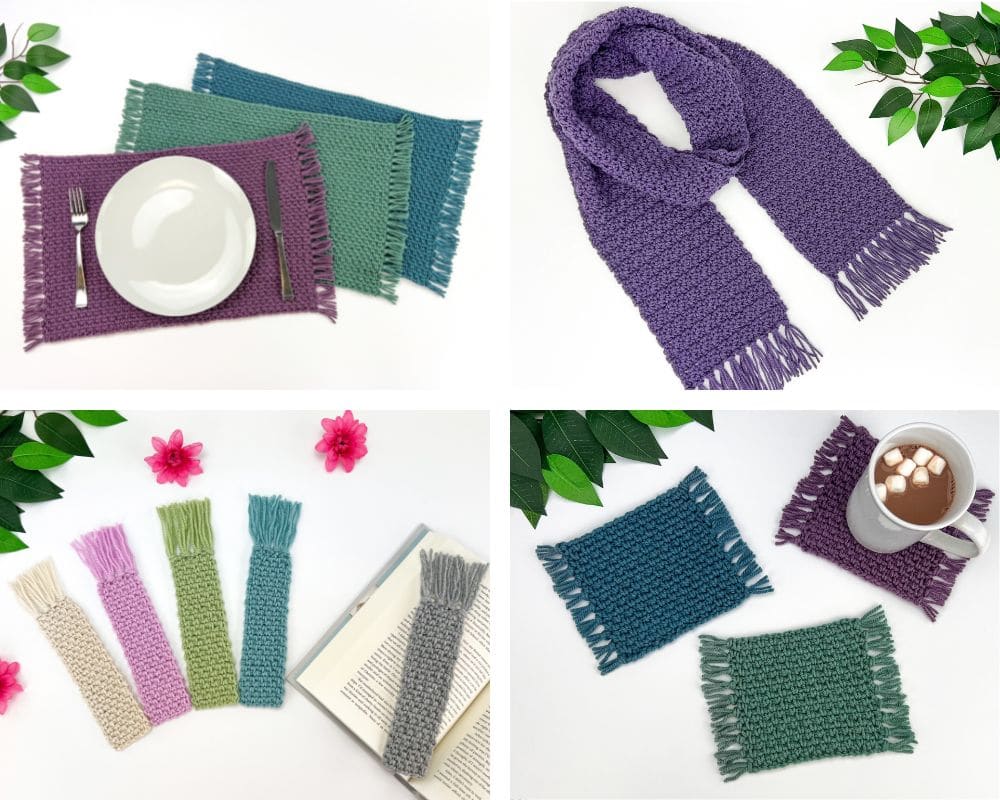
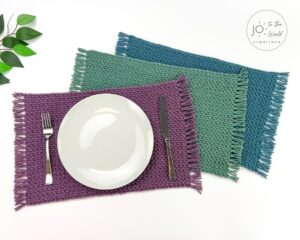
Easy Placemat – Free Crochet Pattern
Simple Scarf (with Tassels) – Free Crochet Pattern
Easy Book Mark – Free Crochet Pattern
Easy Mug Rug – Free Crochet Pattern
Affiliate Disclosure: This post may contain affiliate links meaning I may receive a commission for purchases made through links in this post at no extra cost to you. As an Amazon Associate, I earn from qualifying purchases.

Crochet Fringe – The Ultimate Guide
1. Determine How Much Yarn to Prepare
Before you can prepare your yarn, you’ll want to know approx. how many strands you will need and how long your strands should be. If that information is included in the pattern, you can proceed to step 2.
How Many Tassels
Take a look at your project and think about where your fringe will go. Many scarves and blankets have the fringe attached to the chain row and the last row. If this is where your fringe will go, you’ll want to note how many chains and stitches you have and think about how the tassels will be spaced out (separated by 1, 2, 3 or more chains/stitches). Then you can determine the number of tassels you will make.
You can also attach fringe to the sides of your project on every other or every 2 rows for example. If you will be attaching your fringe to the sides, count your rows and decide how the tassels will be spaced out. Then you can determine the number of tassels you will need.
How Many Strands Per Tassel
Once you know how many tassels, decide how many strands of yarn you will want in each tassel. As a recommendation, light yarn (size 3 or dk/light worsted), usually has 3 or more strands in a tassel. Worsted weight (size 4) usually has 2 or 3 strands in a tassel. And bulky or super bulky usually has 1 or 2 strand in a tassel.
How Long Each Strand Should Be
Each strand that you cut is folded in half and then attached to the project. So a strand of yarn that is 10″ long, once attached, creates a tassel or fringe that is 5″ long.
- Determine how long you want the fringe / tassels to be once attached and trimmed. It’s completely up to you! For reference, for my mug rug coaster pattern, the fringe is 1.5″. For many scarf patterns, the fringe is around 3″ – 4″. For many blankets, the fringe is between 4″ – 6″. Feel free to experiment to see what size looks best on your project.
- The actual strand of yarn that you will make into a tassel is twice the size that you want the fringe to be. Remember to account for trimming! If you want the fringe/tassels to be 4″ once attached and trimmed, you’ll want your strands of yarn to be longer than 8″. I recommending adding 1″ – 2″ for the trimming (so for a 4″ fringe, I would recommend having strands that are 10″ long).
2. How to Make Crochet Fringe / Tassels
You can watch the step by step video tutorial here or keep scrolling down of the written instructions.

Now you will want to cut strands of yarn that you will use as the tassels/fringe. If you are experimenting with different sizes, I’d recommend just cutting a few strands first and then when you know for sure the size you’d like, you can cut a bunch at once by following the method below.
Find an object (a piece of thick cardboard or a notebook for example) that you will use to wrap your yarn around. The size of the object should be the length you want your strands to be divided by two. For example, if you want 8″ strands, use an object that is 4″ wide.
Note the number of strands that you require. For example, in my Simple Scarf pattern, you’ll need 60 strands of yarn.
Take your yarn and wrap it around the object. Wrap around once for each strand of yarn you require. In my Simple Scarf pattern example, you will wrap it around the object 60 times.
Cut the yarn in the middle.
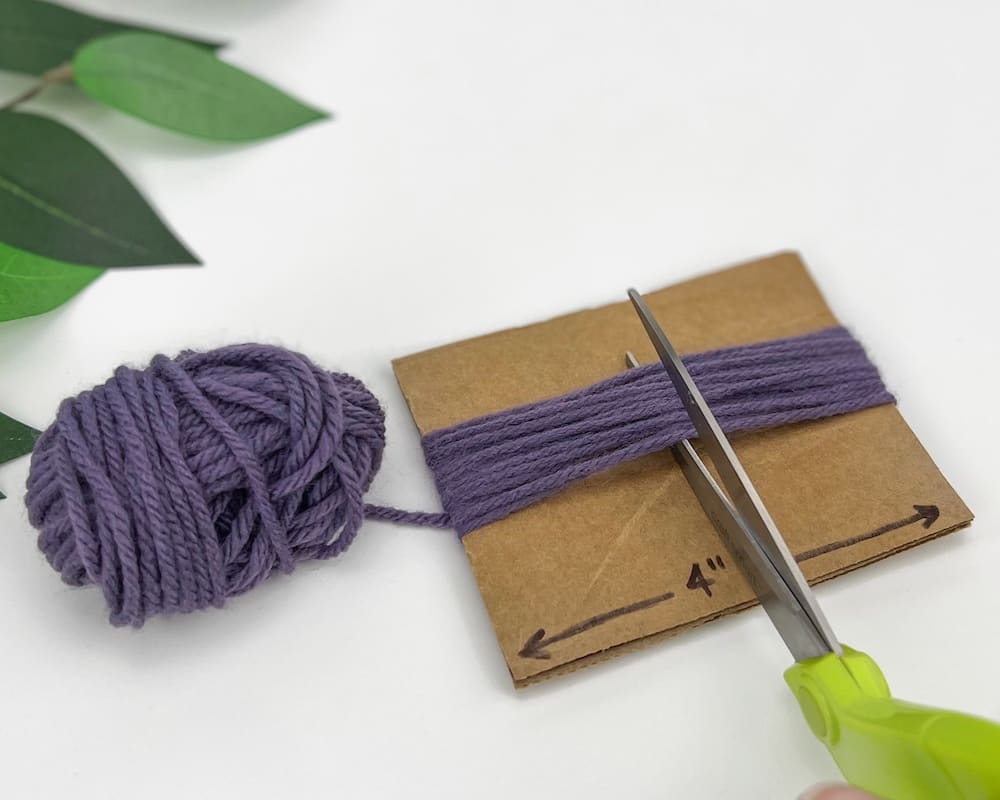
Note: I found that it’s better to wrap the yarn around the object in small groups rather than all at once (the scissors had a hard time going through 50+ strands at once). When making 60 strands of yarn for example, I had the best results when I wrapped the yarn around the cardboard 20 times, then cut down the middle. Then did wrapped the yarn around another 20 times and cut. Then wrapped another 20 times and cut so I had a total of 60.
Now you’ve made the fringe that will be attached to your project.
3. Add Fringe to Your Crochet Project
Fringe Placement
If there is a front / right side to your project, I recommend having the fringe / tassel knots facing the front. To ensure the knots are on the front, you will want to pull the yarn (shown in the next step) from the front to the back.
The most important thing is to be consistent. If your knots are facing the front on one side of the project, ensure they are also facing the front on the other (i.e. the chain row and the last row or the right side and the left side).
Spacing is also important and sometimes can be tricky. You want to do your best to ensure the tassels are spaced evenly apart. Tip: never pull your knots too tightly (shown in the next step) before you are sure of placement so that the tassels can be easily moved.
Adding Fringe / Tassels
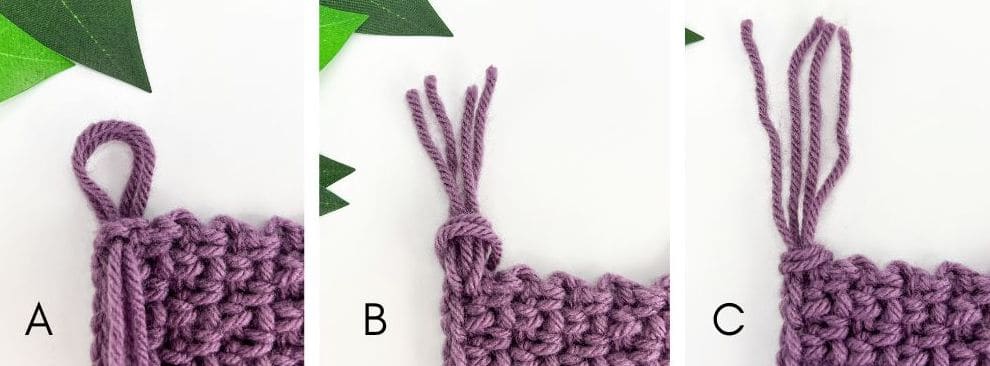
A) Pick up the number strands of yarn you want in each tassel. Remember that 1 strand of yarn gets folded in half so your tassel will have 2 strands once attached. For example, if you want 4 tassel strands, take 2 strands of yarn.
Fold the strands in half.
With either with a hook or your fingers, pull the folded ends through the chain, stitch or space about halfway through. This creates a loop.
B) Pull the ends through the loop.
C) Pull tight to make a knot. (I recommend keeping your knot secure but not too tight until you are sure of tassel placement).
4. Trim the Fringe (and How to Cut the Ends Perfectly!)
With your tassels now attached, you’ll probably want to trim them to be all the same length. The most basic method that only requires scissors is to lay the fringe / tassels flat and straight and try to trim them evenly so they are all the exact same size.
But there’s another easier and much more effective way to do it! It requires a few materials that you might not have but it’s totally worth it to get them as this method makes your fringe look amazing.
This is actually a new discovery for me and I have to give the biggest shoutout to @theknottyboss who posted a video on Instagram about this and I couldn’t wait to try it.
I now need to go back to all my projects that have fringe and trim the ends this way!
Reminder: you can watch this step by step on the video tutorial.
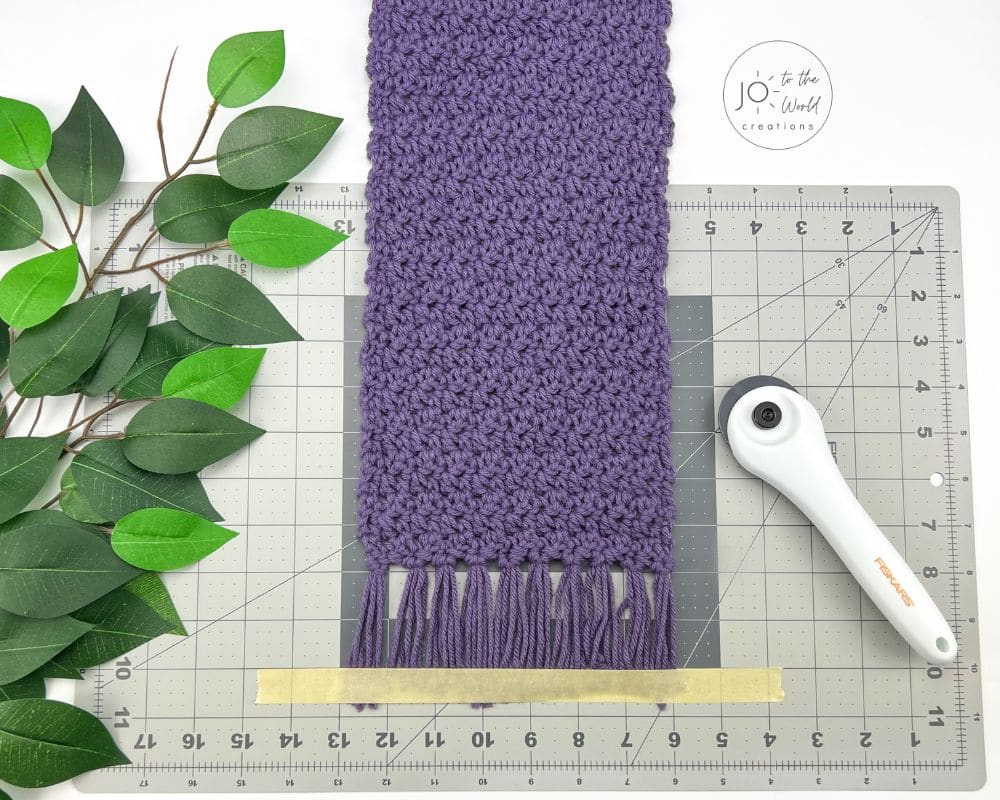
Put your Project on a Cutting Mat
Don’t have a cutting mat? I recommend this cutting mat.
Place your project on a cutting mat. Ensure that all the knots are now pulled tight and line up the fringe / tassels so they are flat and straight.
Tape Down the Fringe
Using masking tape or painters tape, place a strip of tape just below where you want the fringe to be cut (ensure it’s a straight line – use the cutting mat as a guide).
Cut Above the Tape
Now this is the coolest part! And for this you will need a rotary cutter. Here’s a great rotary cutter if you don’t have one.
Take your rotary cutter and cut in a straight line, right above the tape.
Remove the Tape
Remove the strip of tape from the cutting mat and ta-da! You now have perfectly-even fringe!
I hope this guide helped you make and add crochet fringe to your project.
Crochet Patterns with Fringe


I’m Jo, the designer behind Jo to the World Creations, and I’m dedicated to helping you make the perfect crochet gift! I love designing and sharing free crochet patterns that you can make for every gift occasion.
About →Let’s Connect
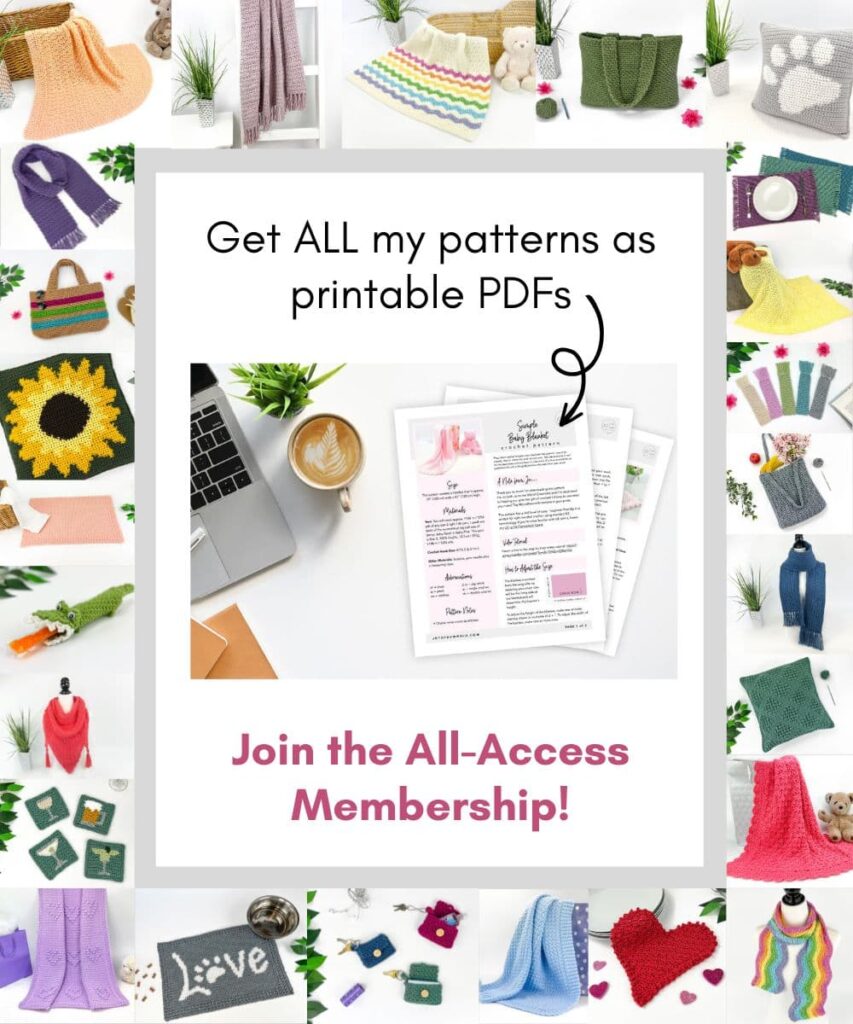
Download. Print. Keep.
Get Instant Access to ALL Printable Patterns
Make your crocheting more enjoyable, relaxing and productive with printable PDF patterns.
- 100+ premium crochet patterns.
- Download, save and print from any device.
- No ads or popups!
Not sure yet? Take a look at the Pattern Library and see all the patterns you can download once you’re a member.
Save with Pattern Bundles
For a limited time, I’ve grouped some of my most popular crochet patterns and I’m offering them as pattern bundles where you can get the printable versions for one low, discounted price. Check out these incredible Crochet Pattern Bundles.
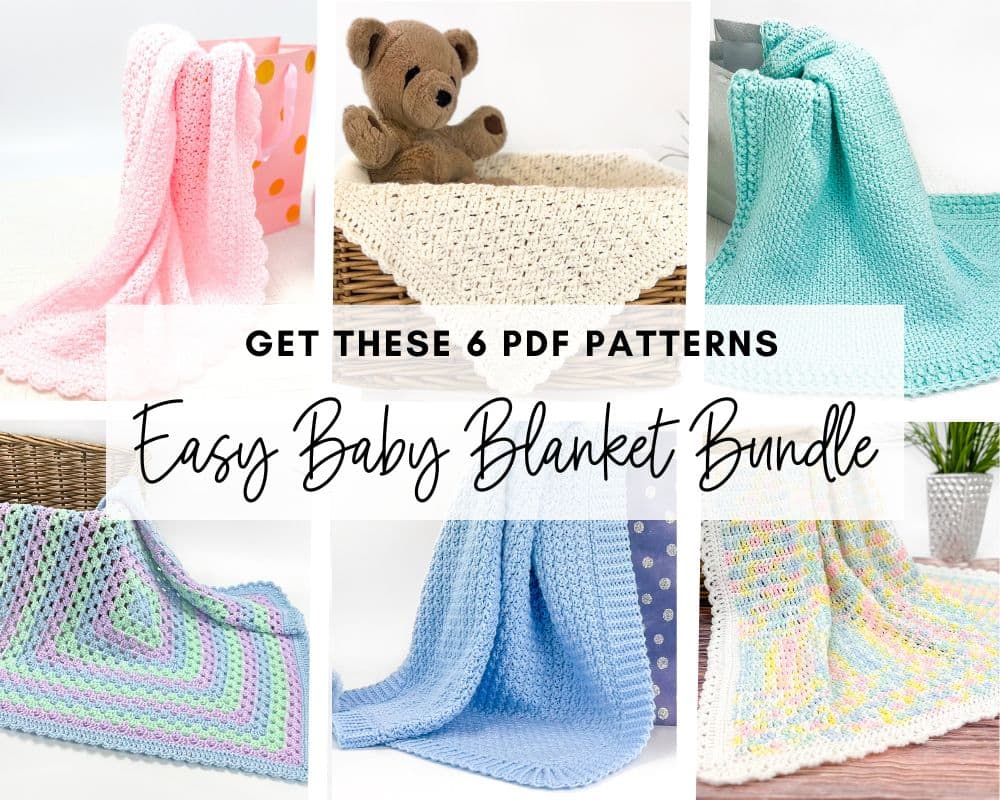
Easy Baby Blanket Bundle
With this Easy Baby Blanket Bundle, you’ll get SIX easy crochet baby blankets as printable downloads. Each pattern includes step-by-step instructions and a full video tutorial.
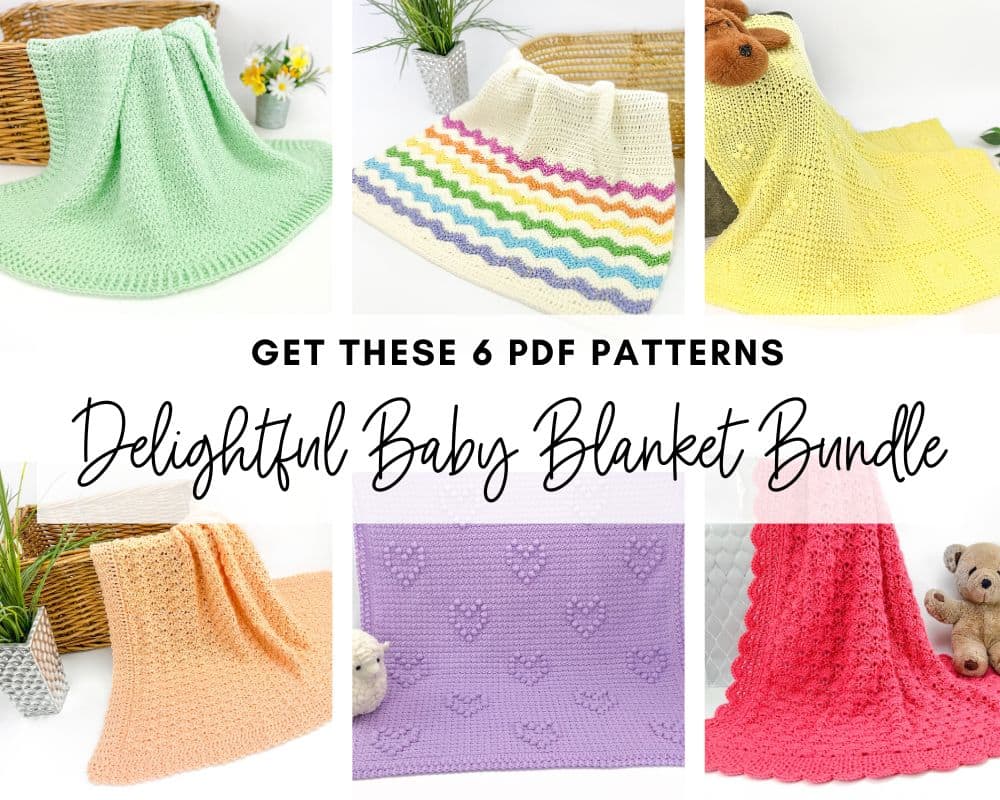
Delightful Baby Blanket Bundle
This incredible deal includes six SIX blanket patterns that are a delight to make and create truly stunning blankets – all as printable PDFs for one low, discounted price.
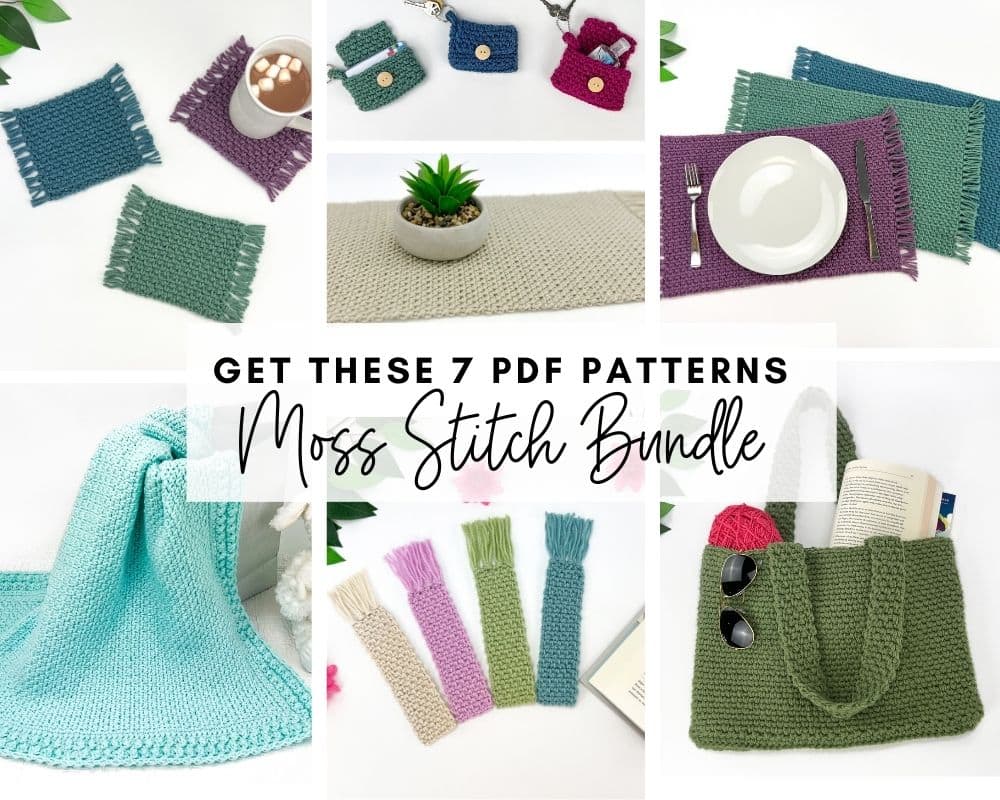
Moss Stitch Pattern Bundle
All your favorite Moss Stitch patterns in one bundle! Get SEVEN easy Moss Stitch crochet patterns as ad-free, print-ready PDFs to print, save and keep forever.
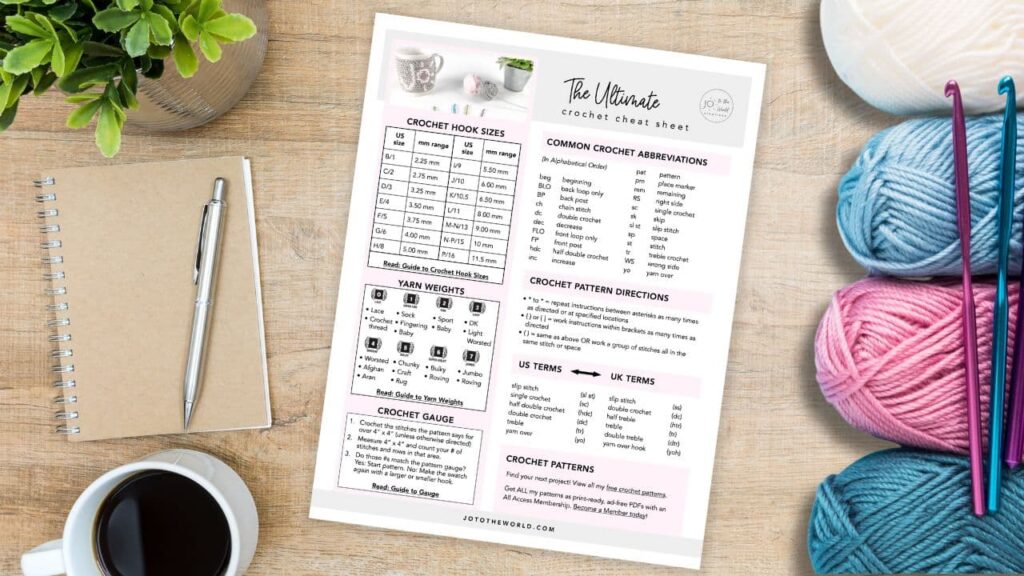
Free Crochet Cheat Sheet
Get instant access to this Ultimate Crochet Cheat Sheet! Plus you’ll receive free patterns for crochet gifts delivered right to your inbox!
Featured Crochet Patterns
Pattern Collections

Free Patterns for Crochet Gifts
Never miss a pattern! Get all my secrets to making incredible crochet gifts as well as new free crochet patterns and exclusive deals when you sign up for my newsletter (it’s free!).