
How to Make a Slip Knot in Crochet – 4 Easy Ways!
Learn four different methods to making a slip knot for crochet with this step by step photo and video tutorial. You’ll be a crochet slip knot pro in no time!
Before we begin, I would like to thank you for visiting Jo to the World Creations, a site dedicated to helping you give the gift of crochet.
More free patterns (that make awesome crochet gifts) are on the way! Sign up for my emails, follow me and never wonder “What should I make for…” again!
FREE PATTERNS FOR CROCHET GIFTS
Delivered to your inbox
AND GET A FREE PDF OF THE LOVE PILLOW
& A FREE CROCHET CHEAT SHEET
Unsubscribe at any time.
Delivered Socially
Follow Me on
What is a Slip Knot?
A slip knot is a kind of stopper knot. It is made to prevent the knot from accidentally becoming undone and slipping apart. It can also be easily unformed by pulling the tail. You can loosen a slip knot by pulling the loop above the knot and tighten it by pulling on the end. Unless otherwise indicated, a slip knot is the starting point for crochet patterns.
What is a Slip Knot in Crochet?
In a crochet pattern, the instructions usually begin with “chain X” with X being a number. What this means is that you need to make X number of starting chains.
Before you can get to making those starting chains, you need to make a slip knot. Making a slip knot is how to start a crochet chain. It can be confusing and frustrating for beginners learning how to crochet because making a slip knot is often left out of the instructions.
Making a slip knot to start a crochet chain is left out of instructions as it is one of those “must know” elements of crochet. As you become more experienced with crochet, you’ll understand that unless the pattern indicates otherwise, you always start your row of starting chains with a slip knot.
There are several different methods to making a slip knot and everyone seems to make a slip knot a little differently. There’s no mandatory technique for making a slip knot and it’s up to each crocheter to decide which method works best for them.
It’s important to note that once a slip knot is made, it does not count as a stitch. If you have experience knitting, you’ll recall that in knitting, the slip knot does count as the first stitch. In crochet, the slip knot does not count as a stitch. When you make your first chain, you will count that first chain as your first stitch.
How to Make a Crochet Slip Knot
In this post, we will learn four easy methods to making a slip knot in crochet. Watch the step by step video tutorial below or keep scrolling down for the photo tutorial with written instructions.

Video Tutorial

Method 1: Loop de Loop
The first slip knot technique is what I use. I call it Loop de Loop as you make a loop and pull through another loop. It’s very easy once you get the hang of it.
Remember, you can watch how to do all these slip knot methods in the video tutorial above. If you’ve seen the video, you may call this slip knot technique the “Shark in the Hoola-Hoop method.”
Watch how to make this slip knot in the video above at 0:56.
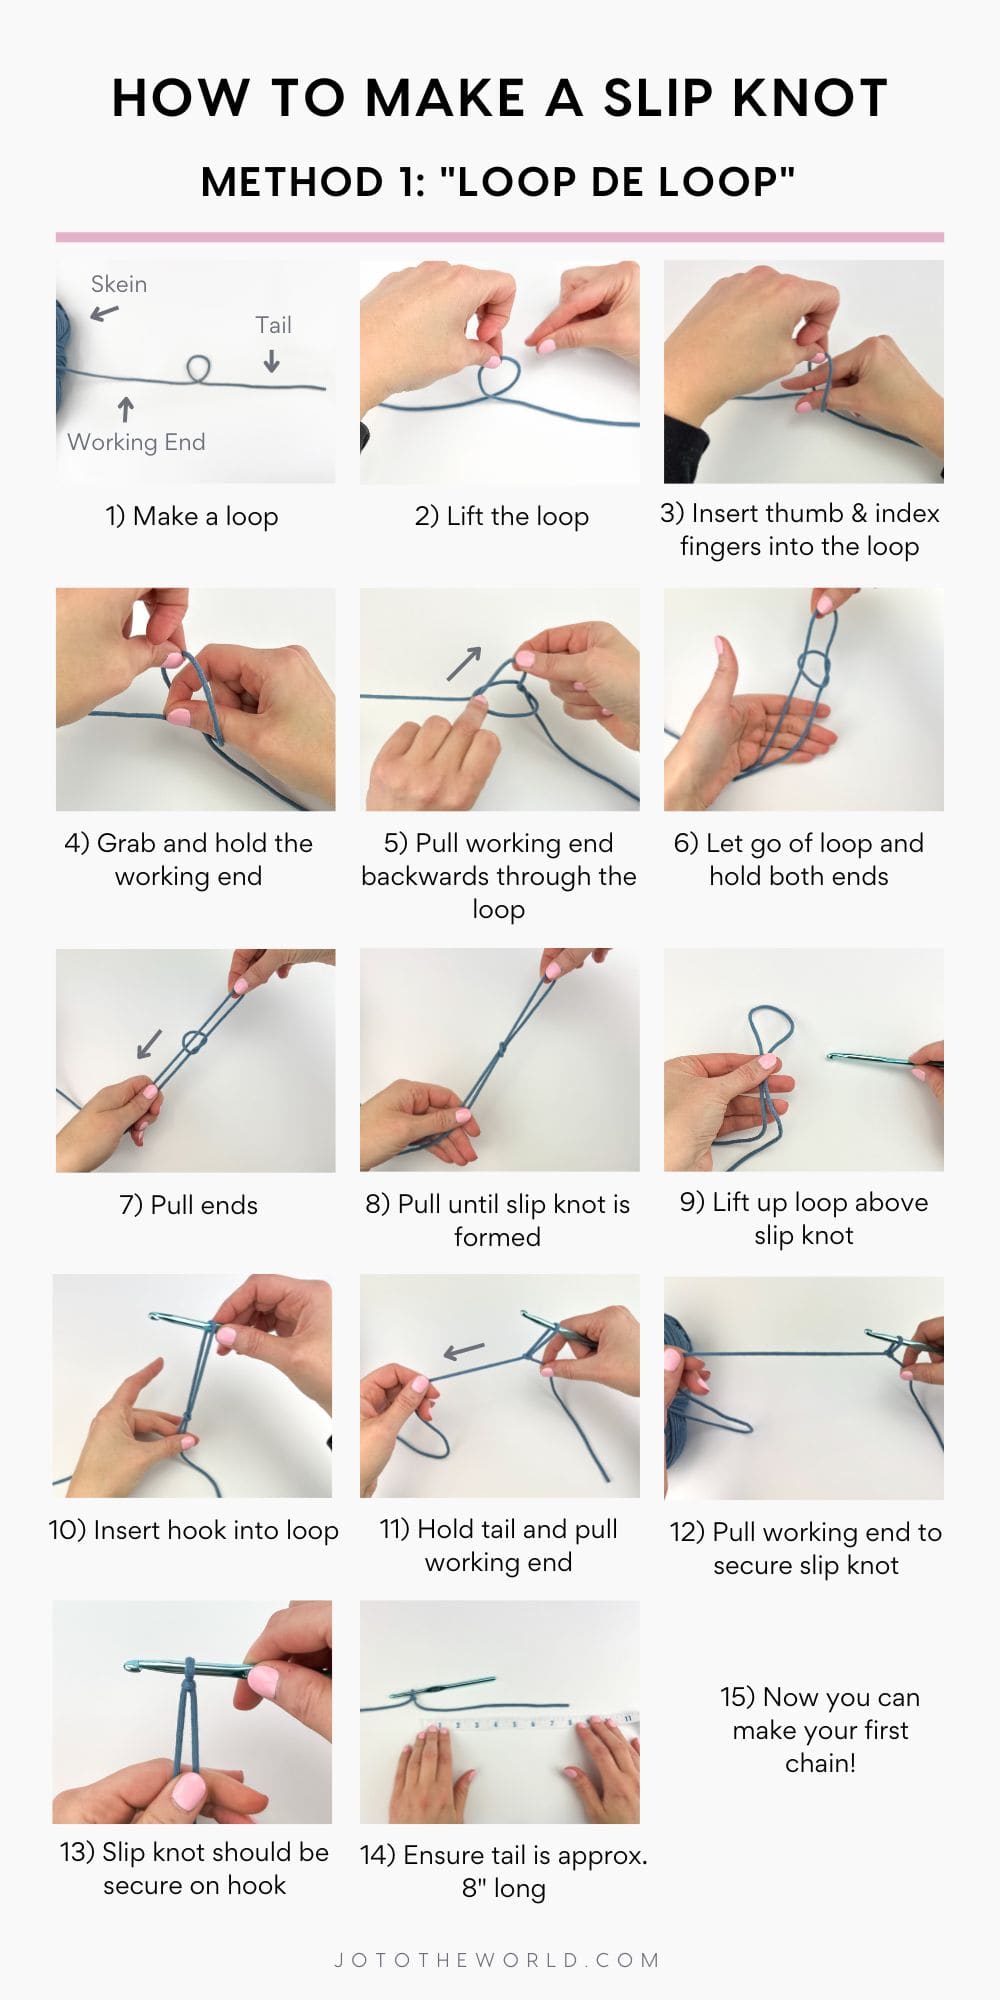
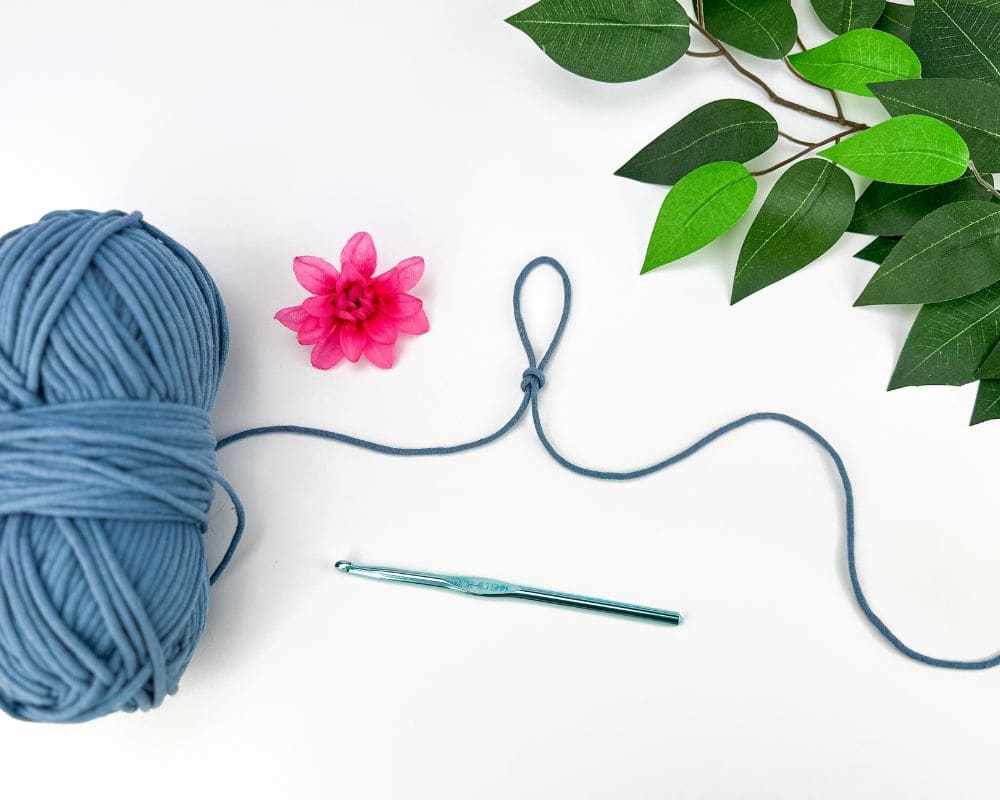
- Place your skein (ball of yarn) on the left side. Take a strand of yarn and make a loop. Note that the part of the strand closest to the end is called the tail and the part of the strand that is closest to the skein is the working end. When you make a loop, the tail end is overtop of the working end of yarn.
- With your left hand, lift the loop.
- Insert your right hand’s thumb and index finger from back to front into the loop.
- While still holding the loop with your left hand, use your thumb and index finger to grab and hold the working end of yarn (do not let go until instructed to).
- Pull the working end backwards through the loop.
- Your left hand can now let go of the loop. Use your left hand to gather and hold the working end and the tail.
- With your left hand, pull the working end and the tail to form the slip knot.
- Pull until the slip knot is formed.
- Both hands can now let go. With your left hand pick up the loop above slip knot. With your right hand, pick up your crochet hook.
- Insert your crochet hook from back to front into the loop above the slip knot.
- With your right hand, hold the tail. With your left hand, pull the working end.
- Pull the working end to secure the slip knot onto the hook.
- The slip knot should be secure on the hook but not too tight (it should be able to move around the hook).
- Ensure that the tail is approx. 8″ long. – Leaving a tail/end is important because at the end of the project, you will weave in this tail to your work using a yarn needle so that it is hidden within your stitches. If you don’t leave a large enough tail, it will be very difficult to put onto a yarn needle and sew into our project. If you ask 100 crocheters, each will tell you a different length of yarn to leave on your tail. As a beginner, an 8″ tail will you give you lots of yarn to work with. Also, it gives you some leeway that if your tail is shorter by a couple of inches, that’s okay.
- With your slip knot on your hook, you can now make your first chain!
Method 2: Loop Over Finger
For this method, you will have two loops on your finger and then take one loop off, which is why I call this the Loop Over Finger method.
Watch how to make this slip knot in the video above at 3:55.
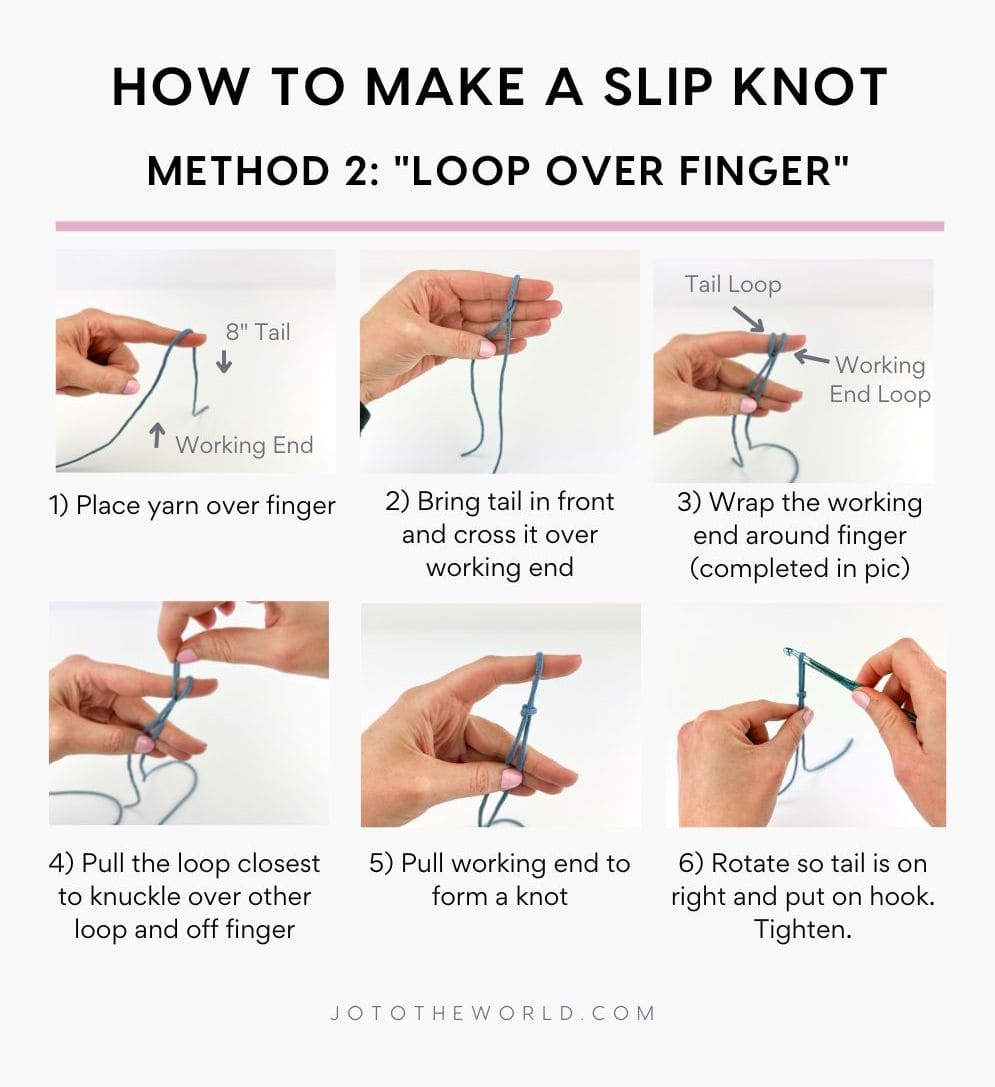
- Place the yarn over your left hand’s index finger (leaving an 8” tail) with the tail going away from you and the working yarn closest to you.
- Bring the tail under the finger and cross it over the working end (making an X). Hold the tail with your left hand thumb.
- Take the working end and wrap it around your index finger in between your nail and the other loop. Hold both ends with your thumb and middle finger. You now and two loops on your finger.
- Take the loop closest to your knuckle and pull it off your finger.
- With your right hand, pull the working end until a knot is formed.
- Rotate the slip knot so the tail is on the right hand side. Now put that loop on your crochet hook and pull the working end until the loop is secure on your hook.
Method 3: Around the Clock
The third method involves pretending you are drawing a clock with your hook, starting straight (not up) at the 12 o’clock position and working clockwise until the 9 o’clock position. That’s why I call this slip knot method “Around the Clock.”
Watch how to make this slip knot in the video above at 6:53.

- With your crochet hook in your right hand, put the yarn over the hook leaving an 8” tail so the tail is away from you.
- With your left hand, pinch both ends approx. 2” away from hook.
- Pretend your hook is pointing directly at a clock. Point at 12 o’clock straight in front of you and then point all the way around the clock until you get to the 9 o’clock position (keeping your yarn in front left hand fingers at all times). Now the tail should now be crossed in front of the working end.
- Pinch the cross with your right hand while still holding the hook.
- Hold the yarn in your left hand like you are ready to get started crocheting. Now switch the hands that are pinching the cross so you are pinching the cross with your left hand.
- Yarn over and with your hook, pull the yarn through the loop.
- Pull the tail tight to secure the knot on your hook.
Method 4: Back of Two Fingers
And lastly, we have the “Back of Two Fingers” method.
Watch how to make this slip knot in the video above at 10:19.
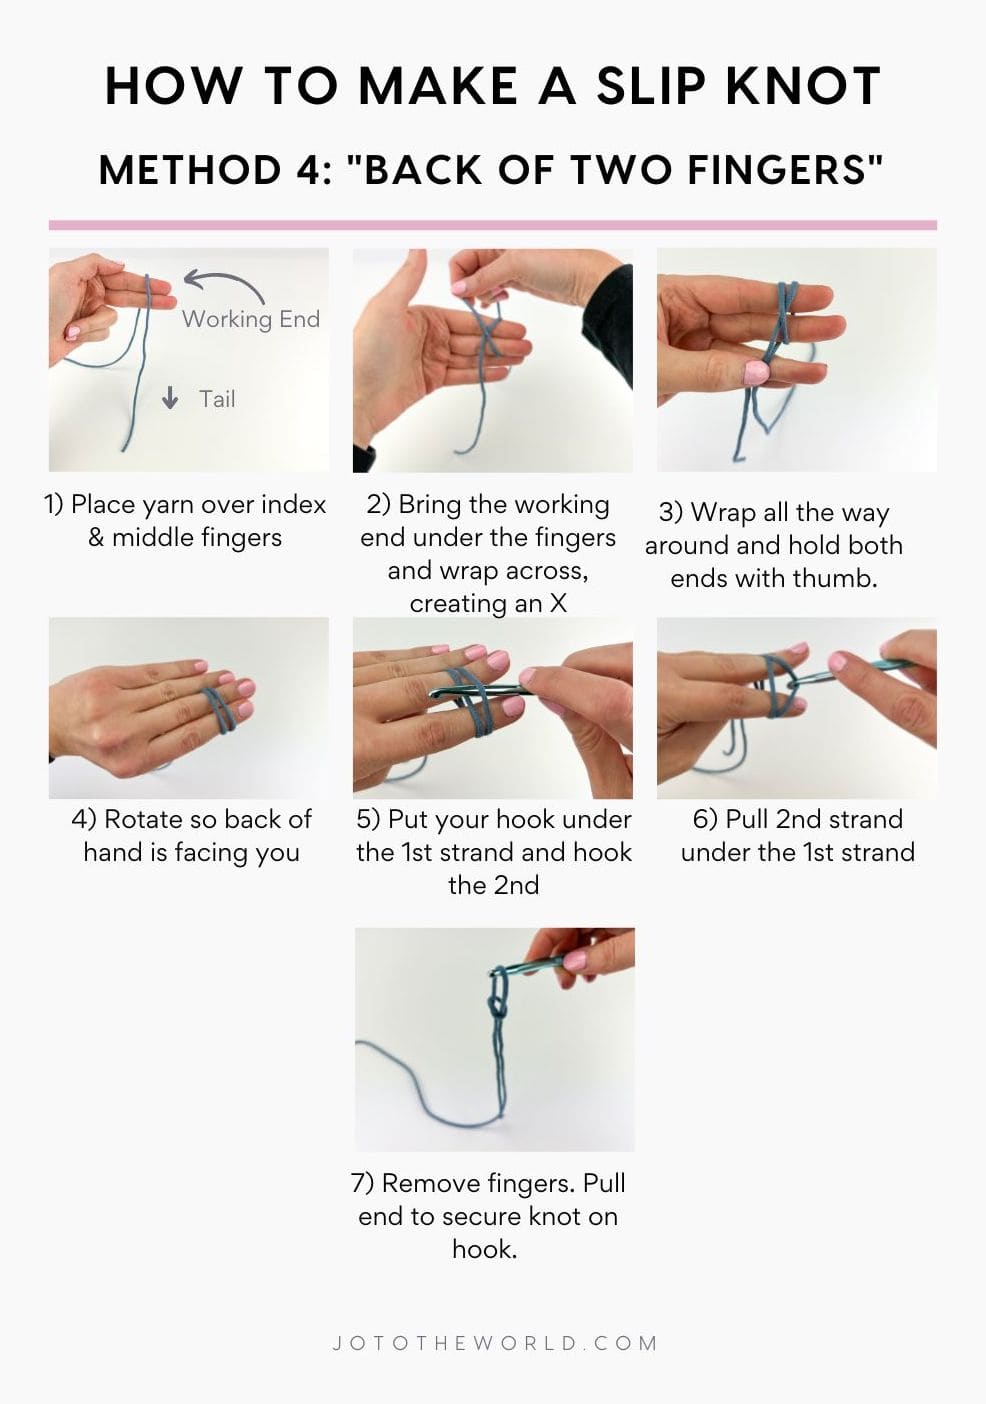
- With your palm facing you, stick out your left hand’s middle and pointer fingers. Place the yarn over the two fingers with an 8″ tail in front of the fingers and the working end of yarn behind your fingers.
- Take the working yarn and wrap it around your fingers again but cross it over the first strand of yarn towards your knuckles and make an X. Use your thumb and your ring finger hold the strands in place.
- Rotate your hands towards you so you can see your knuckles (your index finger is below your middle finger). You will see two strands of yarn.
- Take your crochet hook and put it under the first strand (the one closest to your nails) then hook the 2nd strand (the one closest to your knuckles) and pull it out from under the 1st strand.
- Remove your fingers.
- Pull the ends to make the knot tighter.
- Now put it on your crochet hook. Hold the tail and pull the working end to secure the knot on your hook.
Other Ways to Make a Slip Knot
There are many other ways to make a slip knot. Some are variations of these methods. Check out these tutorials for more ways to make a slip knot:
- How to Tie a Slip Knot for Crochet – Spruce Crafts
- How to Make a Slip Knot for Knitting or Crochet – Instructables
- How to Slip Knot & Chain Stitch – Annie’s Craft Store
I hope this has helped you learn about different ways make a slip knot. Remember there is no mandatory way to make a slip knot in crochet and you can choose what works best for you.
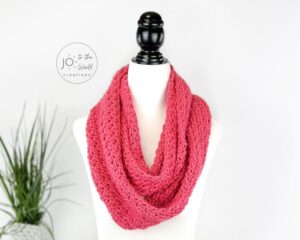
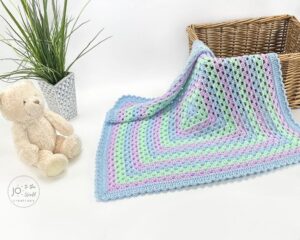
More Posts You Might Like


I’m Jo, the designer behind Jo to the World Creations, and I’m dedicated to helping you make the perfect crochet gift! I love designing and sharing free crochet patterns that you can make for every gift occasion.
About →Let’s Connect
Download. Print. Keep.
Get Instant Access to ALL Printable Patterns
Make your crocheting more enjoyable, relaxing and productive with printable PDF patterns.
- 100+ premium crochet patterns.
- Download, save and print from any device.
- No ads or popups!
Not sure yet? Take a look at the Pattern Library and see all the patterns you can download once you’re a member.

Save with Pattern Bundles
For a limited time, I’ve grouped some of my most popular crochet patterns and I’m offering them as pattern bundles where you can get the printable versions for one low, discounted price. Check out these incredible Crochet Pattern Bundles.
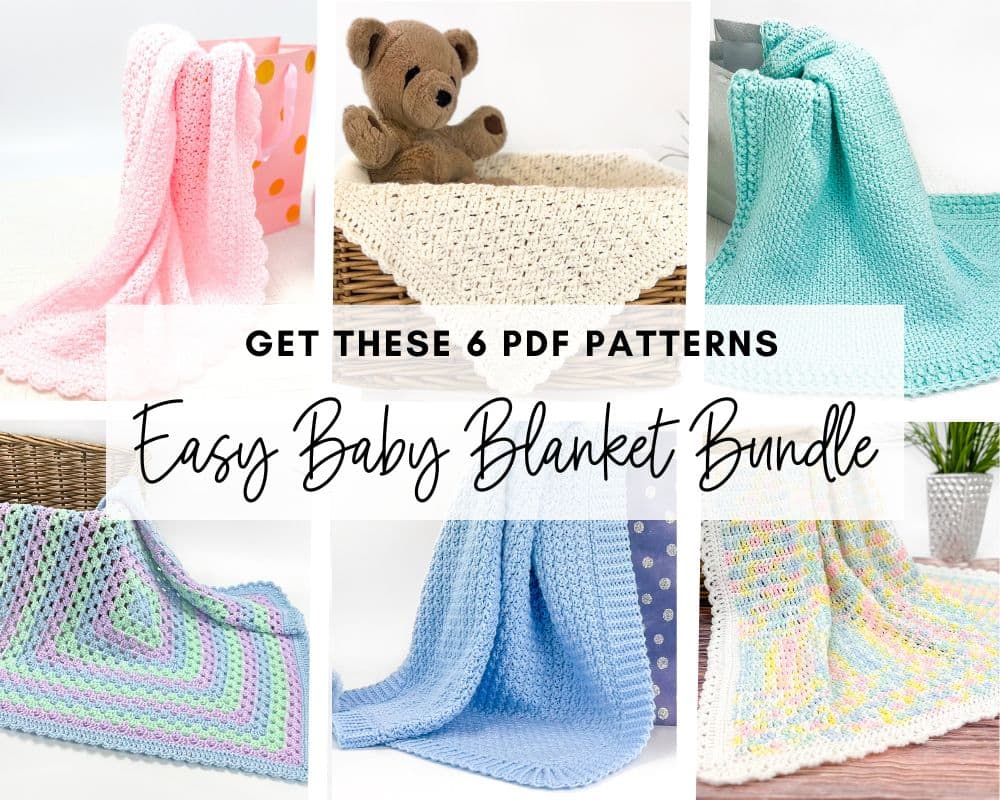
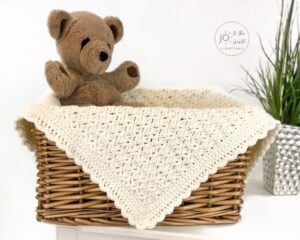
Easy Baby Blanket Bundle
With this Easy Baby Blanket Bundle, you’ll get SIX easy crochet baby blankets as printable downloads. Each pattern includes step-by-step instructions and a full video tutorial.
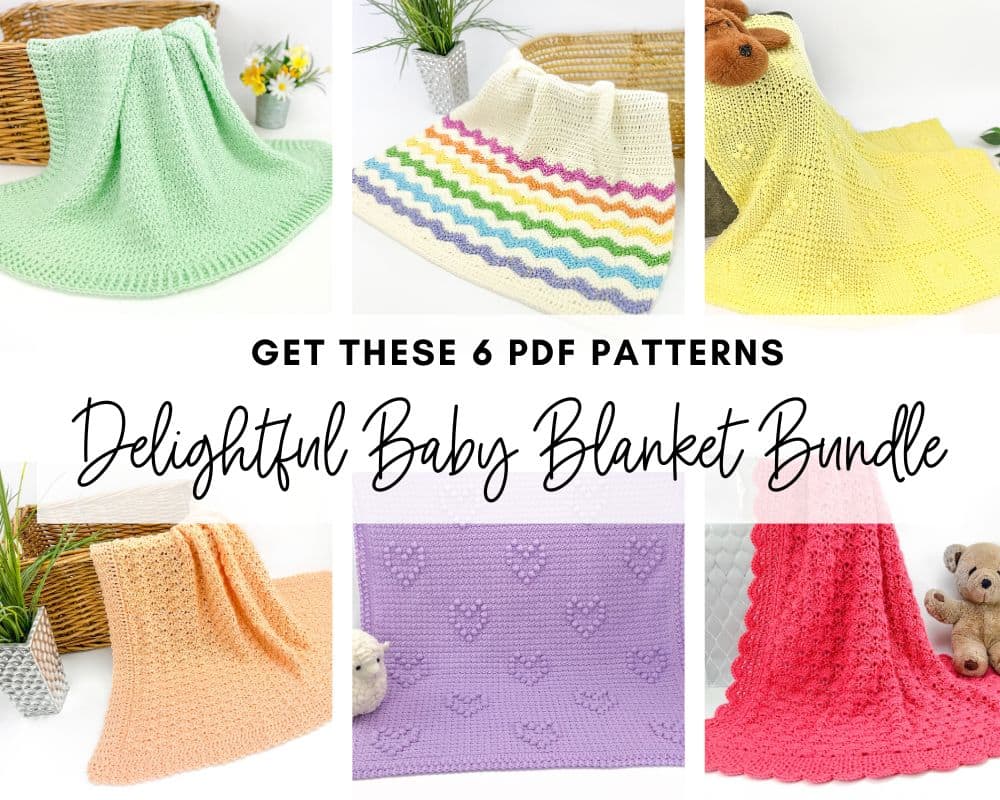
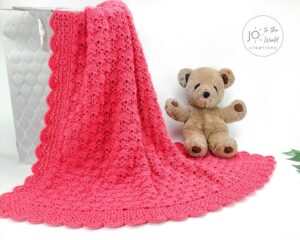
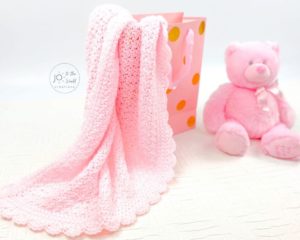
Delightful Baby Blanket Bundle
This incredible deal includes six SIX blanket patterns that are a delight to make and create truly stunning blankets – all as printable PDFs for one low, discounted price.
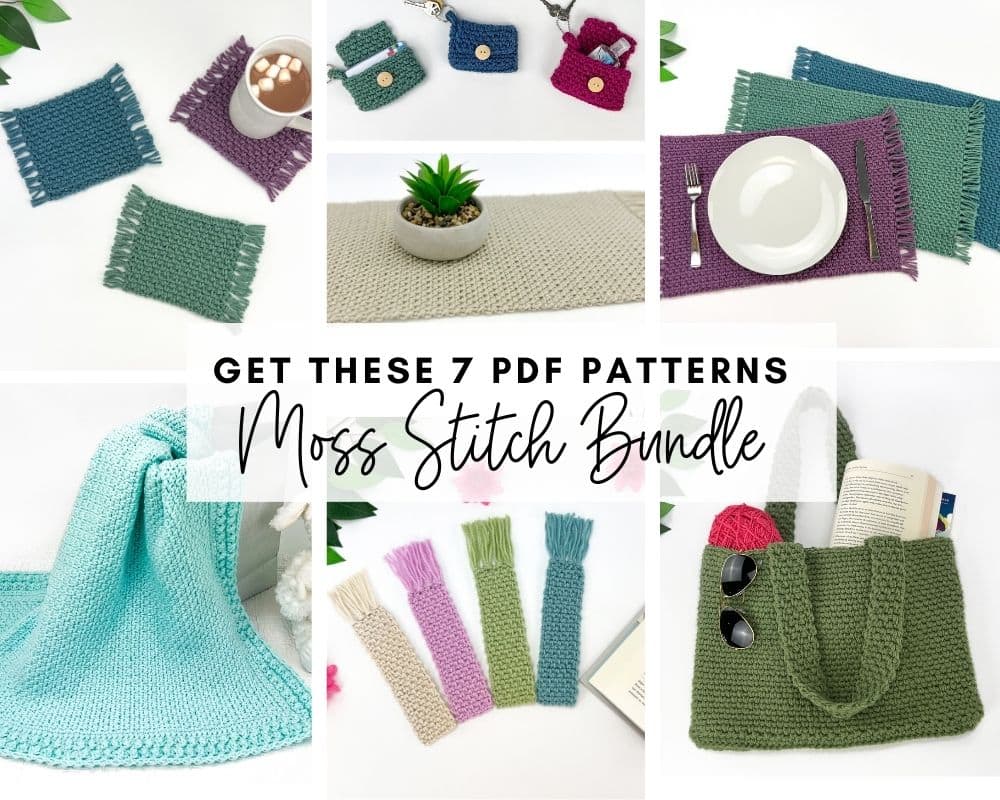
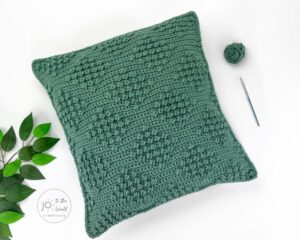
Moss Stitch Pattern Bundle
All your favorite Moss Stitch patterns in one bundle! Get SEVEN easy Moss Stitch crochet patterns as ad-free, print-ready PDFs to print, save and keep forever.
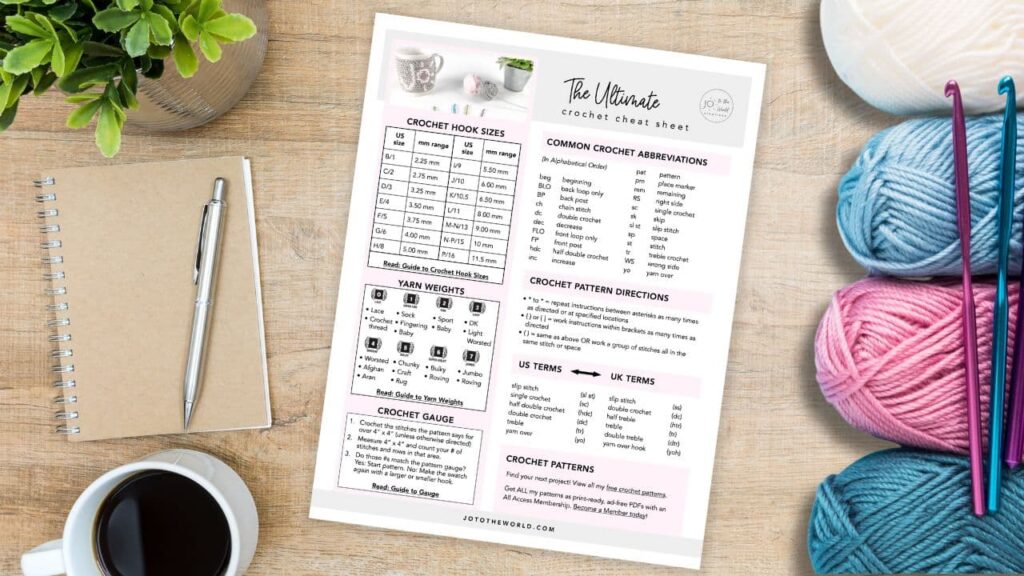
Free Crochet Cheat Sheet
Get instant access to this Ultimate Crochet Cheat Sheet! Plus you’ll receive free patterns for crochet gifts delivered right to your inbox!
Featured Crochet Patterns

Pattern Collections


Free Patterns for Crochet Gifts
Never miss a pattern! Get all my secrets to making incredible crochet gifts as well as new free crochet patterns and exclusive deals when you sign up for my newsletter (it’s free!).