Crocodile Freeze Pop Holder – Free Crochet Pattern
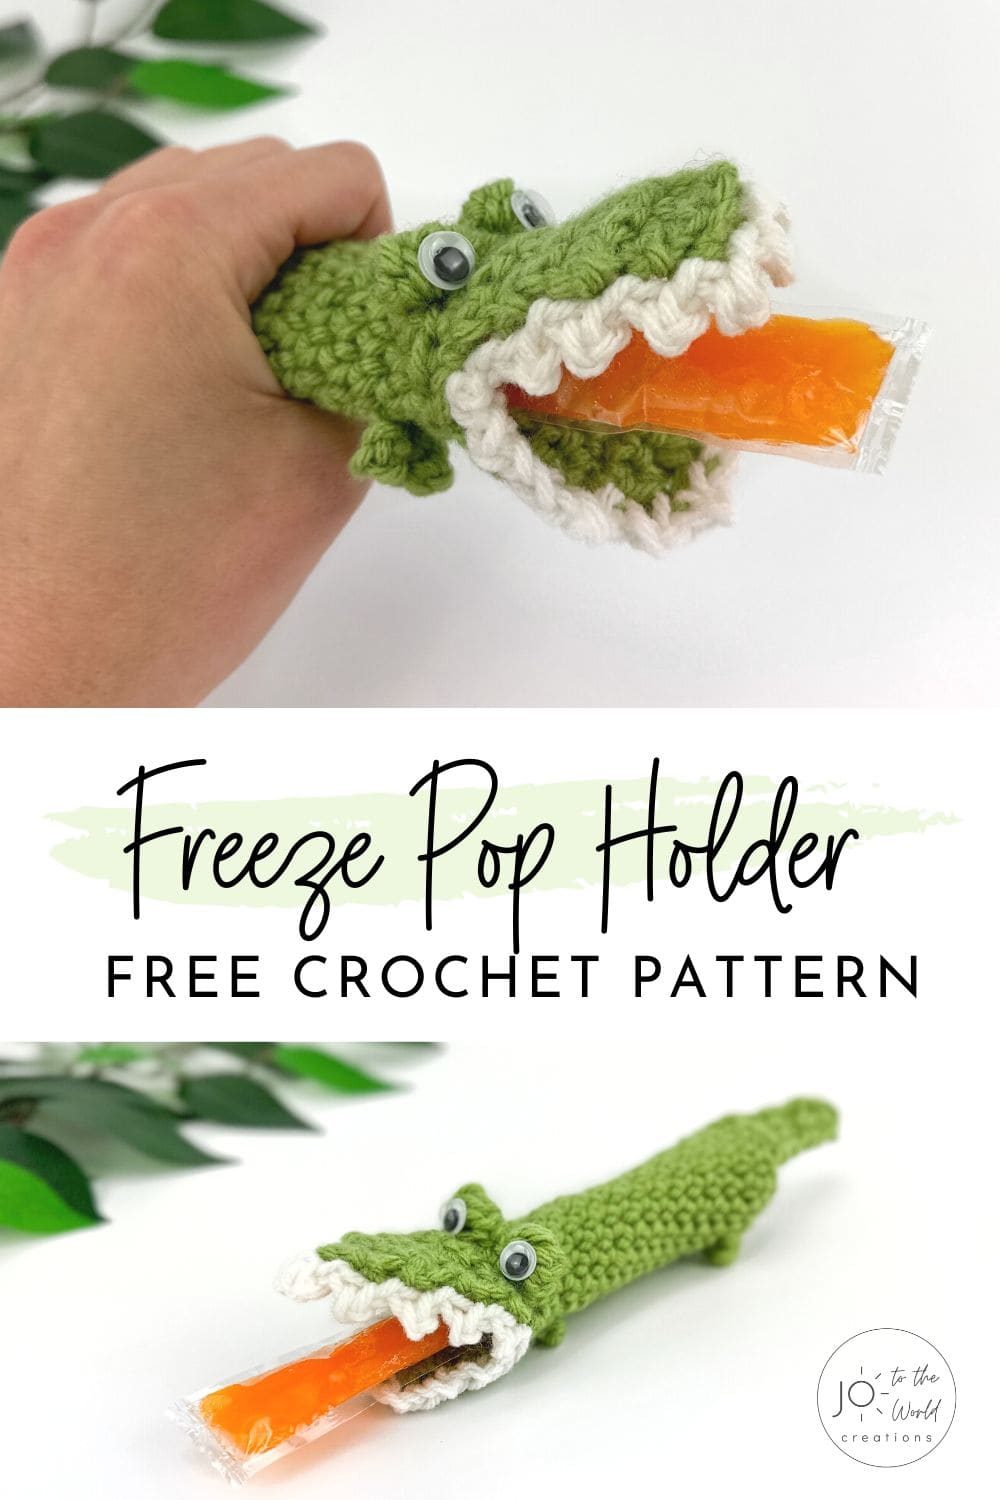
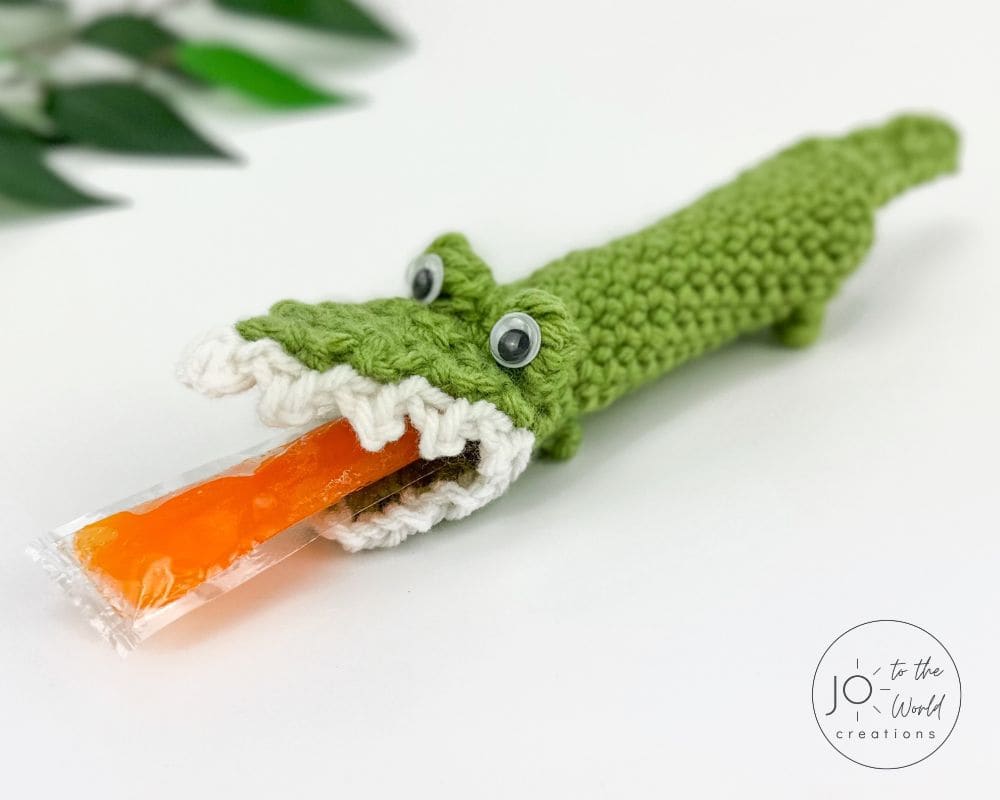
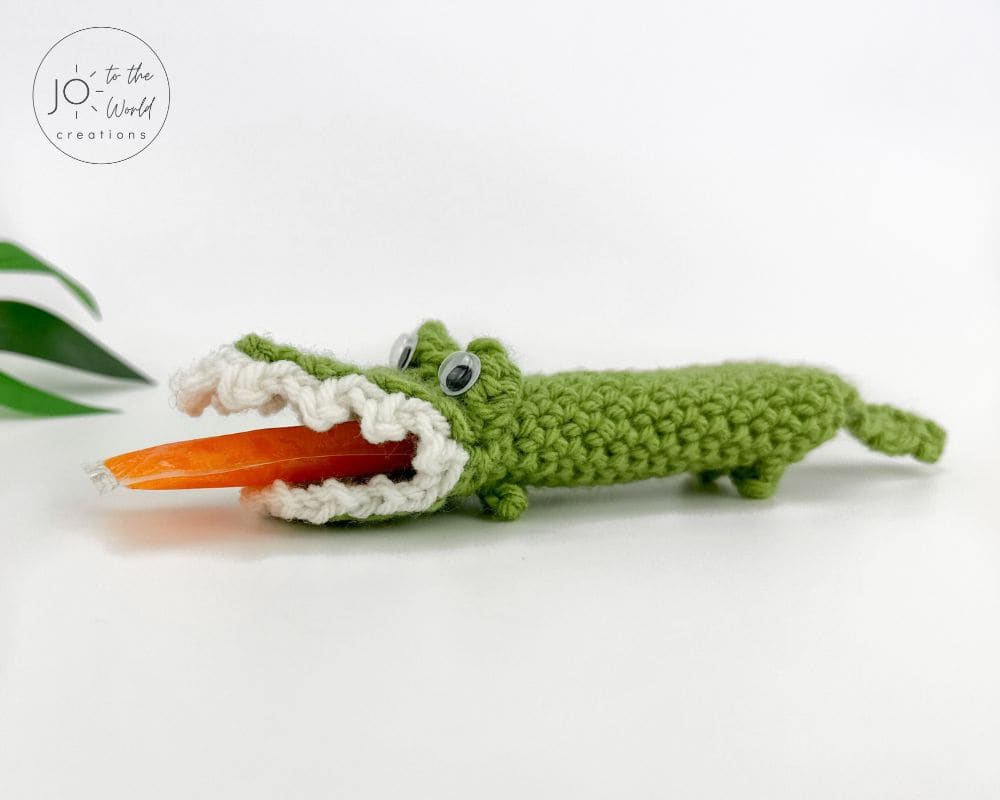
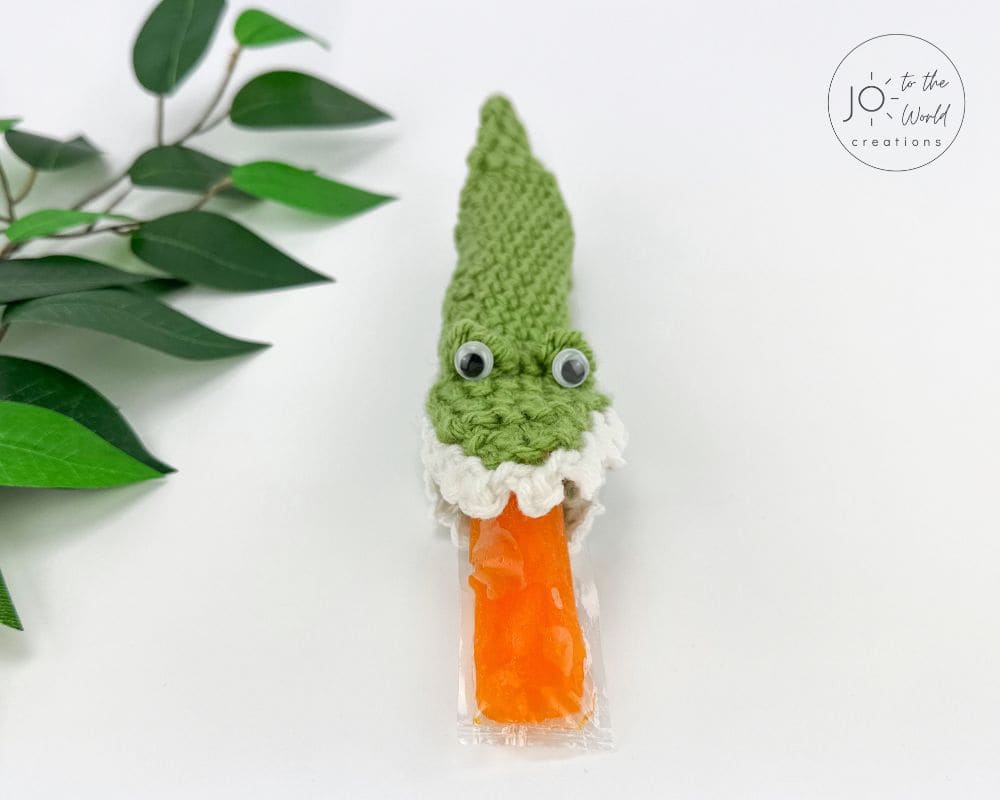
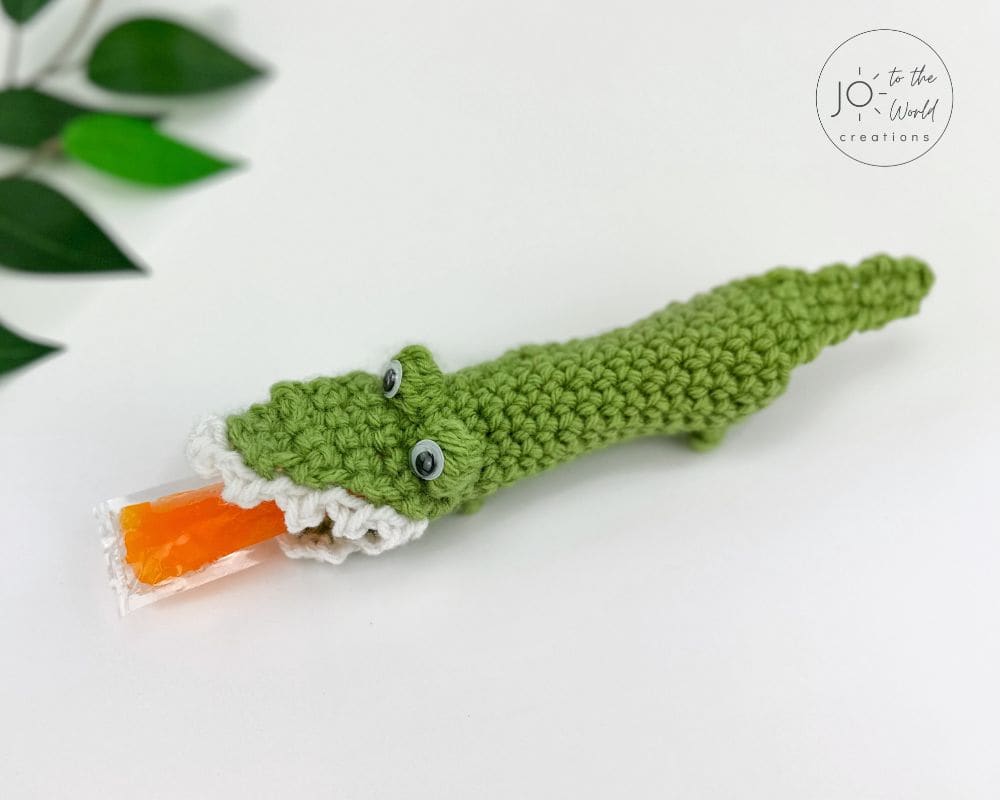
Here’s a fun, quick and easy crochet pattern for a crocodile that holds freeze pops! This free crochet crocodile freezie holder pattern makes a great gift for kids that will keep their hands from getting cold and the freeze pop juice from dripping everywhere!
Before we begin, I would like to thank you for visiting Jo to the World Creations, a site dedicated to helping you give the gift of crochet.
More free patterns (that make awesome crochet gifts) are on the way! Sign up for my emails, follow me and never wonder “What should I make for…” again!
FREE PATTERNS FOR CROCHET GIFTS
Delivered to your inbox
AND GET A FREE PDF OF THE LOVE PILLOW
& A FREE CROCHET CHEAT SHEET
Unsubscribe at any time.
Delivered Socially
Follow Me on
Crochet Freeze Pop Holders
One of the best parts about crochet is that you can create really useful items. In the summertime, my kids go nuts for freezies but their little hands get cold so quickly holding them.
Last year, I designed this Flower Freeze Pop Holder and now my girls can’t eat a freeze pop without it!
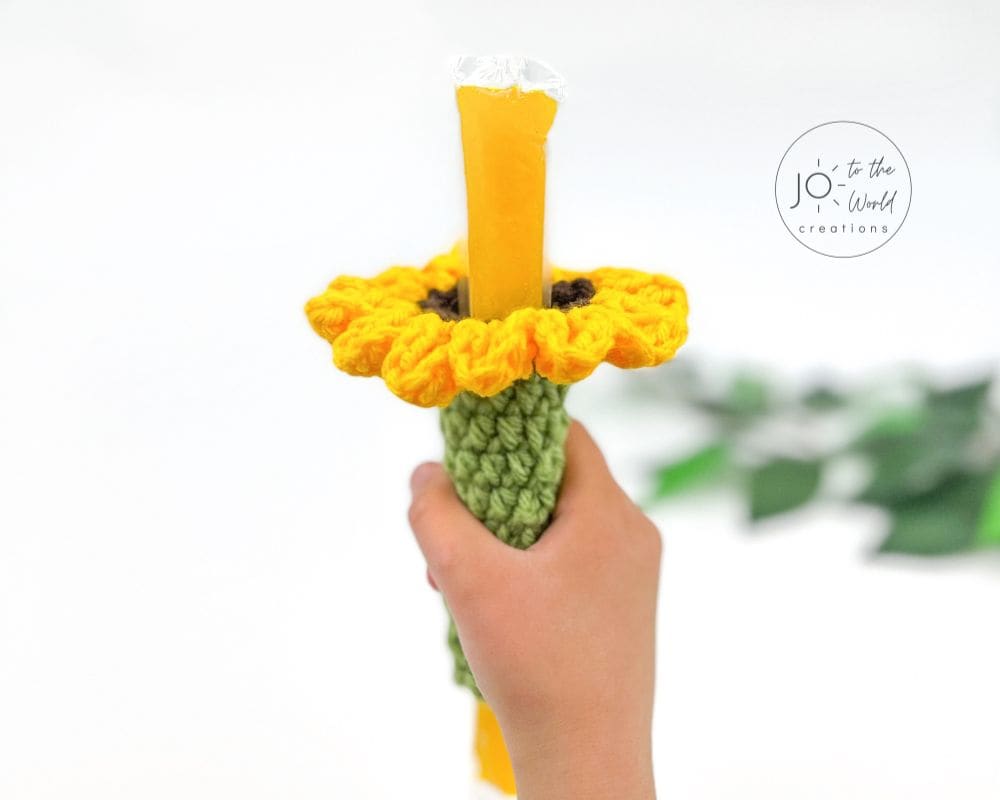
Since not all kids are crazy about flowers, I wanted to create a new freeze pop holder pattern.
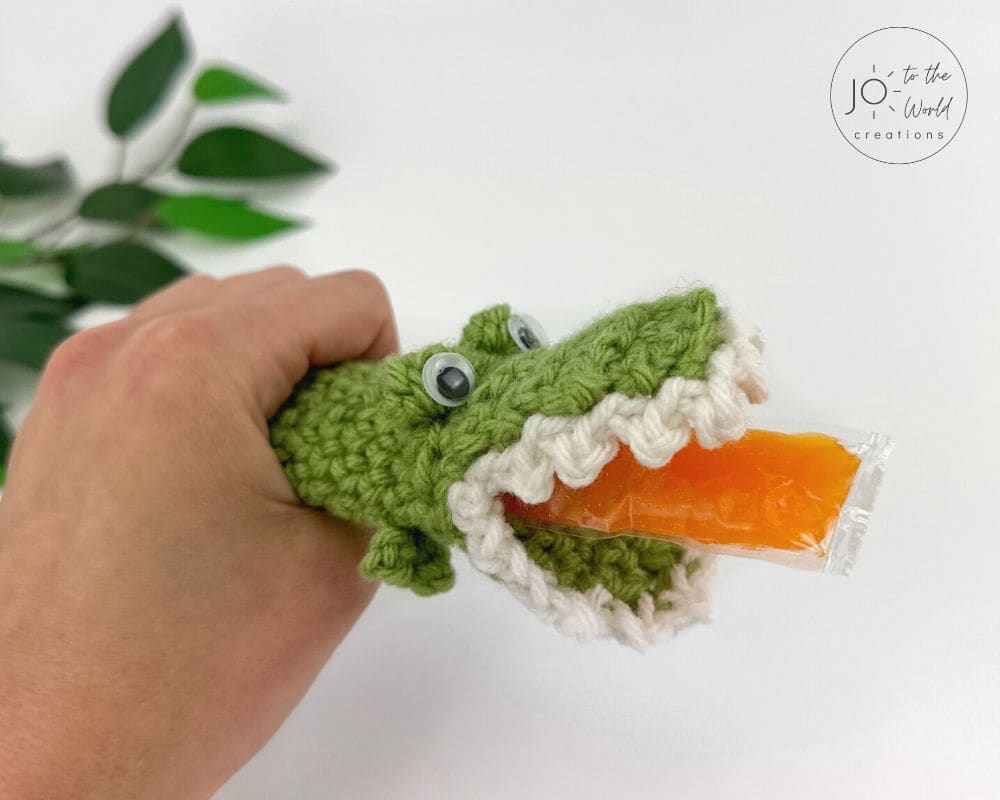
I’m so excited to share this fun, fast and simple pattern for a Crocodile Crochet Freeze Pop Holder!
Affiliate Disclosure: This post may contain affiliate links meaning I may receive a commission for purchases made through links in this post at no extra cost to you. As an Amazon Associate, I earn from qualifying purchases.
Get the PDF!
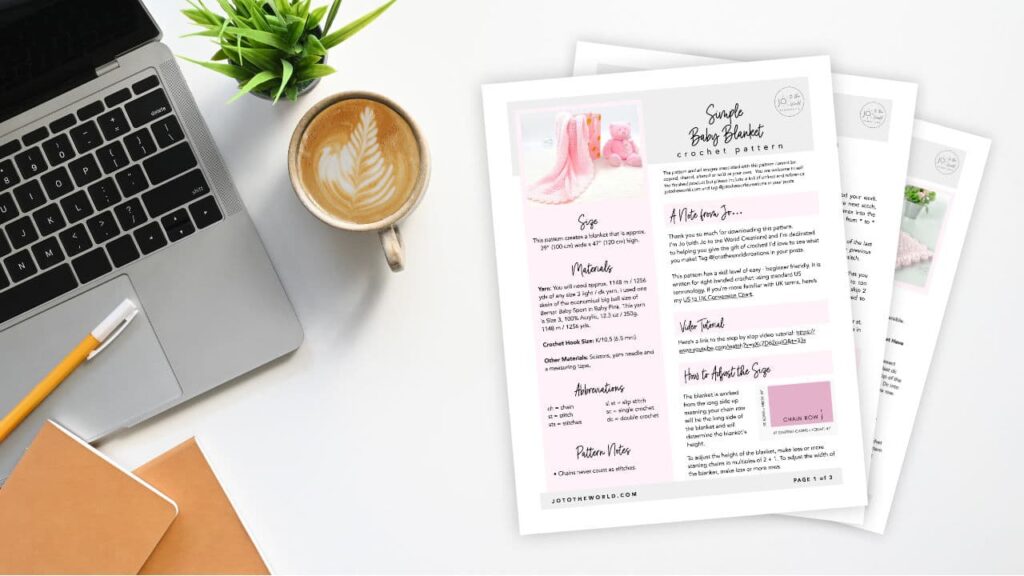
Purchase the printer-friendly, ad-free PDF of this pattern that you can instantly download! It includes everything from this free pattern but you can easily save, print and access it anytime!
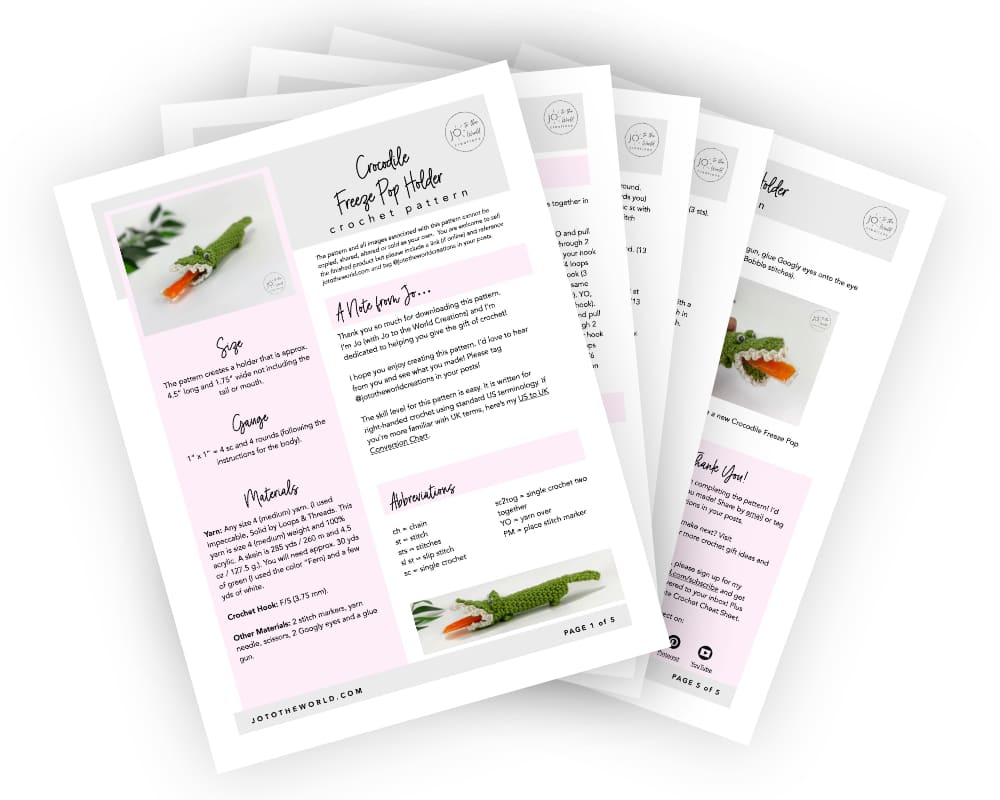
You can also purchase it on Etsy or Ravelry.

All-Access Membership
For only $0.14 a day, you can get this pattern as a PDF and my entire library of 100+ print-ready, ad-free PDF crochet patterns!

Crocodile Freeze Pop Holder Pattern Details
Skill Level
Easy
Size
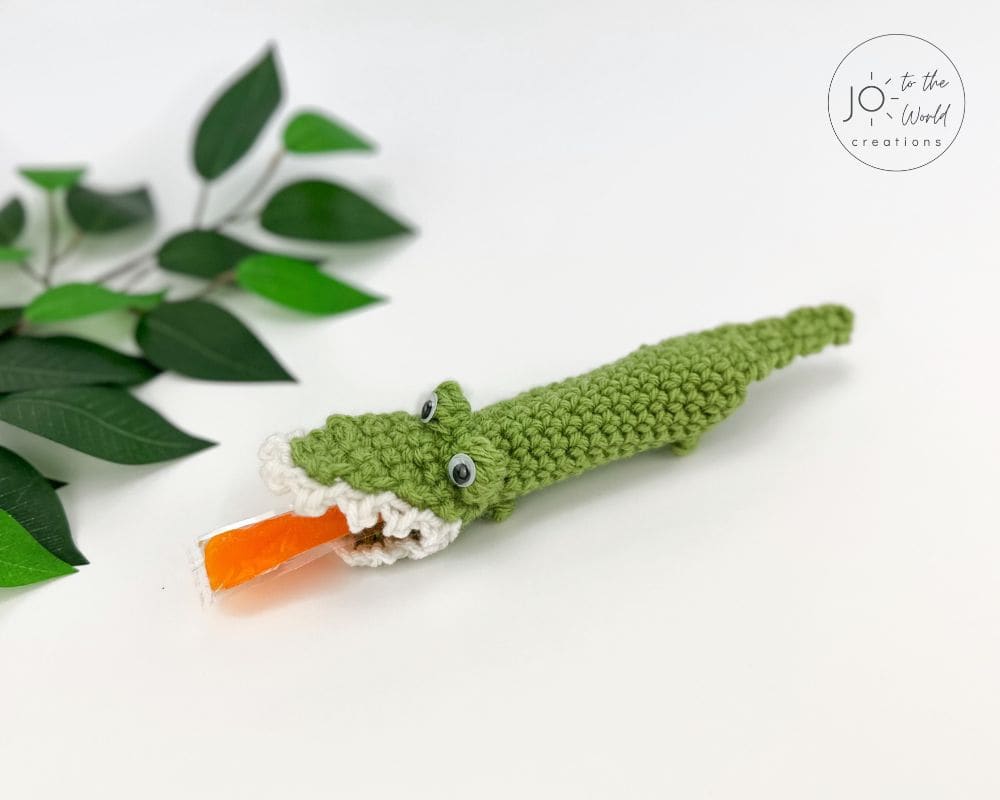
The pattern creates a holder that is approx. 4.5” long and 1.75” wide not including the tail or mouth.
Materials
Yarn: Any size 4 (medium) yarn – I recommend using a yarn that is easily washable. (I used Impeccable, Solid by Loops & Threads. This yarn is size 4 (medium) weight and 100% acrylic. A skein is 285 yds / 260 m and 4.5 oz / 127.5 g.). You will need approx. 30 yds of green (I used the color “Fern) and a few yds of white.
Crochet Hook: F/5 (3.75 mm).
Other Materials: 2 stitch markers, yarn needle, scissors, 2 Googly eyes and a glue gun.
Terminology
This pattern is written for right-handed crochet using standard US terminology. If you’re more familiar with UK terms, here’s my US to UK Conversion Chart.
Abbrevations
- ch = chain
- st = stitch
- sts = stitches
- sl st = slip stitch
- sc = single crochet
- sc2tog = single crochet two together
- YO = yarn over
- PM = place stitch marker
Gauge
1” x 1” = 4 sc and 4 rounds (following the instructions for the body).
Pattern Notes
- Always work into the 1st stitch, the stitch attached to the chain unless instructed to skip it.
- Chains never count as stitches.
- When the pattern says: Across the 1st 2 sts, sc2tog, what this means is to insert your hook into the 1st st and pull up a loop (2 loops on hook). Insert your hook into the next (the 2nd) st and pull up a loop (3 loops on hook). Yarn over and pull the yarn through all 3 loops on hook.
- When the pattern says: Across the last 2 sts, sc2tog, what this means is to insert your hook into the 2nd last st and pull up a loop (2 loops on hook). Insert your hook into the last st and pull up a loop (3 loops on hook). Yarn over and pull the yarn through all 3 loops on hook.
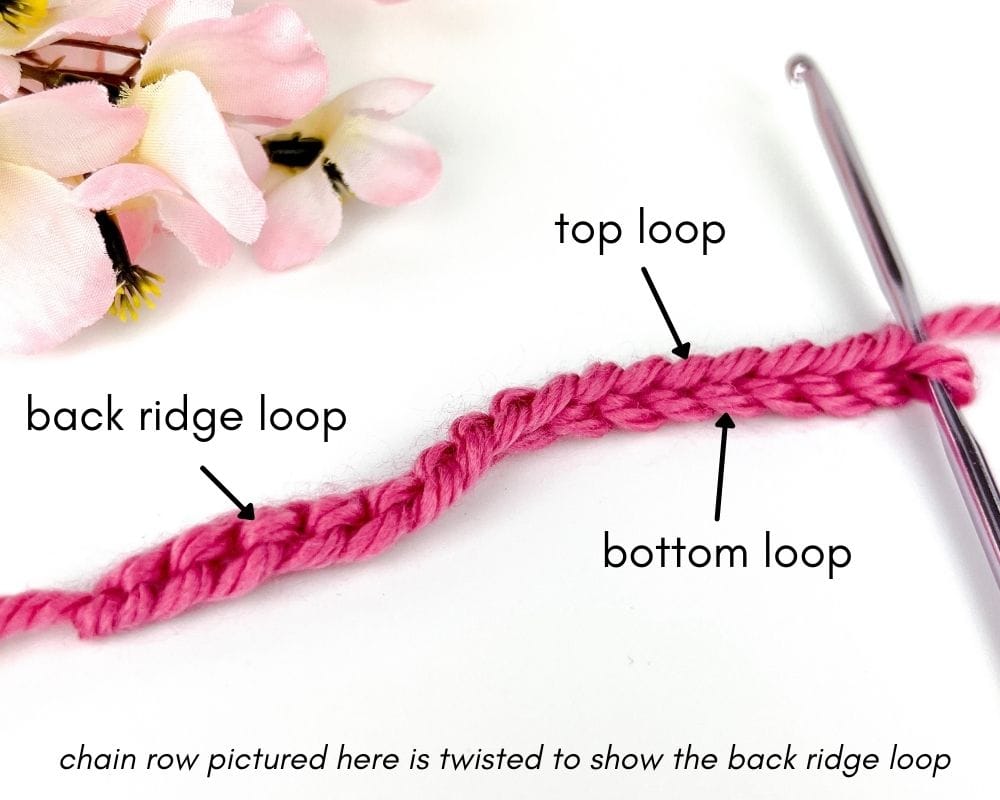
- When working into any chain stitches throughout the pattern, work into the top loop.
Special Stitches
Bobble = Make 5 double crochet stitches together in the same stitch.
YO, insert your hook into the next stitch, YO and pull up a loop (3 loops on hook). YO, pull yarn through 2 loops on hook (2 loops on hook). YO, insert your hook into the same stitch, YO and pull up a loop (4 loops on hook). YO, pull yarn through 2 loops on hook (3 loops on hook). YO, insert your hook into the same stitch, YO and pull up a loop (5 loops on hook). YO, pull yarn through 2 loops on hook (4 loops on hook). YO, insert your hook into the same stitch, YO and pull up a loop (6 loops on hook). YO, pull yarn through 2 loops on hook (5 loops on hook). YO, insert your hook into the same stitch, YO and pull up a loop (7 loops on hook). YO, pull yarn through 2 loops on hook (6 loops on hook). YO, pull yarn through all 6 loops on hook.
Please note: This pattern and all images associated with this pattern cannot be copied, shared, altered or sold on your own. You are welcome to sell the finished product but please include a link (if online) and reference jototheworld.com.

Just a Reminder!
This pattern is also available as a PDF, which includes everything listed here but as a printer-friendly, ad-free PDF that you can instantly download, save, print, make notes on and keep forever.
You can also purchase it on Etsy or Ravelry.
Get this PDF with an All-Access Membership!
Only $0.14 a day!
- Instant Access to 100+ Premium PDF Crochet Patterns
- Make Gifts for Every Occasion!
- Save, Print & Keep Forever
- No Ads or Popups
- Happiness Guaranteed!
Crocodile Freeze Pop Holder Crochet Pattern Instructions
Tail
Start: With green yarn, chain 2.
Row 1: In the 2nd ch from hook, sc. (1 st).
Row 2: Ch 1 and turn. In the 1st st, 2 sc. (2 sts).
Row 3: Ch 1 and turn. Sc in the next 2 sts. (2 sts).
Row 4: Repeat Row 3.
Row 5: Repeat Row 3.
Row 6: Ch 1 and turn. 2 sc in the next st. Sc in the next st. (3 sts).
Row 7: Ch 1 and turn. Sc in the next 3 sts. (3 sts).
Row 8: Ch 1 and turn. 2 sc in the next st. Sc in the next 2 sts. (4 sts).
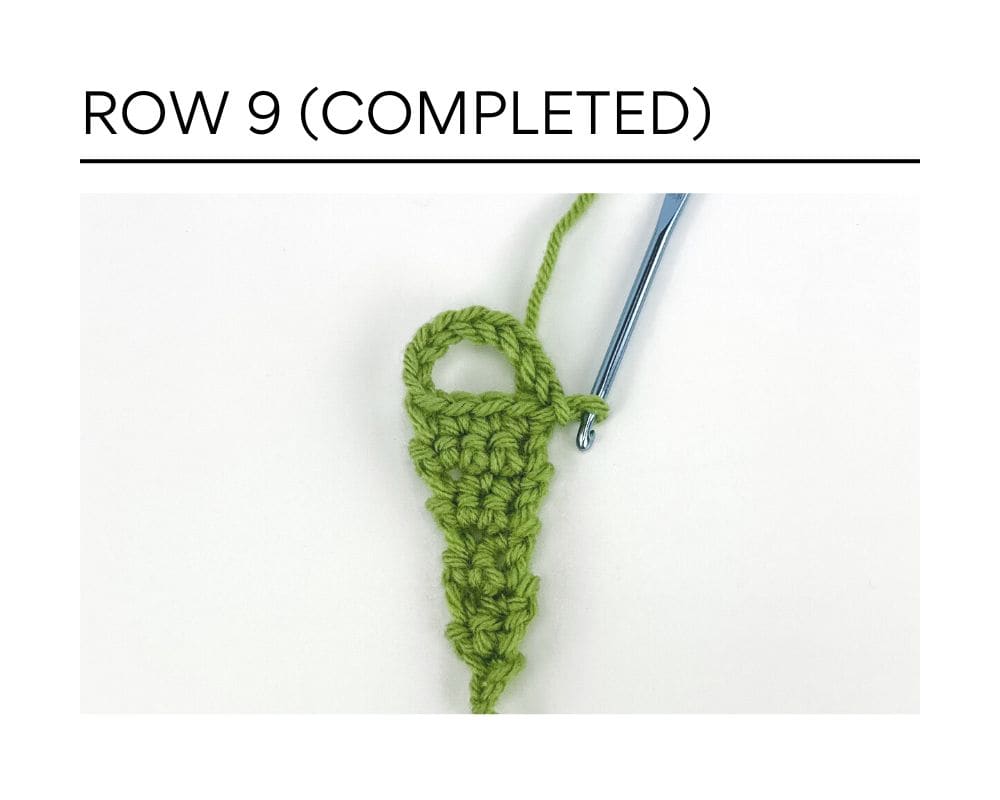
Row 9: Ch 1 and turn. Sc in the next 4 sts. (4 sts) Do not turn. Ch 9. Being careful not to twist the chain stitches, sl st into the 1st sc made in the row. Do not fasten off.
Body
Round 1: Ch 1. Do not turn. Sc in the next 4 sts. Sc in the next 9 chains. (13 sts). Sl st into the 1st sc to join.
Round 2: Ch 1. Do not turn. Sc in the next 8 sts. *PM in top of last sc made. Make Foot: Ch 2. In the 2nd ch from hook, sl st. Ch 3. In the 3rd ch from hook, sl st. Sl st into the same st as the last sc (where the stitch marker is – leave stitch marker there).* Sc in the next 3 sts. Repeat instructions from * to *. Sc in the next 2 sts. Sl st into 1st sc to join.
Round 3: Ch 1. Do not turn. Sc in each st around. When you get to a foot, push it down (towards you) so it’s out of the way and only work into the sc st with the stitch marker (you can then remove the stitch marker). (13 sts). Sl st into 1st sc to join.
Round 4: Ch 1. Do not turn. Sc in each st around. (13 sts). Sl st into the 1st sc to join.
Round 5: Ch 1. Do not turn. Sk the 1st st (the st attached to the ch). Sc in the next 12 sts. The next st is a sl st from the previous round. Sc into the sl st. (13 sts). Sl st into the 1st sc to join.
Rounds 6 – 13: Repeat Rounds 4 and 5 consecutively.
Note: the purpose of alternating where the rounds started is to help the seam be straight, which effects the feet placement in the next round. Depending on how your stitches have lined up, you may need to adjust where you do the feet. Just ensure there are 3 sc sts between the two feet and there are 13 sc sts in total for the round.
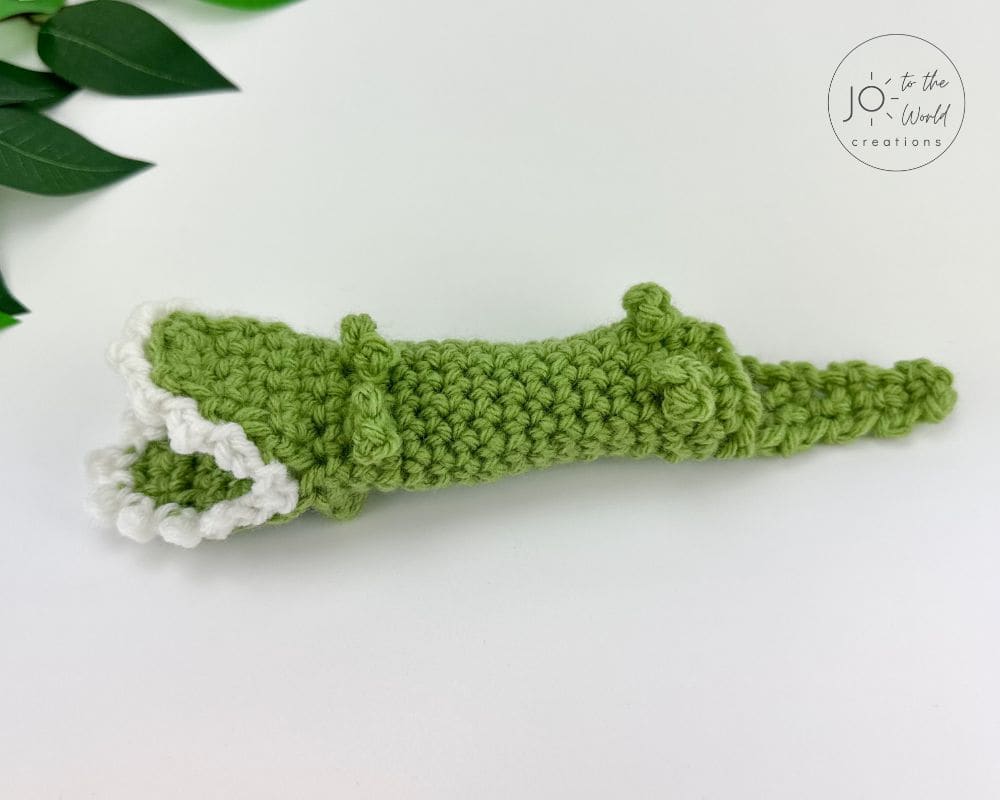
Round 14: Ch 1. Do not turn. Sc in the next 7 sts. *PM in top of last sc made. Make Foot: Ch 2. In the 2nd ch from hook, sl st. Ch 3. In the 3rd ch from hook, sl st. Sl st into the same st as the last sc (where the stitch marker is – leave stitch marker there).* Sc in the next 3 sts. Repeat instructions from * to *. Sc in the next 3 sts. Sl st into 1st sc to join.
Round 15: Ch 1. Do not turn. Sc in each st around. When you get to a foot, push it down (towards you) so it’s out of the way and only work into the sc st with the stitch marker (you can then remove the stitch marker). (13 sts). Sl st into 1st sc to join.
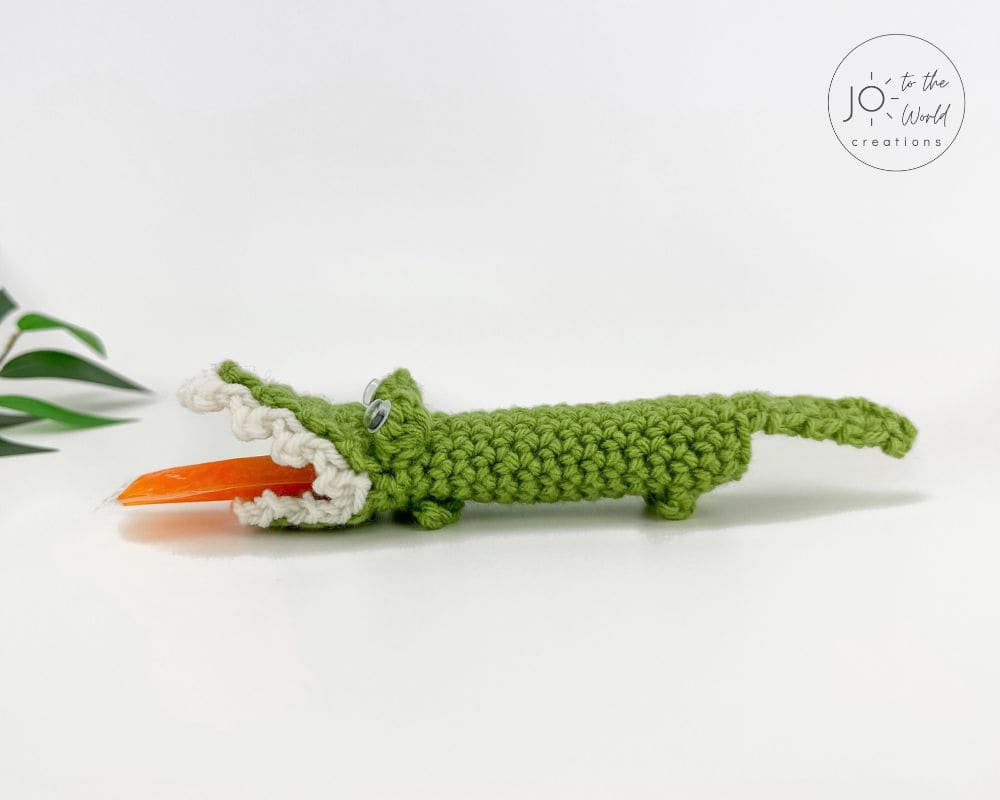
In the next round, you will create two “eye sockets” by making Bobble stitches. The eye sockets should be on the opposite side of the legs. The next round starts by shifting where you begin to sc to ensure the eye sockets can be in the right place. You are welcome to adjust your placement of the eye sockets if needed. Just ensure there are 2 sc sts between the two Bobbles (and 13 sts in total for the round).
Round 16: Ch 1 and turn. Sk the 1st st. Sl st into the next st. Ch 1. Working into the next st (not the current stitch attached to the ch), sc. Sc in the next 7 sts. In the next st, Bobble. Sc in the next 2 sts. In the next st, Bobble. Sc in the next st (which is a sl st). (13 sts) Sl st into the 1st sc to join. Do not fasten off.
Top of Mouth
Row 1: Ch 1 and turn. Sc in the next 7 sts. Leave the rest of the sts unworked. (7 sts).
Row 2: Ch 1 and turn. Sc in the next 7 sts. (7 sts).
Row 3: Ch 1 and turn. Across the 1st 2 sts, sc2tog. Sc in the next 3 sts. Across the last 2 sts, sc2tog. (5 sts).
Row 4: Ch 1 and turn. Sc in the next 5 sts. (5 sts).
Row 5: Repeat Row 4.
Row 6: Ch 1 and turn. Across the 1st 2 sts, sc2tog. Sc in the next st. Across the last 2 sts, sc2tog. (3 sts).
Row 7: Ch 1 and turn. Sc in the next 3 sts. (3 sts).
Row 8: Repeat Row 7.
Fasten off.
Bottom of Mouth
With the belly facing you, attach green yarn with a slip stitch to the right hand corner of the mouth in the 1st empty stitch below the top of the mouth.

Row 1: Ch 1. Sc in the same st as the sl st. Sc in the next 5 sts. (6 sts).
Row 2: Ch 1 and turn. Sc in next 6 sts. (6 sts).
Row 3: Ch 1 and turn. Across the 1st 2 sts, sc2tog. Sc in the next 2 sts. Across the last 2 sts, sc2tog. (4 sts).
Row 4: Ch 1 and turn. Sc in the next 4 sts. (4 sts).
Row 5: Repeat Row 4.
Row 6: Ch 1 and turn. Across the 1st 2 sts, sc2tog. Across the last 2 sts, sc2tog. (2 sts).
Fasten off and weave in all loose ends.
Teeth
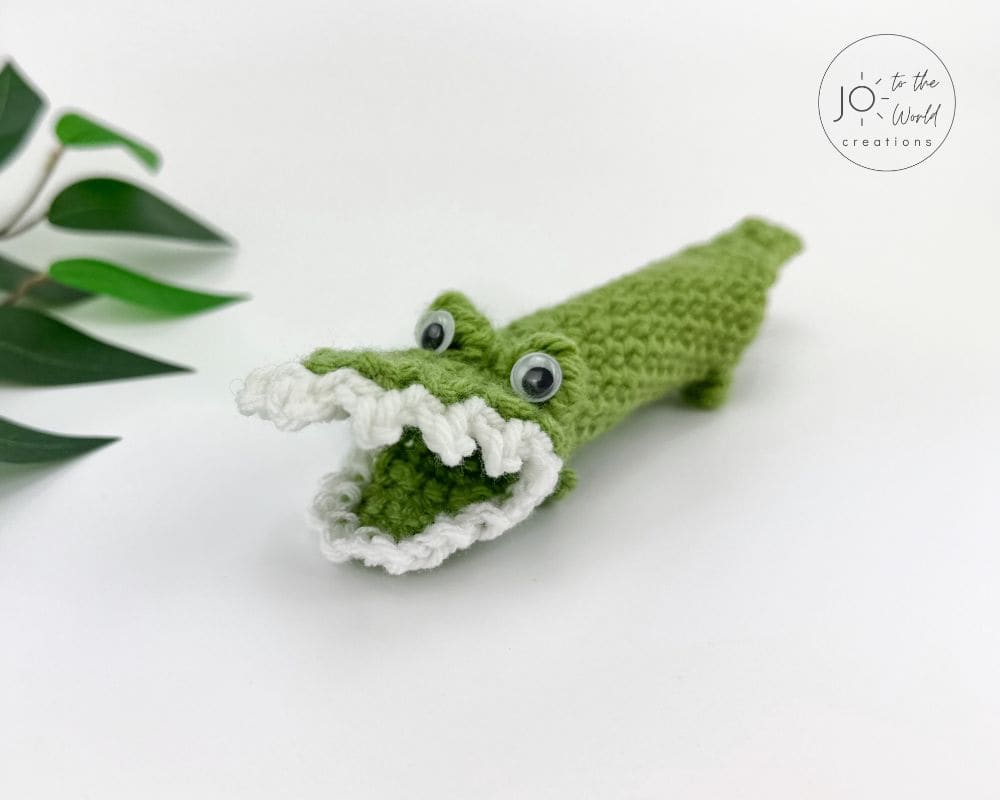
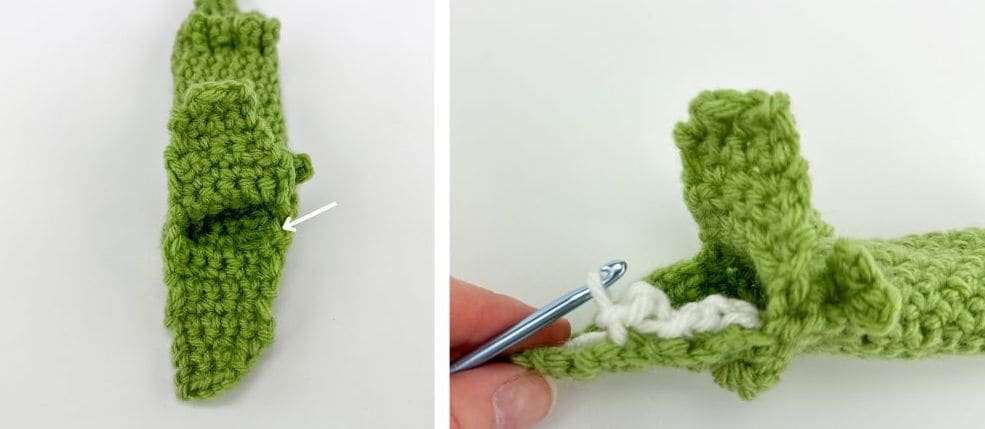
Flip the crocodile over so the belly is facing up and the mouth is facing you. Attach white yarn with a sl st to the right bottom corner stitch, working in the top loop only (so the stitch doesn’t come through the bottom / outside).
Top Teeth
Work into the top loops only (the loops on the inside of the mouth).
Ch 1. Sl st into the next st. *Ch 2. In the 2nd ch from hook, sl st. Sl st in the next st.* Repeat from * to * until you get to the opposite mouth corner. Do not fasten off.
Bottom Teeth
Continuing in the same direction but now on the bottom of the mouth. Keep working into the top loops only (the loops on the inside of the mouth).
Ch 1. Sl st in the next st. *Ch 2. Sl st into the next st.* Repeat from * to * around. Sl st into the 1st sl st of the top teeth to join.
Fasten off and weave in all loose ends.
Eyes
With a glue gun, glue Googly eyes onto the eye sockets (the Bobble stitches).
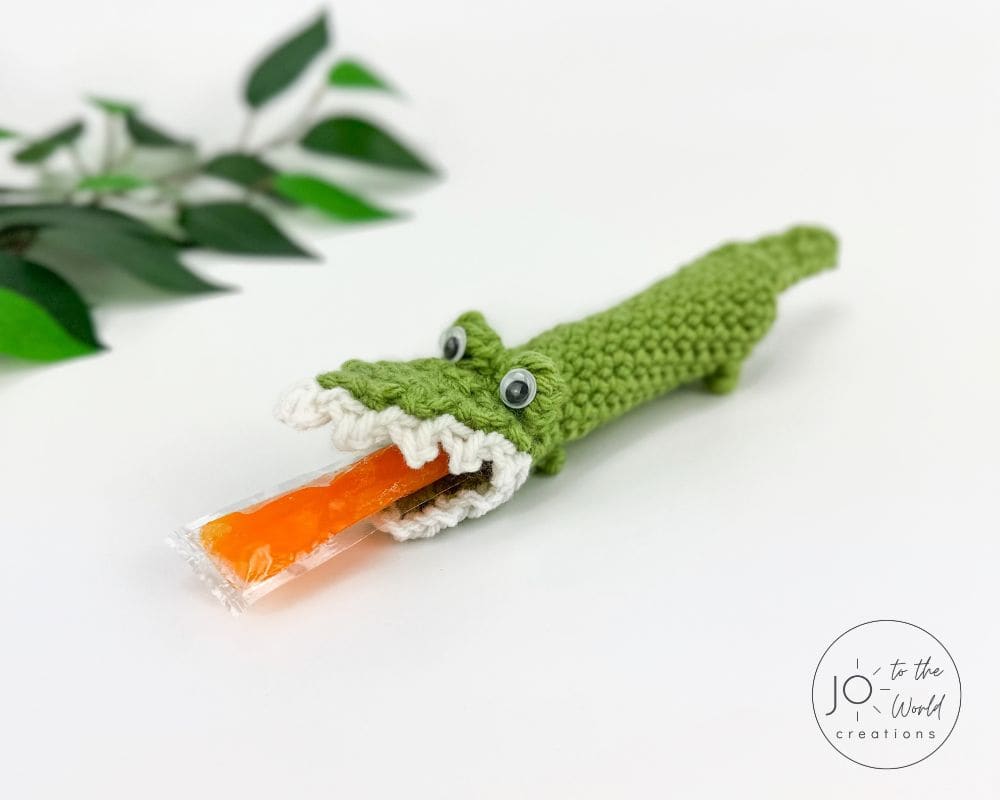
And now you have a new Crocodile Freeze Pop Holder!
More Fun Crochet Patterns
Download. Print. Keep.
Get Instant Access to ALL Printable Patterns
Make your crocheting more enjoyable, relaxing and productive with printable PDF patterns.
- 100+ premium crochet patterns.
- Download, save and print from any device.
- No ads or popups!
Not sure yet? Take a look at the Pattern Library and see all the patterns you can download once you’re a member.

Save with Pattern Bundles
For a limited time, I’ve grouped some of my most popular crochet patterns and I’m offering them as pattern bundles where you can get the printable versions for one low, discounted price. Check out these incredible Crochet Pattern Bundles.

Easy Baby Blanket Bundle
With this Easy Baby Blanket Bundle, you’ll get SIX easy crochet baby blankets as printable downloads. Each pattern includes step-by-step instructions and a full video tutorial.

Delightful Baby Blanket Bundle
This incredible deal includes six SIX blanket patterns that are a delight to make and create truly stunning blankets – all as printable PDFs for one low, discounted price.
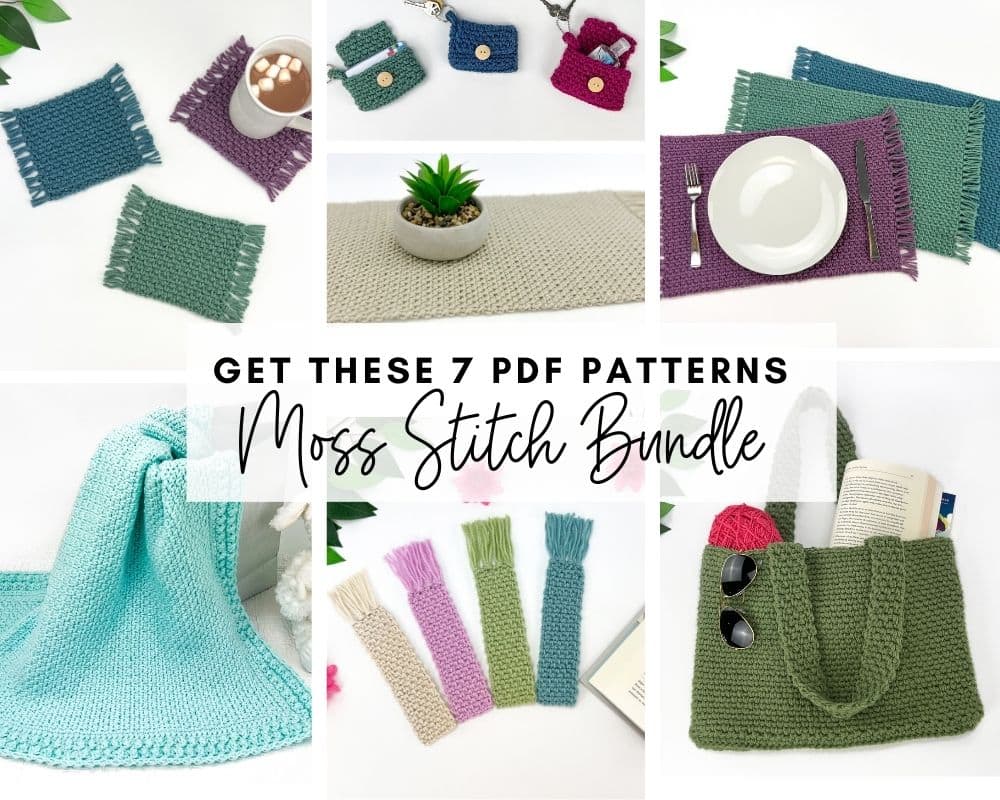
Moss Stitch Pattern Bundle
All your favorite Moss Stitch patterns in one bundle! Get SEVEN easy Moss Stitch crochet patterns as ad-free, print-ready PDFs to print, save and keep forever.
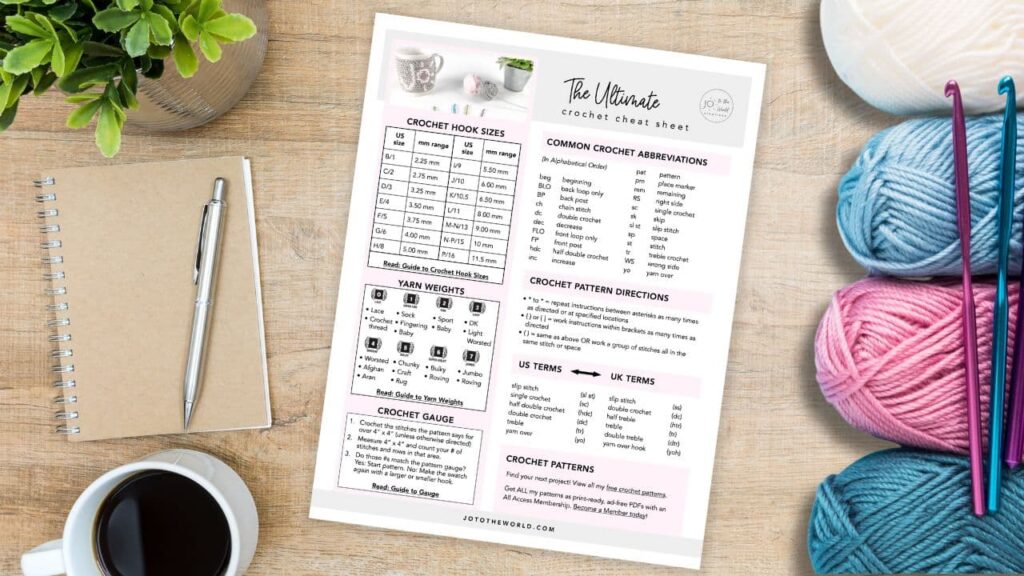
Free Crochet Cheat Sheet
Get instant access to this Ultimate Crochet Cheat Sheet! Plus you’ll receive free patterns for crochet gifts delivered right to your inbox!
Featured Crochet Patterns
Pattern Collections
Free Patterns for Crochet Gifts
Never miss a pattern! Get all my secrets to making incredible crochet gifts as well as new free crochet patterns and exclusive deals when you sign up for my newsletter (it’s free!).

