
How to Crochet in the Chain
Learn how to crochet in the chain including the back ridge loops (back humps) so you can easily know where to crochet in the chain/foundation row.
Before we begin, I would like to thank you for visiting Jo to the World Creations, a site dedicated to helping you give the gift of crochet.
More free patterns (that make awesome crochet gifts) are on the way! Sign up for my emails, follow me and never wonder “What should I make for…” again!
FREE PATTERNS FOR CROCHET GIFTS
Delivered to your inbox
AND GET A FREE PDF OF THE LOVE PILLOW
& A FREE CROCHET CHEAT SHEET
Unsubscribe at any time.
Delivered Socially
Follow Me on
How to Crochet in the Chain Row
Before learning how and where to work in the chain row, first you will need to start the chain. Read my complete guide on how to start a crochet chain.
There are many different ways you can crochet in the chain row. This post will you help learn the anatomy of the chain so you can follow the pattern directions on where to crochet in the chain.
Where is the Back Ridge Loop / Top Loop / Bottom Loop in the Chain
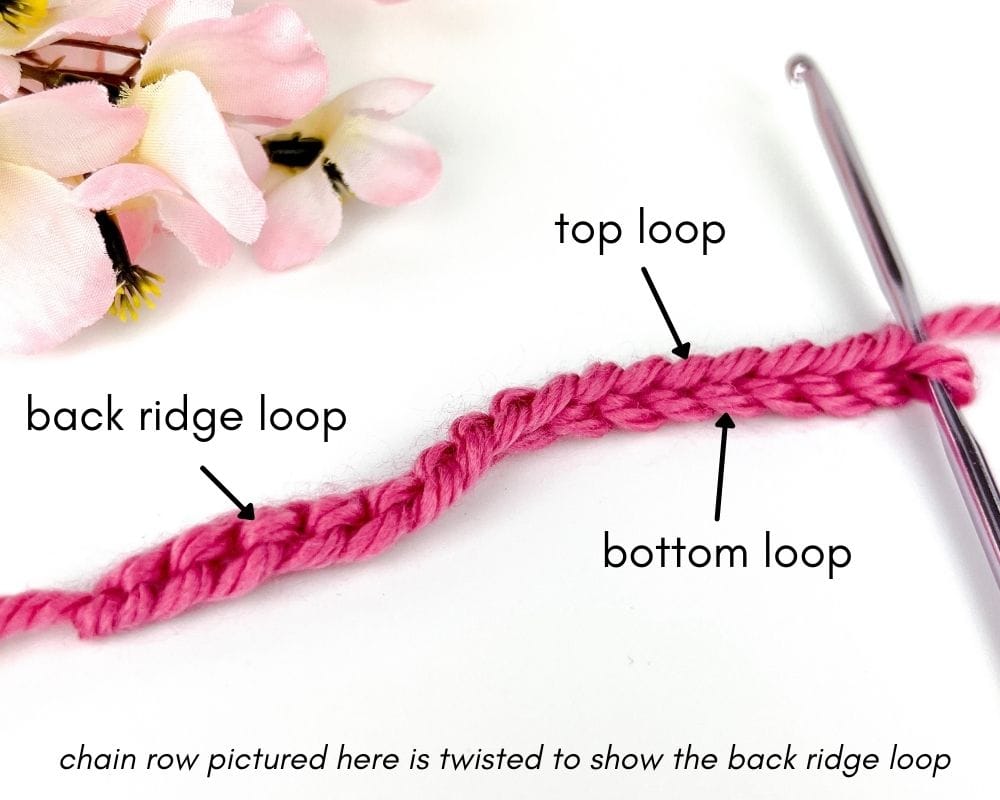
As you can see in the picture above, the foundation chain (also called the starting chain or beginning chain or just the chain row) creates three places where you can crochet into. With your work facing towards you, there is the top loop and bottom loop. If you look at the back of the chain (or twist the stitches as pictured above), you can see little bumps along the back. Those are called the back ridge loops. They are also referred to as the back bumps or the back of the chain.
How to Crochet into the Back Ridge Loops
Many of my patterns instruct you to crochet into the back ridge loops. Crocheting into the back ridge loops prevents a large gap from being created that can happen in future rows/rounds if you work into the top loops of the chain.
I only state to crochet in the back ridge loops when it’s important to do so. Otherwise, like most patterns, if it doesn’t say to crochet in the back ridge loops, where you crochet in the chain is just a matter of personal preference.
If the pattern says to crochet in the back ridge loops (or in the back of the chain or in the back bumps), after completing the necessary number of starting chains, you will turn your chain slightly. Turn your chain by bringing the top loop closer towards you but don’t twist your stitch. You are only turning it so that you can insert your hook into the bumps along the back and crochet into those bumps.
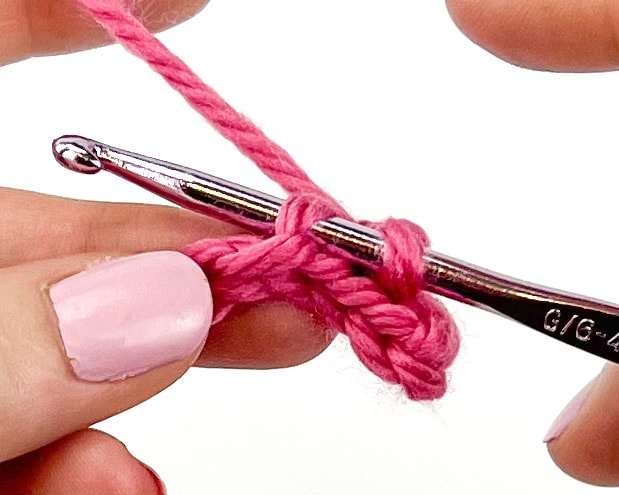
Crocheting into the back ridge loops is tighter than the top or bottom loops so it is normal for it to be quite tight when inserting your hook into the bumps.
If your chain row is attached to another part of your project, it can be difficult to crochet into the back ridge loop of the very last chain. In this case, I often crochet into the top and back ridge loops on the very last chain. Otherwise, the back ridge loops stretches and leaves an unwanted gap.
How to Crochet in the Top or Bottom Loops of the Chain
By default, if the pattern doesn’t indicate to crochet in the back ridge loop, I normally will crochet into the top loop of the chain but this is a personal preference.
In some patterns, such as my Star Flap Purse, it will indicate that you should crochet in the top loop of the chain. To crochet into the top loop of the chain, insert your hook only through the one top loop and complete the stitch as indicated on the pattern.
If the pattern says to crochet in the bottom loop of the chain, insert your hook only through the one bottom loop and complete the stitch as indicated on the pattern.
I hope this helps you crochet into the chain!

I’m Jo, the designer behind Jo to the World Creations, and I’m dedicated to helping you make the perfect crochet gift! I love designing and sharing free crochet patterns that you can make for every gift occasion.
About →Let’s Connect
Download. Print. Keep.
Get Instant Access to ALL Printable Patterns
Make your crocheting more enjoyable, relaxing and productive with printable PDF patterns.
- 100+ premium crochet patterns.
- Download, save and print from any device.
- No ads or popups!
Not sure yet? Take a look at the Pattern Library and see all the patterns you can download once you’re a member.
Save with Pattern Bundles
For a limited time, I’ve grouped some of my most popular crochet patterns and I’m offering them as pattern bundles where you can get the printable versions for one low, discounted price. Check out these incredible Crochet Pattern Bundles.
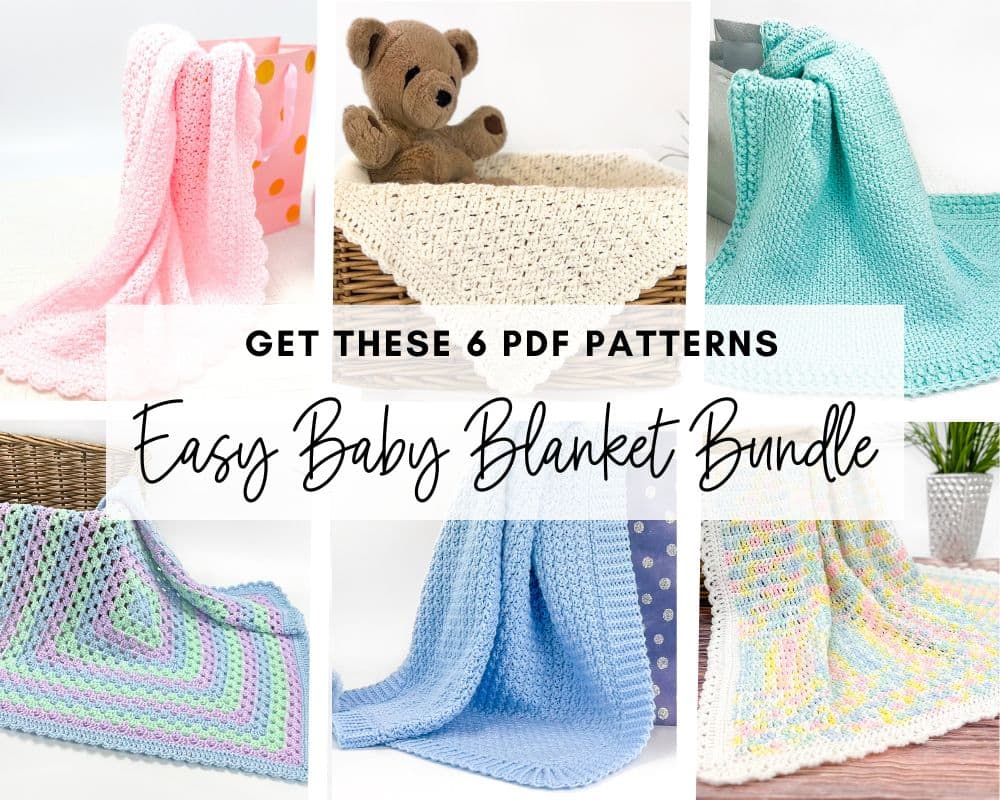
Easy Baby Blanket Bundle
With this Easy Baby Blanket Bundle, you’ll get SIX easy crochet baby blankets as printable downloads. Each pattern includes step-by-step instructions and a full video tutorial.
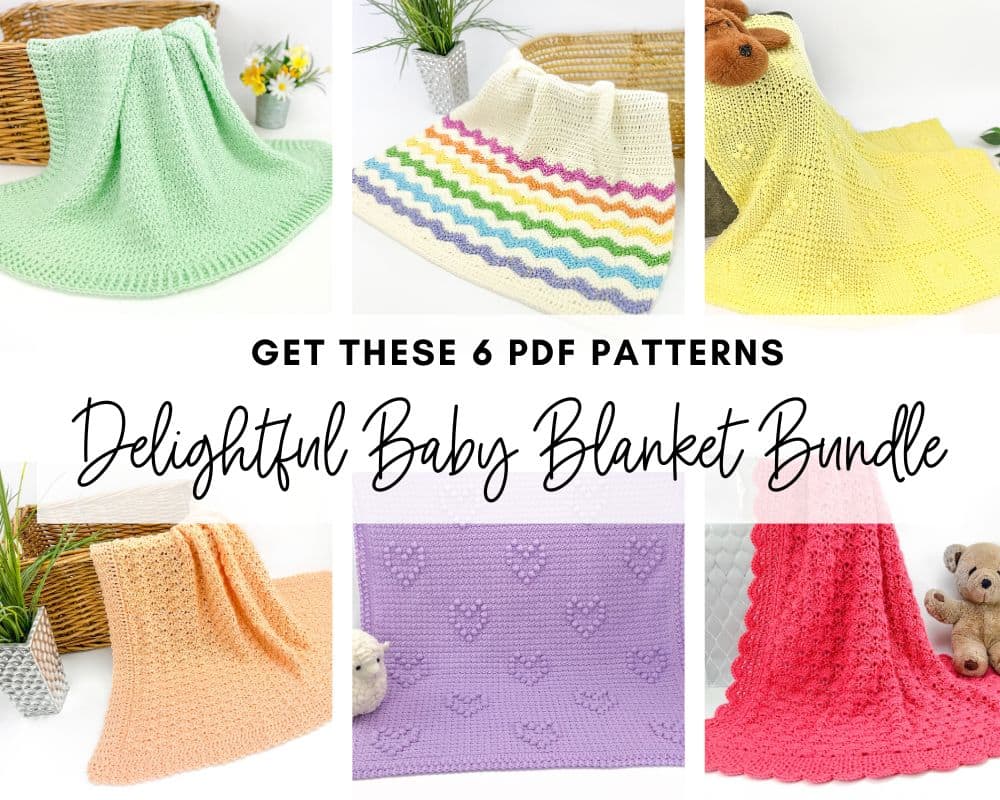
Delightful Baby Blanket Bundle
This incredible deal includes six SIX blanket patterns that are a delight to make and create truly stunning blankets – all as printable PDFs for one low, discounted price.
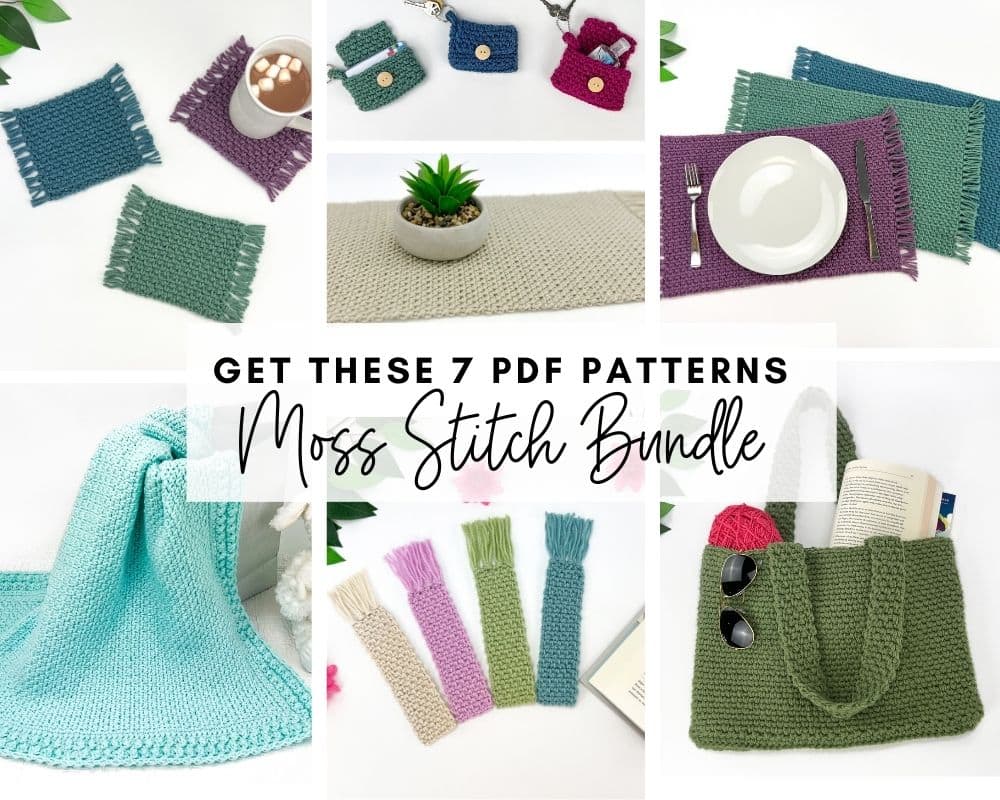
Moss Stitch Pattern Bundle
All your favorite Moss Stitch patterns in one bundle! Get SEVEN easy Moss Stitch crochet patterns as ad-free, print-ready PDFs to print, save and keep forever.
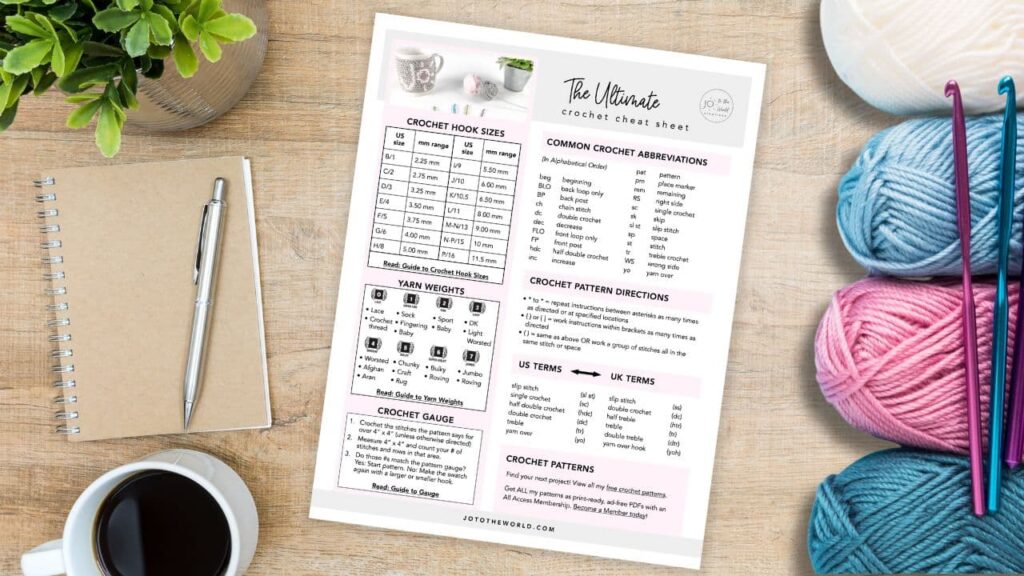
Free Crochet Cheat Sheet
Get instant access to this Ultimate Crochet Cheat Sheet! Plus you’ll receive free patterns for crochet gifts delivered right to your inbox!
Featured Crochet Patterns
Pattern Collections
Free Patterns for Crochet Gifts
Never miss a pattern! Get all my secrets to making incredible crochet gifts as well as new free crochet patterns and exclusive deals when you sign up for my newsletter (it’s free!).
