

How to Make a Magic Circle in Crochet – Easy for Beginners
Learn how to make a Magic Circle (also called a Magic Ring or Magic Loop) with this step-by-step guide and video tutorial. This is an easy method and great for beginners.
Before we begin, I would like to thank you for visiting Jo to the World Creations, a site dedicated to helping you give the gift of crochet.
More free patterns (that make awesome crochet gifts) are on the way! Sign up for my emails, follow me and never wonder “What should I make for…” again!
FREE PATTERNS FOR CROCHET GIFTS
Delivered to your inbox
AND GET A FREE PDF OF THE LOVE PILLOW
& A FREE CROCHET CHEAT SHEET
Unsubscribe at any time.
Delivered Socially
Follow Me on

What is a Magic Circle?
In crochet, a magic circle (also known as a crochet magic ring or adjustable ring) is a technique used to start a project worked in the round. It’s particularly common when starting projects like granny squares, hats, amigurumi projects and many other round crochet projects.
A crochet magic circle creates an adjustable loop. Once this loop is made, you crochet your initial stitches into this loop. After you have completed working into this loop, you pull the tail end of the yarn to tighten the loop, closing the hole at the center of your work.
The advantage of using a magic circle is that it allows you to adjust the size of the center hole by pulling the tail end of the yarn, ensuring a tighter closure compared to starting with a chain and joining it in a circle. This magic circle technique gives a neater and more professional appearance to the center of your crochet piece without an unsightly hole.
Learning how to make a magic circle is one of my top tips for any beginner crocheter (or experienced crocheters wanting to learn a new skill). This technique is a definite game changer for round crochet patterns!
This crochet magic loop tutorial demonstrates the right-handed method and uses standard US crochet terminology.
Video Tutorial
The YouTube video tutorial shows exactly how to do this magic circle crochet technique. Or, you can keep scrolling down for the magic loop photo tutorial.

The yarn used in this video tutorial is Bernat Home Maker Dec in the color “Steel Blue.” For the video tutorial, I used a J/10 (5.75 mm) crochet hook.
How to Make a Magic Circle
Here is a step-by-step tutorial with photos and written instructions:

Step 1 – With your left hand (with the back of your hand facing you), hold out your index and middle fingers. Drape the yarn over your fingers with the starting yarn tail towards you and the working yarn away from you. I like to leave approx. 8″ of the starting tail to ensure I have enough yarn to weave in my loose ends after the project is completed. You are welcome to leave a shorter or longer tail.
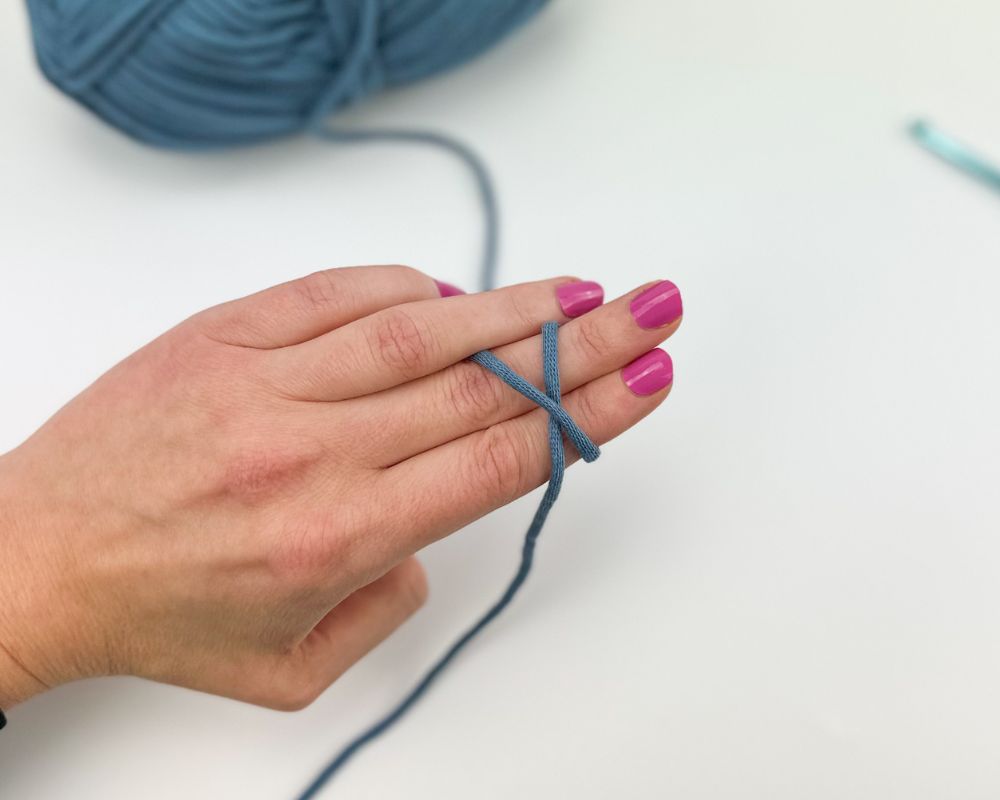
Step 2 – For the next step, bring the working end of the yarn (the end that’s attached to the skein) under your two fingers. Wrap it over the strand currently on your fingers to form an “X.”

Step 3 – Insert your crochet hook under the top right part of the “X.” Hook the top left part of the “X.”
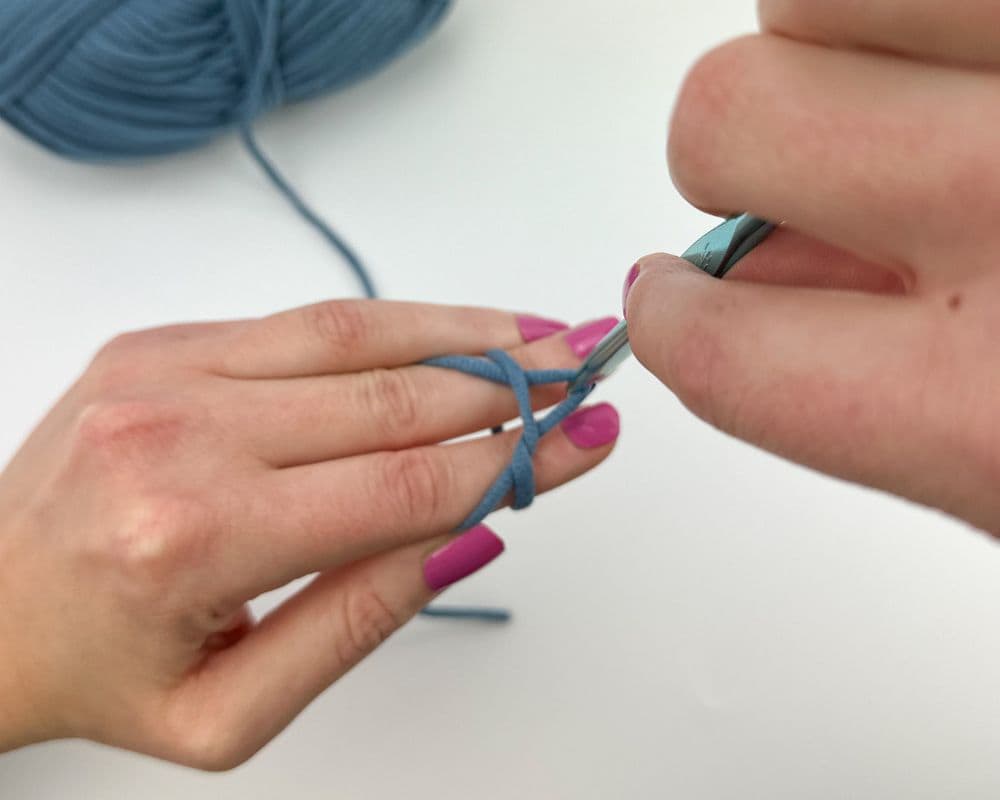
Step 4 – Bring the hooked yarn under and through the top right part of the “X.”
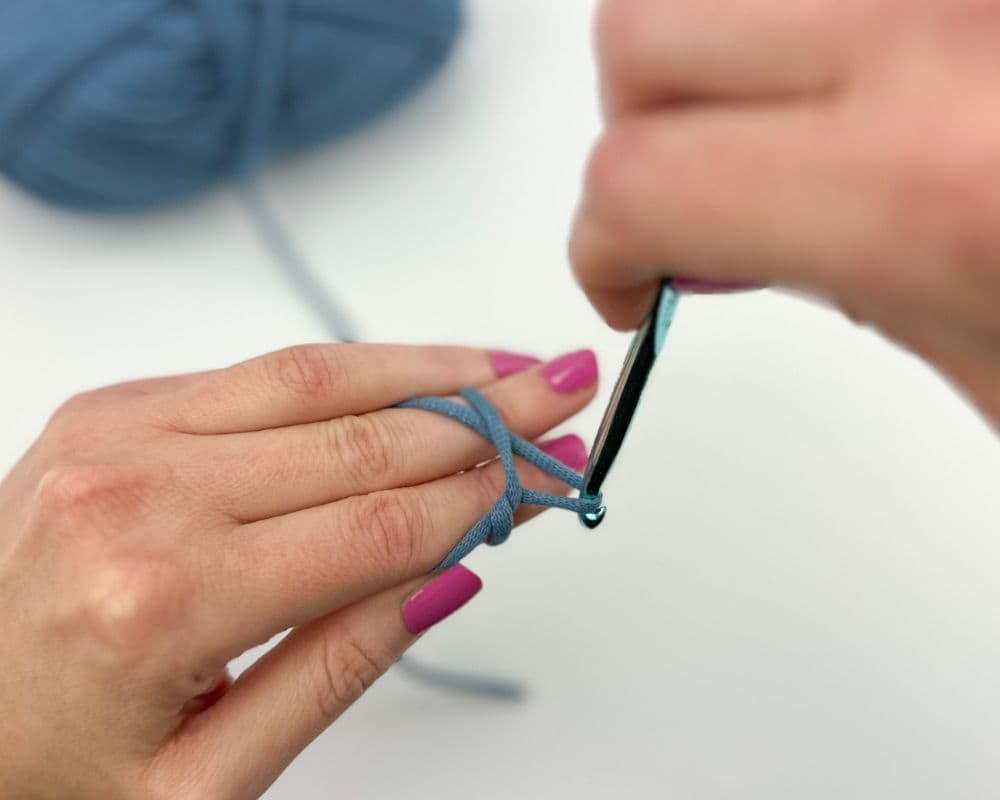
Step 5 – Rotate your hook towards you and then towards the ceiling so the hook head is facing up. This forms a loop.
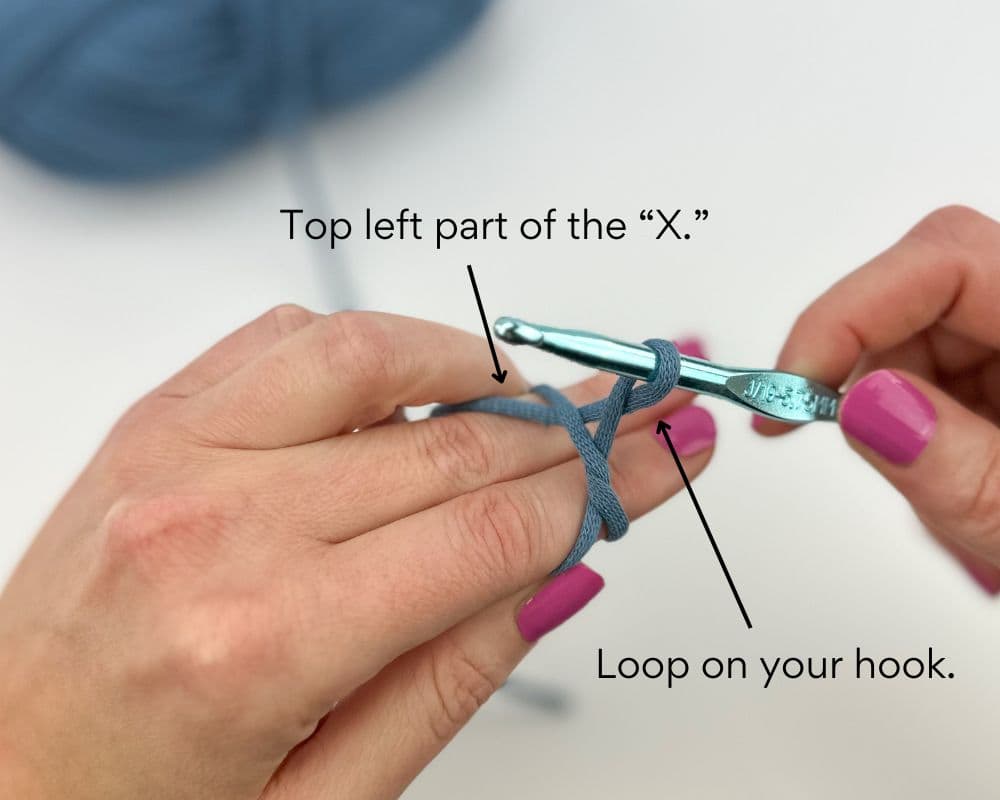
Step 6 – Insert hook under the top left part of the “X” from left to right so it falls on your hook.

Step 7 – Pull the yarn through the loop on your hook.

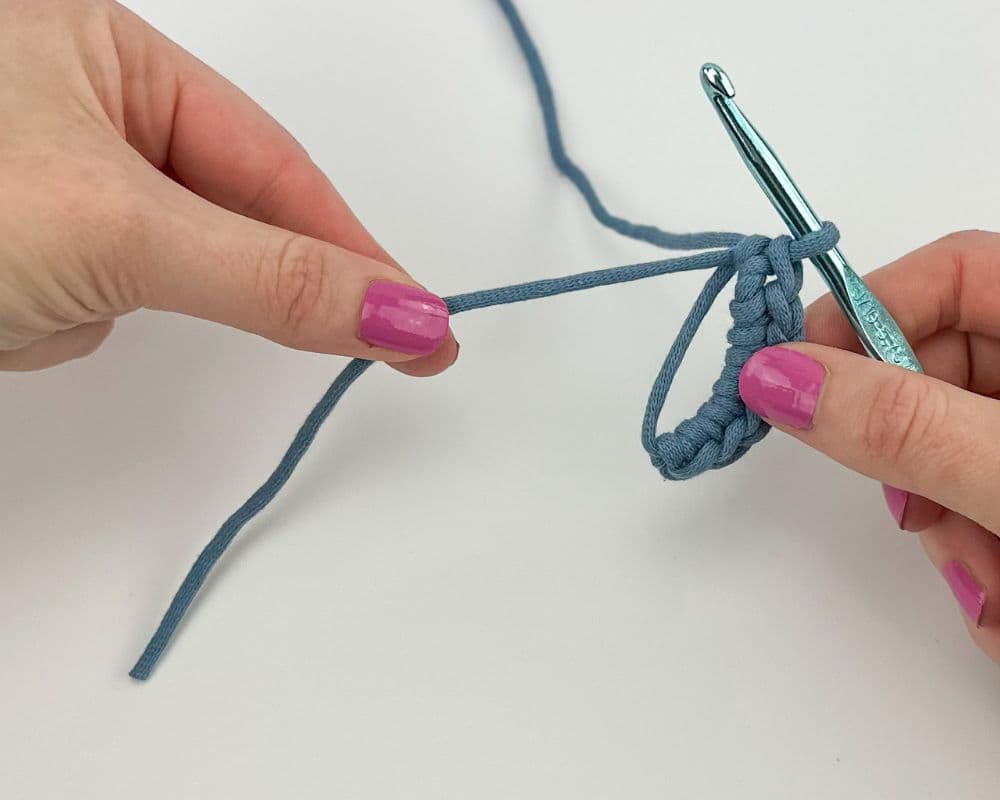
Step 8 – Your magic circle is now complete! If the starting tail is inside the circle or twisted, remove it so that it is on the outside and parallel to the circle.
Note that the knot that is made (as shown in the image above) does not count as a chain. If the instructions in your pattern say to chain one, you would make your first chain and only count that first chain as a chain.
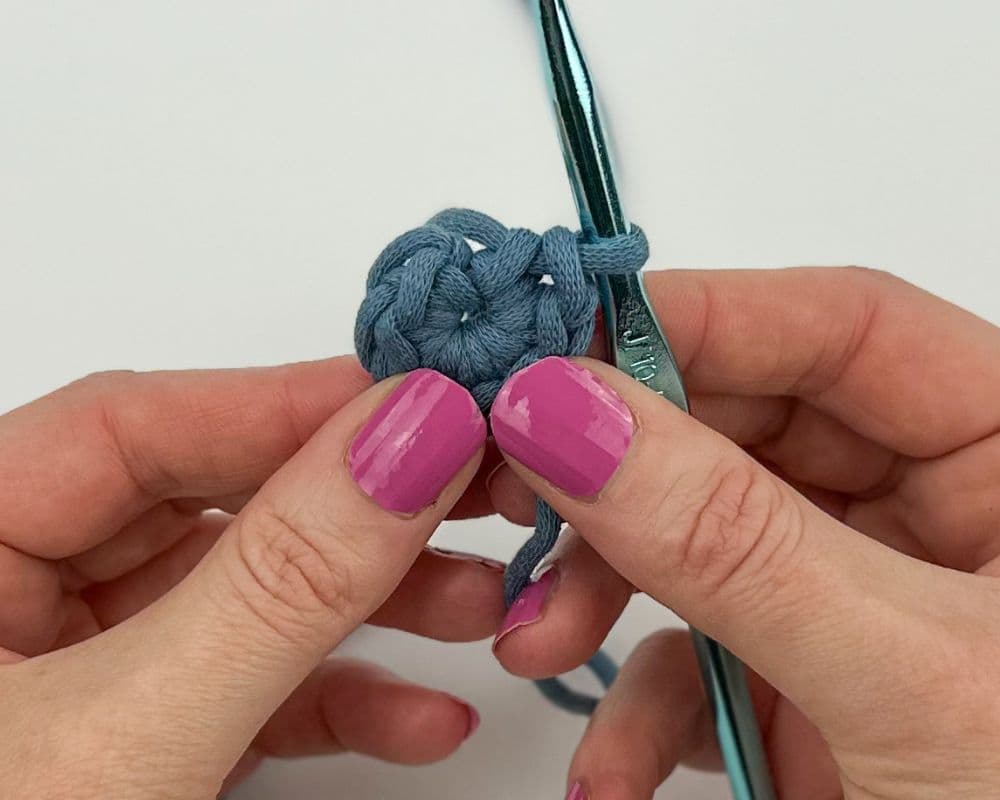
You can now work your first round of stitches into the magic circle. It’s okay if the circle gets quite wide as you work into it.
You can work any type of stitches into the loop (single, half or double crochet stitches for example).
Step 9 – Once you have worked stitches into the magic circle, pull the starting tail tight to close.
Your magic circle is now complete!
As you work on your project, you may find the center of the ring opens slightly. You can tighten it again and ensure it says closed when you weave in your loose ends at the end of your project.
I hope you’ve enjoyed this magic circle crochet tutorial!
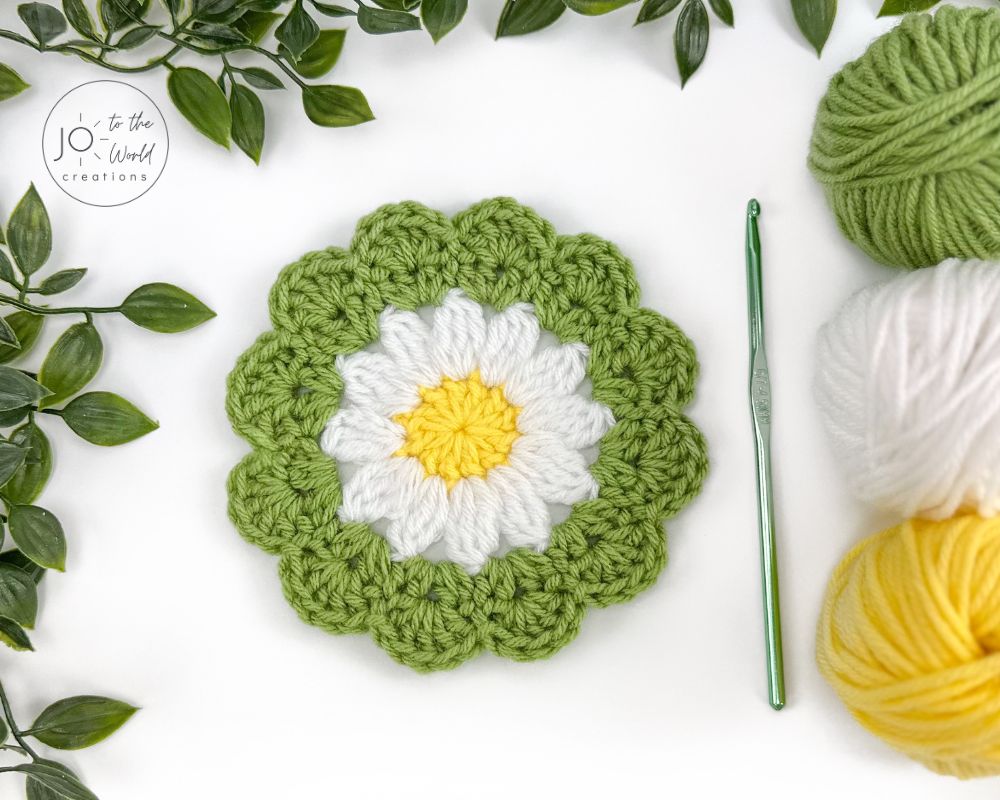
Magic Circle Patterns
Ready to try out the magic circle method?
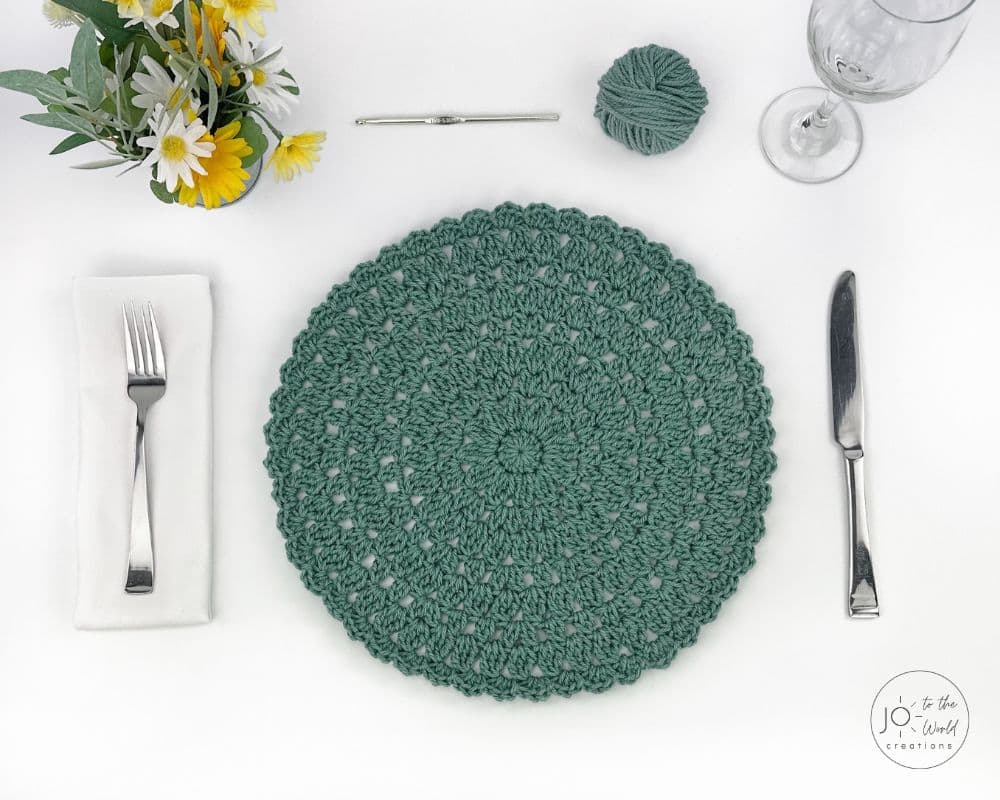
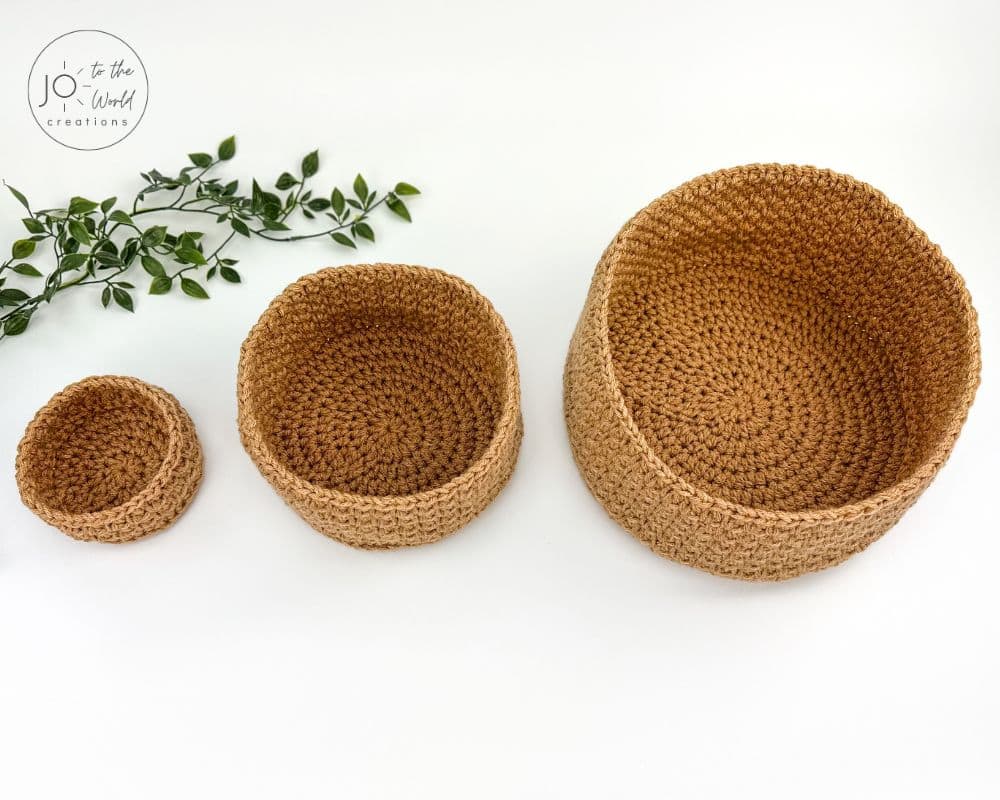
Here are a few circular crochet patterns that begin with a magic circle:


I’m Jo, the designer behind Jo to the World Creations, and I’m dedicated to helping you make the perfect crochet gift! I love designing and sharing free crochet patterns that you can make for every gift occasion.
About →Let’s Connect
Download. Print. Keep.
Get Instant Access to ALL Printable Patterns
Make your crocheting more enjoyable, relaxing and productive with printable PDF patterns.
- 100+ premium crochet patterns.
- Download, save and print from any device.
- No ads or popups!
Not sure yet? Take a look at the Pattern Library and see all the patterns you can download once you’re a member.
Save with Pattern Bundles
For a limited time, I’ve grouped some of my most popular crochet patterns and I’m offering them as pattern bundles where you can get the printable versions for one low, discounted price. Check out these incredible Crochet Pattern Bundles.
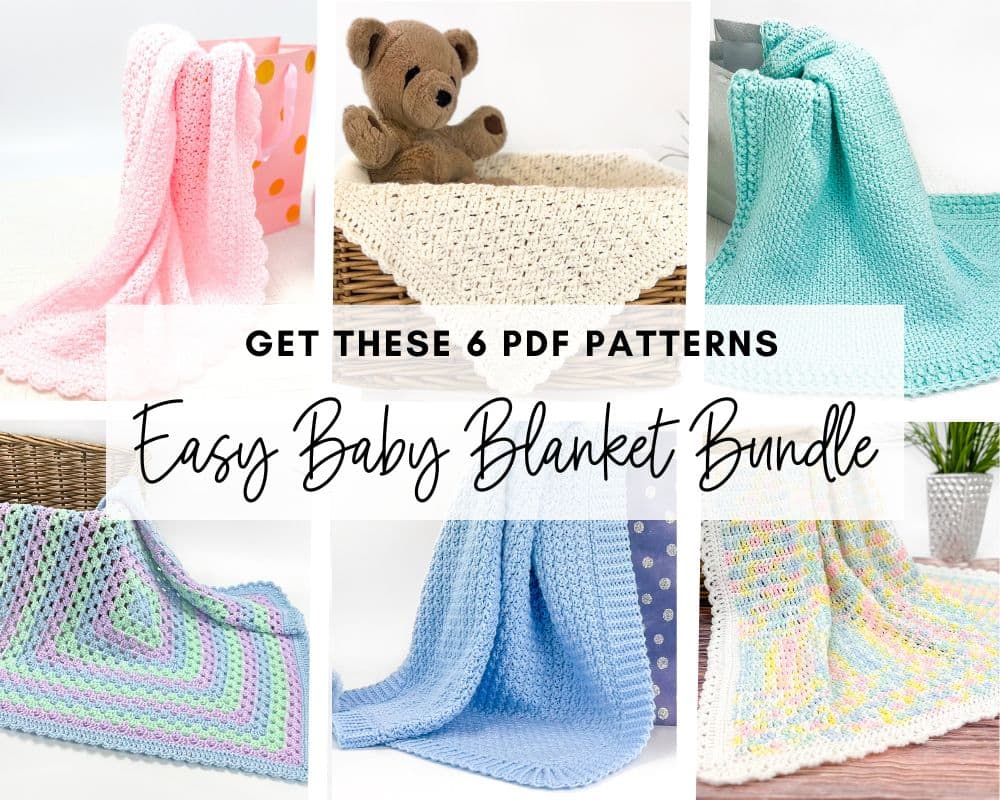
Easy Baby Blanket Bundle
With this Easy Baby Blanket Bundle, you’ll get SIX easy crochet baby blankets as printable downloads. Each pattern includes step-by-step instructions and a full video tutorial.
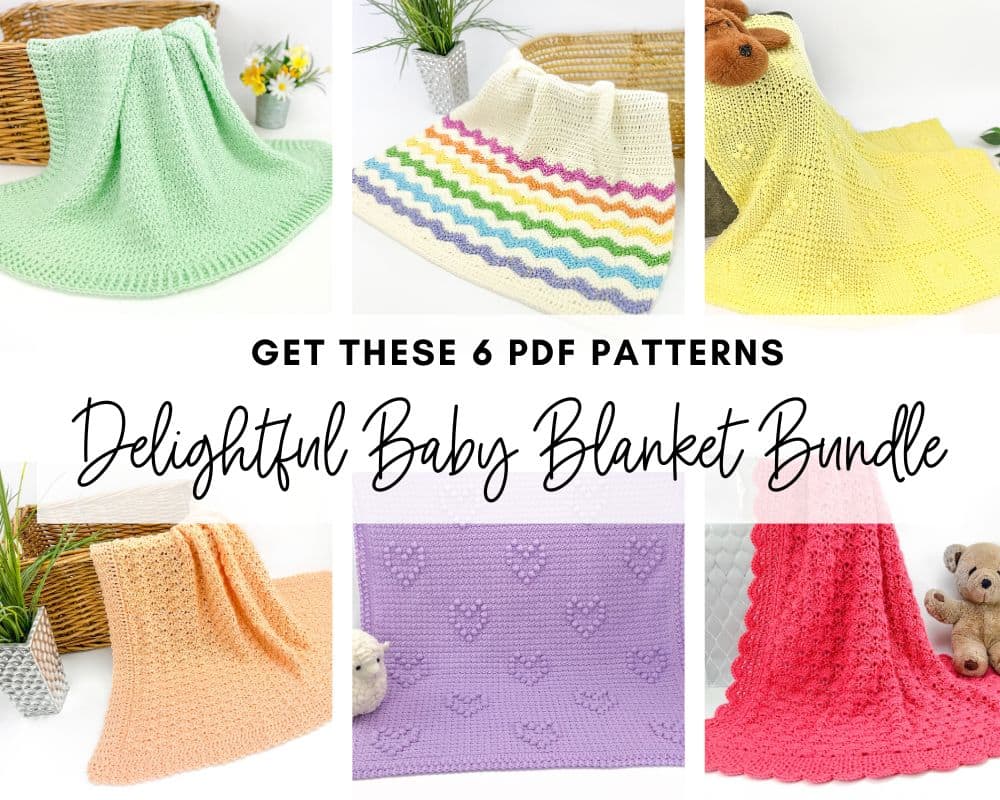
Delightful Baby Blanket Bundle
This incredible deal includes six SIX blanket patterns that are a delight to make and create truly stunning blankets – all as printable PDFs for one low, discounted price.
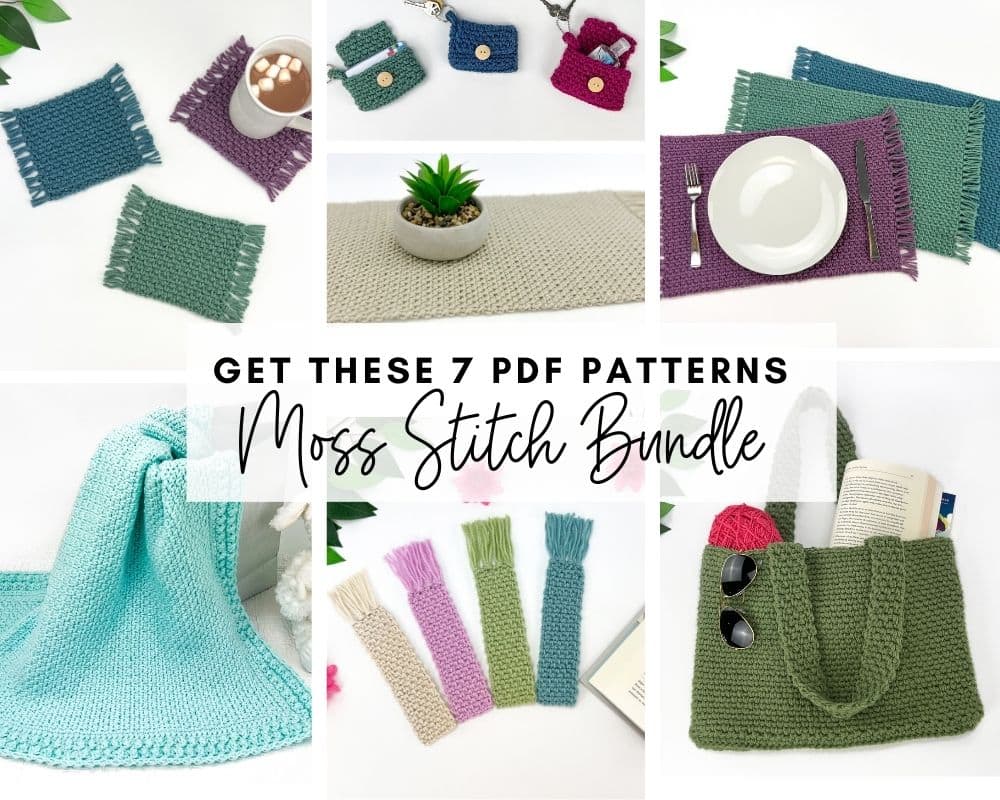
Moss Stitch Pattern Bundle
All your favorite Moss Stitch patterns in one bundle! Get SEVEN easy Moss Stitch crochet patterns as ad-free, print-ready PDFs to print, save and keep forever.
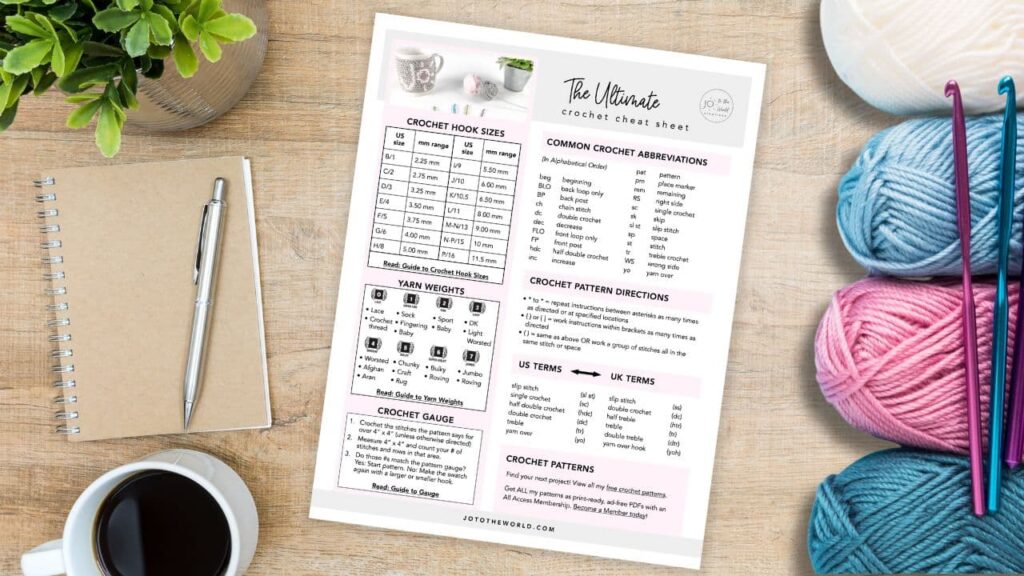
Free Crochet Cheat Sheet
Get instant access to this Ultimate Crochet Cheat Sheet! Plus you’ll receive free patterns for crochet gifts delivered right to your inbox!
Featured Crochet Patterns
Pattern Collections

Free Patterns for Crochet Gifts
Never miss a pattern! Get all my secrets to making incredible crochet gifts as well as new free crochet patterns and exclusive deals when you sign up for my newsletter (it’s free!).