Beautiful Crochet Round Placemat – Free Pattern
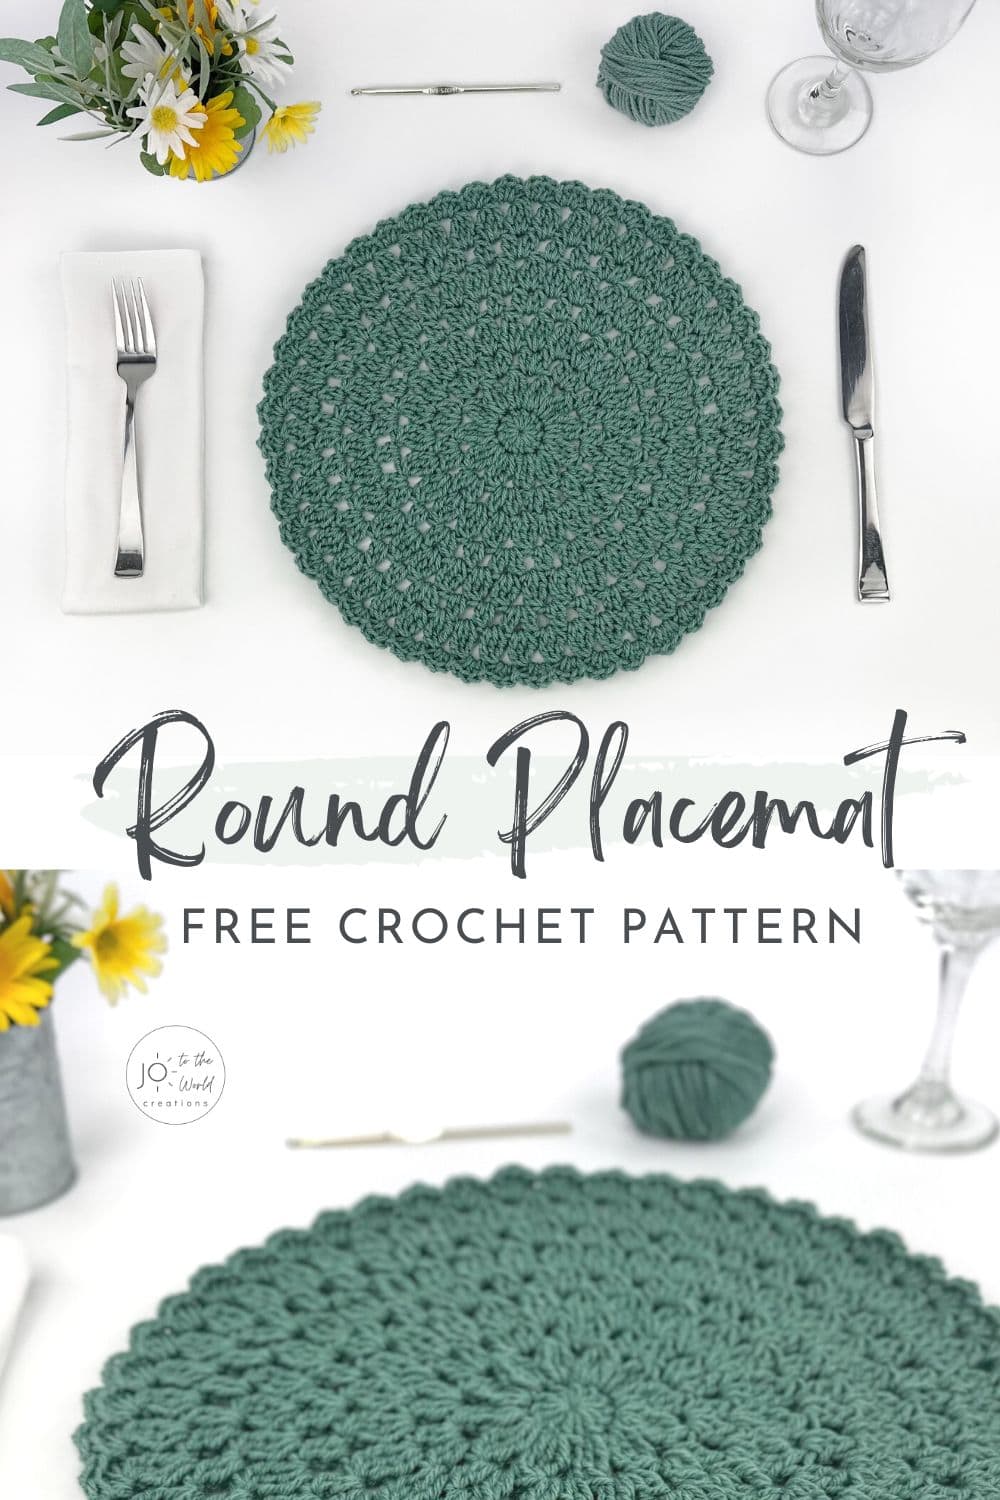
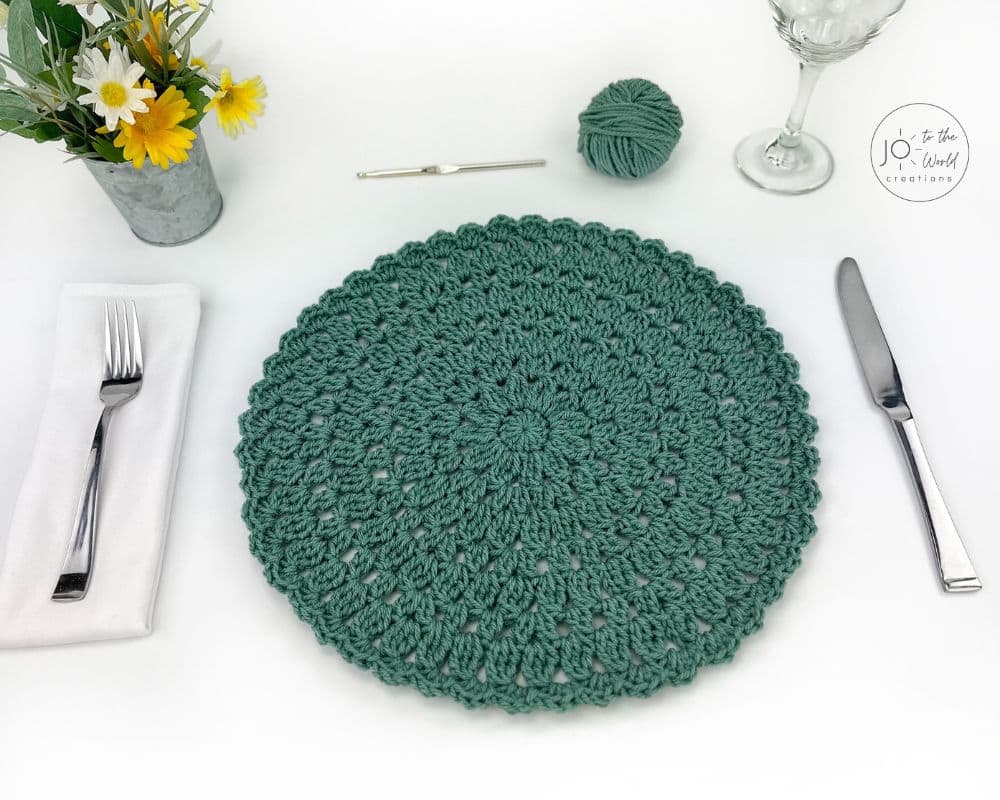
Here’s an easy-to-follow free crochet pattern for gorgeous and elegant round crochet placemats. Make a set for your own table or as a wonderful gift.
Before we begin, I would like to thank you for visiting Jo to the World Creations, a site dedicated to helping you give the gift of crochet.
More free patterns (that make awesome crochet gifts) are on the way! Sign up for my emails, follow me and never wonder “What should I make for…” again!
FREE PATTERNS FOR CROCHET GIFTS
Delivered to your inbox
AND GET A FREE PDF OF THE LOVE PILLOW
& A FREE CROCHET CHEAT SHEET
Unsubscribe at any time.
Delivered Socially
Follow Me on
Round Placemat Crochet Pattern
Round placemats are a delightful addition to any table setting, bringing both functionality and aesthetic appeal. These circular mats not only serve to protect the table surface from heat, spills, and scratches but also contribute to the overall visual charm of the dining experience.
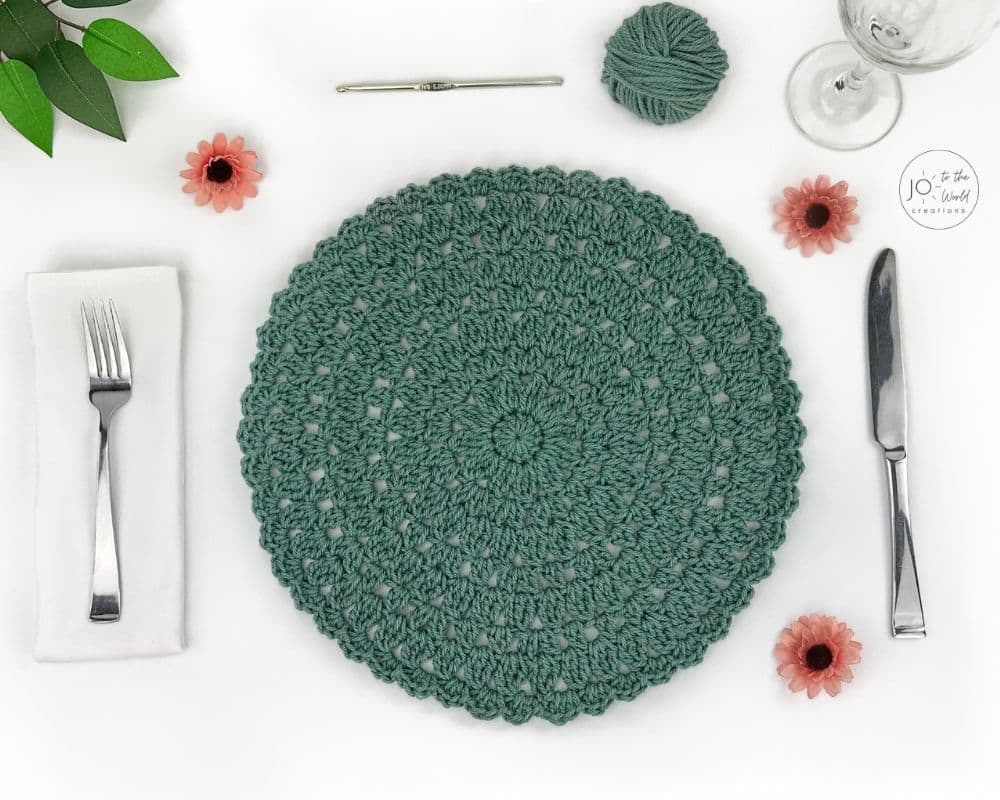
Their shape also encourages creative table arrangements. Unlike rectangular mats that may dictate a specific layout, round placemats offer more fluidity in table settings. Additionally, they complement round plates and dishes perfectly, enhancing the overall symmetry and balance of the table arrangement.

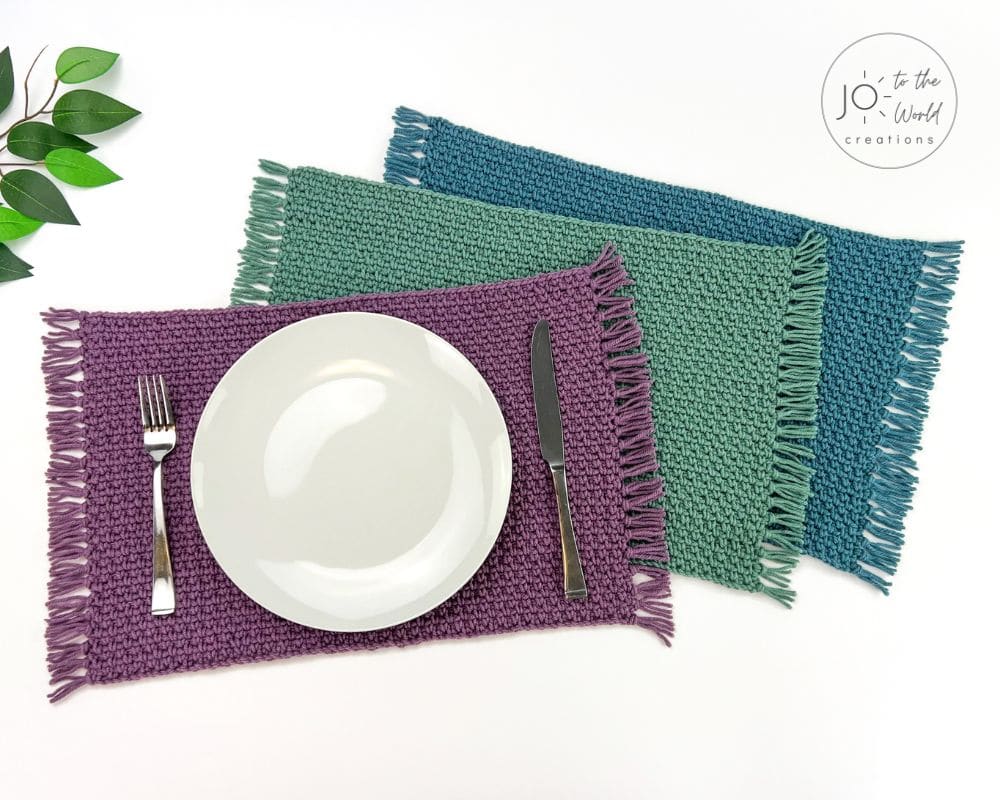
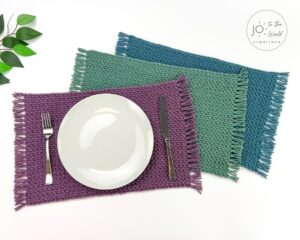
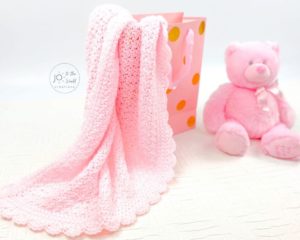
After designing a rectangular crochet placemat pattern (pictured above), I wanted to create a round placemat crochet pattern and I’m excited to share this design with you!
Made in continuous rounds and with a variety of crochet stitches, this table mat is perfect for everyday use at any time of the year or to bring out on special occasions such as during the holiday season. Crochet placemats are fun projects and make great gifts for family members and friends.
While they are a great way to add a touch of personality to your dining room, these crocheted placemats aren’t restricted to the dinner table. They can also be used as decorative accents on side tables, coffee tables, or even as decorative doilies beneath vases or centerpieces.
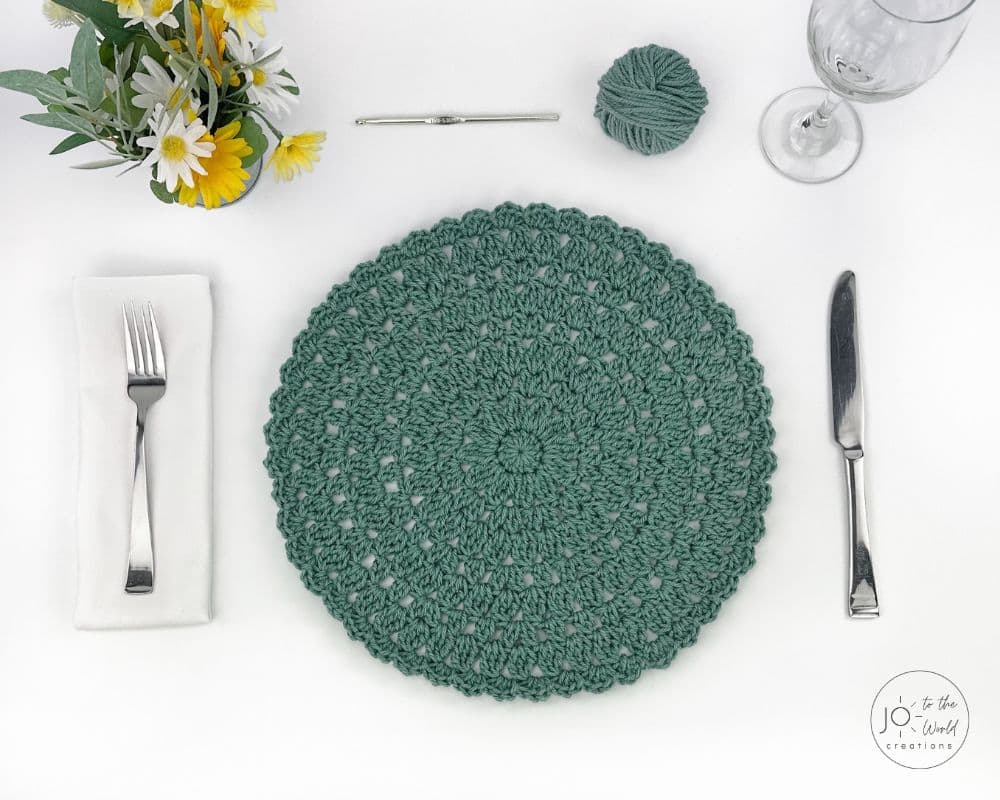
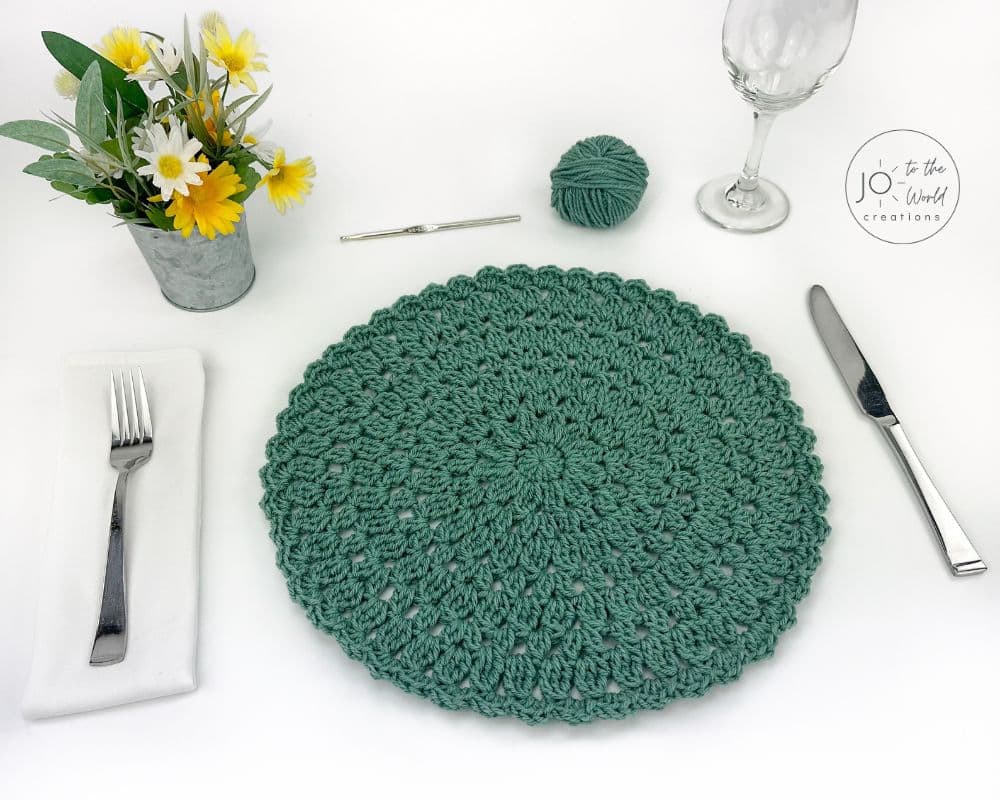
You can use any size 4 (medium) yarn (also known as worsted weight yarn) to create these circular placemats. You can make a set in one solid color or use a mix of different colors. It’s a surprisingly quick project and a simple crochet round placemat pattern that makes a mat that’s a perfect circle.
This crochet round placemat pattern creates a circular placemat with a diameter of approximately 14″ (meaning they measure 14″ across). The average size of round placemats is a diameter of 13″ – 15.”
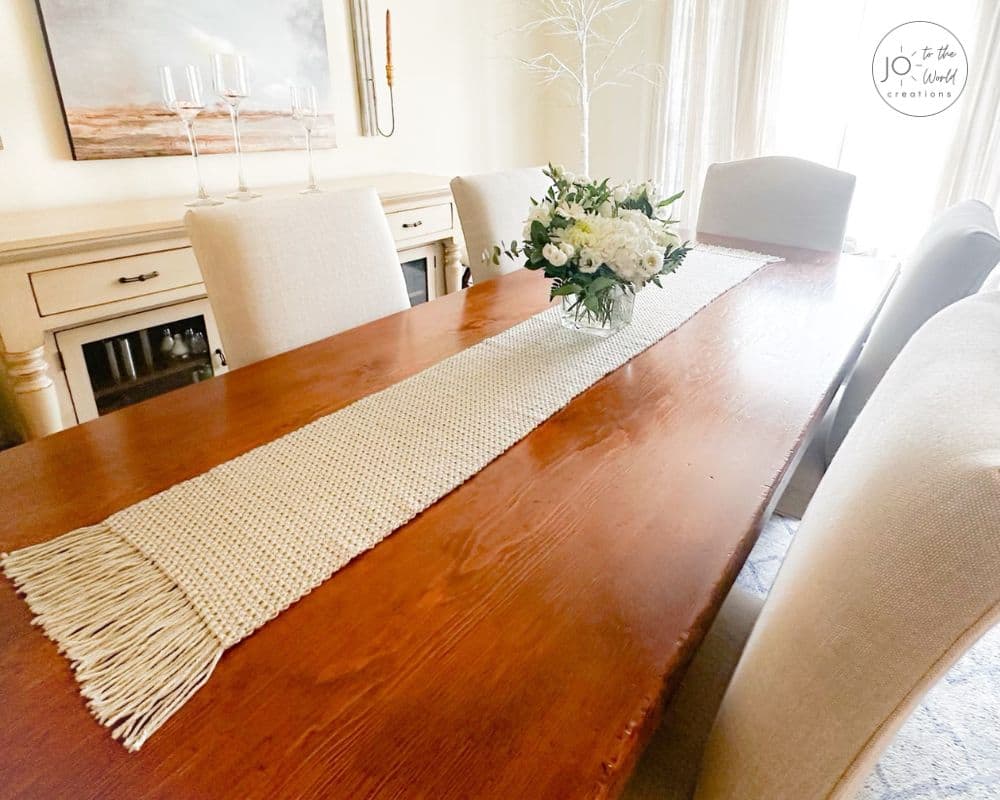
Take your dining table to the next level with these homemade round placemats and then make this beautiful crochet table runner (pictured above) for a magazine-worthy look!
These round crochet placemats are a delightful fusion of artistry and functionality, offering a handmade touch to the dining experience while adding warmth and character to the table setting. Their versatility and customizable nature make them a favorite among crafters and are a perfect way to add a personal touch to their home decor.
Affiliate Disclosure: This post may contain affiliate links meaning I may receive a commission for purchases made through links in this post at no extra cost to you. As an Amazon Associate, I earn from qualifying purchases.
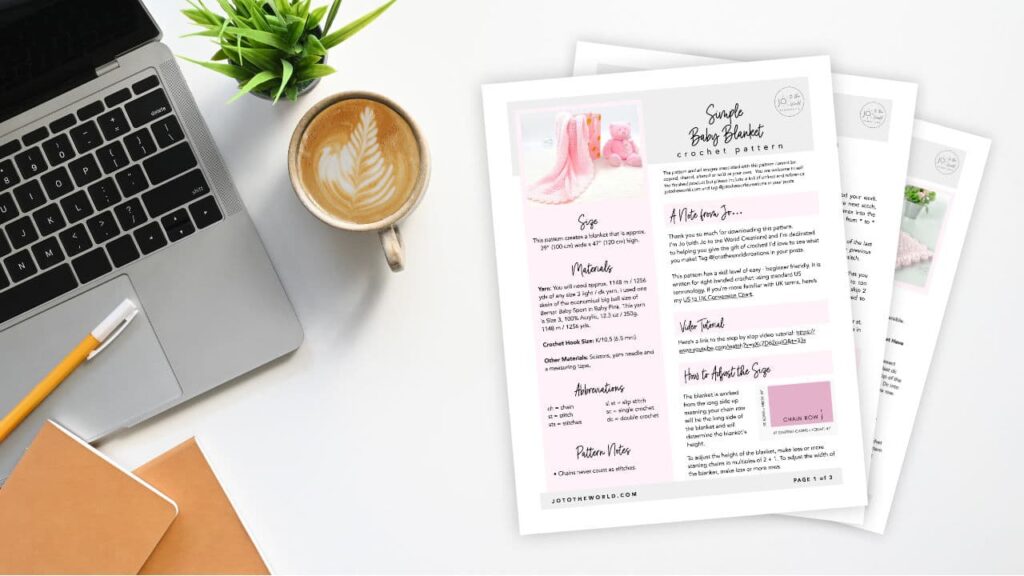
Get the PDF!
Purchase the printer-friendly, ad-free PDF of this pattern that you can instantly download! It includes everything from this free pattern but you can easily save, print and access it anytime!
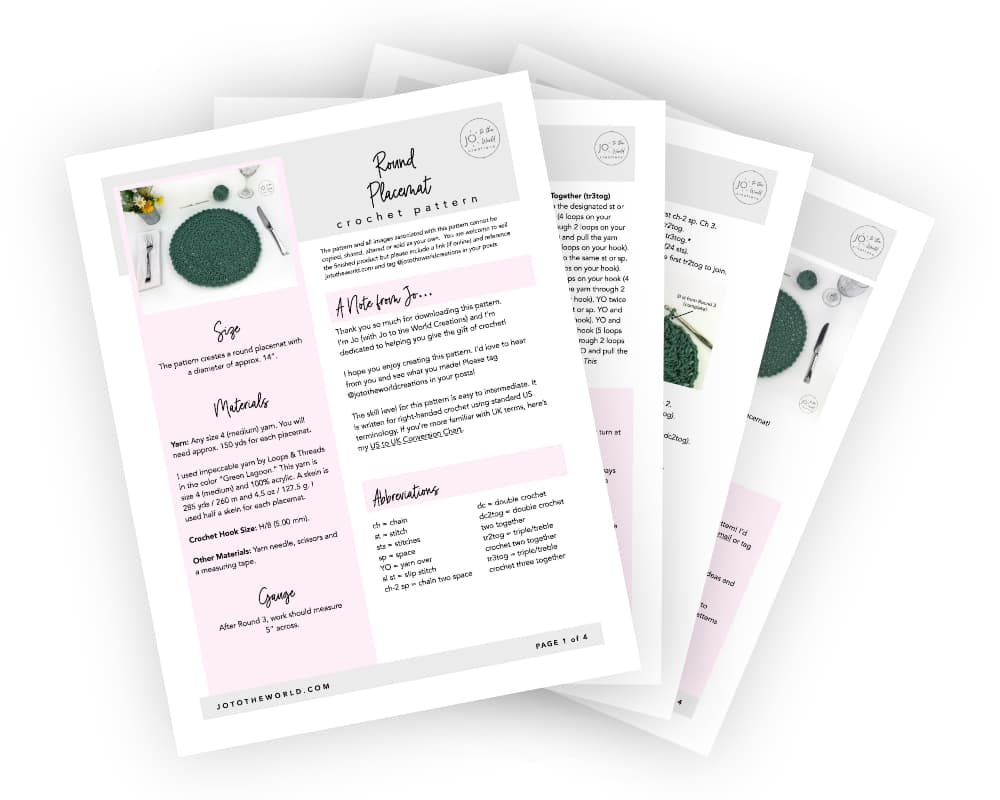

All-Access Membership
For only $0.14 a day, you can get this pattern as a PDF and my entire library of 100+ print-ready, ad-free PDF crochet patterns!

Pattern Details
Skill Level
Easy to Intermediate
Size
The pattern creates a round placemat with a diameter of approx. 14”.
Materials
Yarn: Any size 4 (medium) yarn. You will need approx. 150 yds for each placemat.
I used Impeccable yarn by Loops & Threads in the color “Green Lagoon.” This yarn is size 4 (medium) and 100% acrylic. A skein is 285 yds / 260 m and 4.5 oz / 127.5 g. I used half a skein for each placemat.
Crochet Hook Size: H/8 (5.00 mm).
Other Materials: Yarn needle, scissors and a measuring tape.
Terminology
This pattern is written for right-handed crochet using standard US terminology. If you’re more familiar with UK terms, here’s my US to UK Conversion Chart.
Abbreviations
- ch = chain
- st = stitch
- sts = stitches
- sp = space
- YO = yarn over
- sl st = slip stitch
- ch-2 sp = chain two space
- dc = double crochet
- dc2tog = double crochet two together
- tr2tog = triple/treble crochet two together
- tr3tog = triple/treble crochet three together
Gauge
After Round 3, work should measure 5” across.
Stitch Explanations
This pattern includes dc2tog, tr2tog and tr3tog stitches. In this pattern, these stitches are always made in the same stitch or space (they are not made as decreases). If these stitches are new to you, here’s how to make them:
Double Crochet Two Together (dc2tog)
YO. Insert your hook into the designated sp. YO and pull through a loop (3 loops on your hook). YO and pull the yarn through 2 loops on your hook (2 loops on your hook). YO and insert your hook into the same sp. YO and pull through a loop (4 loops on your hook). YO and pull the yarn through 2 loops on your hook (3 loops on your hook). YO and pull the yarn through the 3 loops on your hook. This completed dc2tog counts as 1 st.
Triple/Treble Crochet Two Together (tr2tog)
YO twice. Insert your hook into the designated st or sp. YO and pull through a loop (4 loops on your hook). YO and pull the yarn through 2 loops on your hook (3 loops on your hook). YO and pull the yarn through 2 loops on your hook (2 loops on your hook). YO twice and insert your hook into the same st or sp. YO and pull through a loop (5 loops on your hook). YO and pull the yarn through 2 loops on your hook (4 loops on your hook). YO and pull the yarn through 2 loops on your hook (3 loops on your hook). YO and pull the yarn through the 3 loops on your hook. This completed tr2tog counts as 1 st.
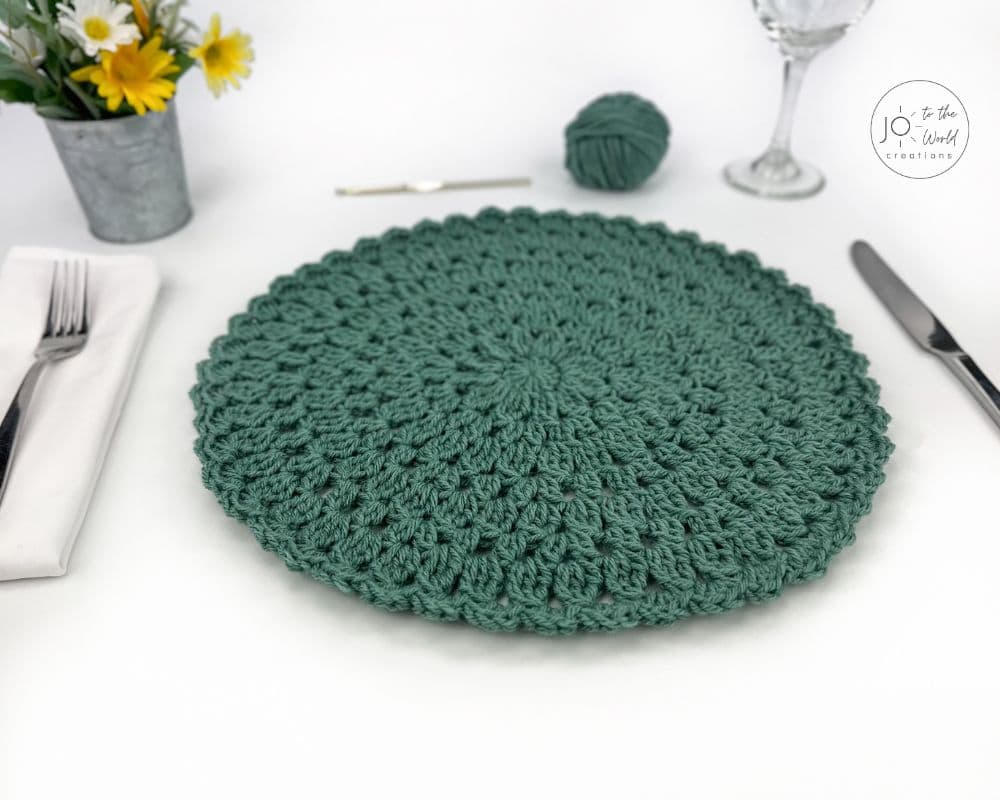
Triple/Treble Crochet Three Together (tr3tog)
YO twice. Insert your hook into the designated st or sp. YO and pull through a loop (4 loops on your hook). YO and pull the yarn through 2 loops on your hook (3 loops on your hook). YO and pull the yarn through 2 loops on your hook (2 loops on your hook). YO twice and insert your hook into the same st or sp. YO and pull through a loop (5 loops on your hook). YO and pull the yarn through 2 loops on your hook (4 loops on your hook). YO and pull the yarn through 2 loops on your hook (3 loops on your hook). YO twice and insert your hook into the same st or sp. YO and pull through a loop (6 loops on your hook). YO and pull the yarn through 2 loops on your hook (5 loops on your hook). YO and pull the yarn through 2 loops on your hook (4 loops on your hook). YO and pull the yarn through the 4 loops on your hook. This completed tr3tog counts as 1 st.
Pattern Notes
- The pattern is made in the round. Never turn at the start/end of a round.
- Chains never count as stitches.
- When making a dc2tog, tr2tog, tr3tog, always make it in the same stitch or space (they are not decreases in this pattern).
- When there are instructions in brackets, it means to make all the stitches in the same stitch or space. For example: “In the same (the first) sp, (dc, ch 2, dc2tog)” means that in the same (the first) space: (double crochet, chain 2 and double crochet two together), all in the same space.
- It’s okay for your work to curl as you make it. After you finish the pattern, the only part that should curl is the final round, which creates a slight lip.
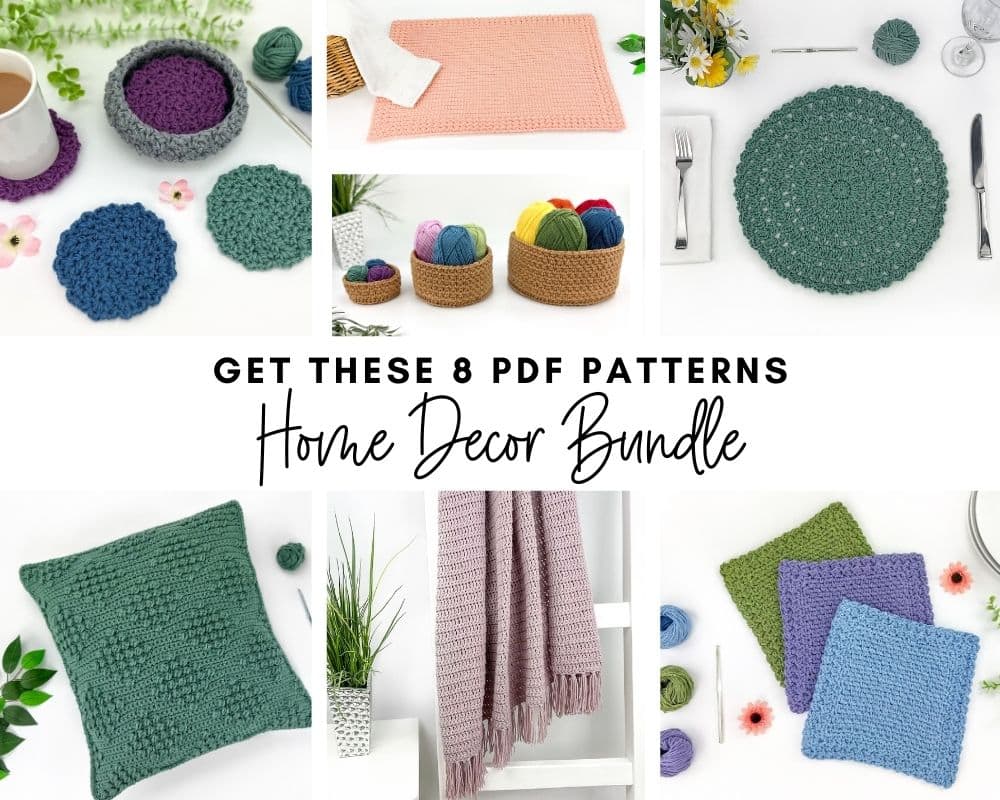
This Round Placemat Pattern is included in the Home Decor Bundle! For a limited time, get eight beautiful crochet patterns for your home as print-ready, ad-free PDFs for one low discounted price.
Please note: This pattern and all images associated with this pattern cannot be copied, shared, altered or sold on your own. You are welcome to sell the finished product but please include a link (if online) and reference jototheworld.com.

Just a Reminder!
This pattern is also available as a PDF, which includes everything listed here but as a printer-friendly, ad-free PDF that you can instantly download, save, print, make notes on and keep forever.
Get this PDF with an All-Access Membership!
Only $0.14 a day!
- Instant Access to 100+ Premium PDF Crochet Patterns
- Make Gifts for Every Occasion!
- Save, Print & Keep Forever
- No Ads or Popups
- Happiness Guaranteed!
Pattern Instructions
Start: Make a Magic Circle (also known as a Magic Ring).
Round 1: Ch 1. Make 12 dc into the Magic Circle. (12 sts. Reminder: chains never count as sts). Pull the Magic Circle tight to close. Sl st into the top of the first dc to join.
Round 2: Ch 3. Reminder: never turn.
In the first st (the st attached to the chains), tr2tog.
*Ch 2. In the next st, tr3tog.*
Repeat from * to * around. (12 sts).
Ch 2. Sl st into the top of the first tr2tog to join.
Round 3: Sl st into the first ch-2 sp. Ch 2.
In the same (the first) sp, (dc, ch 2, dc2tog).
*Ch 2. In the next ch-2 sp, (dc2tog, ch 2, dc2tog).*
Repeat from * to * around. (24 sts).
Ch 2. Sl st into the top of the first dc to join.

After Round 3, work should measure 5” across. Exact sizing is not important.
Round 4: Sl st into the first ch-2 sp. Ch 3.
In the same (the first) sp, tr2tog.
*Ch 2. In the next ch-2 sp, tr3tog.*
Repeat from * to * around. (24 sts).
Ch 2. Sl st into the top of the first tr2tog to join.
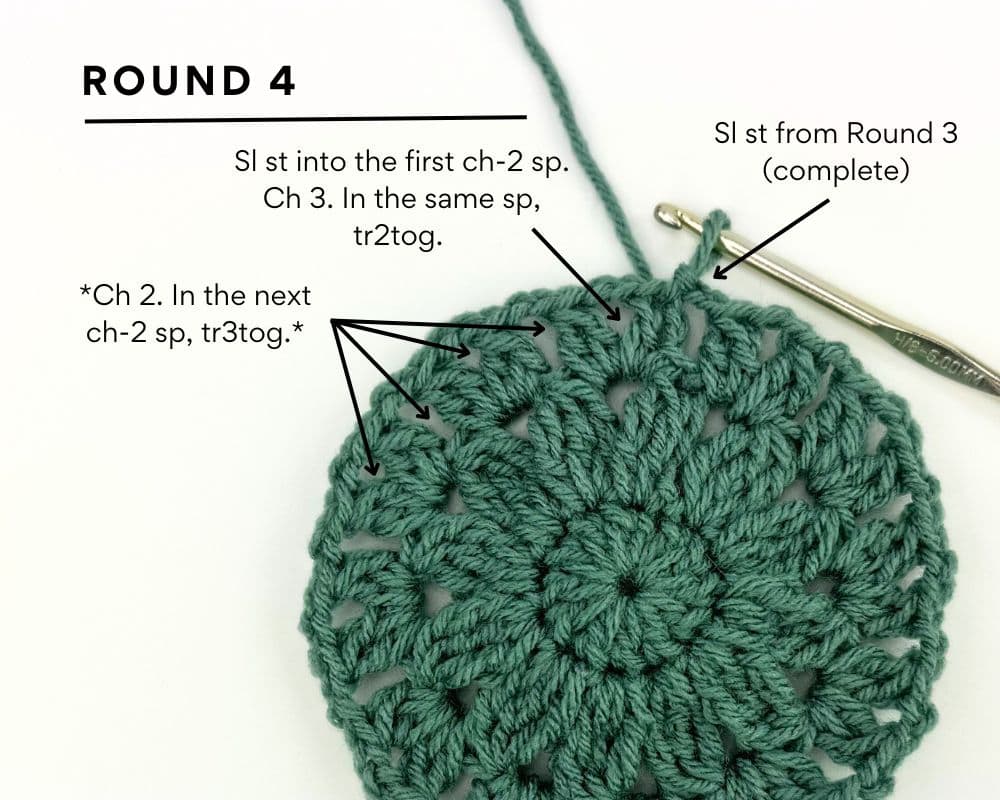
Round 5: Sl st into the first ch-2 sp. Ch 2.
In the same (the first) sp, (dc, ch 2, dc2tog).
Ch 2. In the next ch-2 sp, dc2tog.
*Ch 2. In the next ch-2 sp, (dc2tog, ch 2, dc2tog).
Ch 2. In the next ch-2 sp, dc2tog.*
Repeat from * to * around. (36 sts).
Ch 2. Sl st into the top of the first dc to join.
Round 6: Sl st into the first ch-2 sp. Ch 3.
In the same (the first) sp, tr2tog.
*Ch 2. In the next ch-2 sp, tr3tog.*
Repeat from * to * around. (36 sts).
Ch 2. Sl st into the top of the first tr2tog to join.
Round 7: Sl st into the first ch-2 sp. Ch 2.
In the same (the first) sp, (dc, ch 2, dc2tog).
Ch 2. In the next ch-2 sp, dc2tog.
Ch 2. In the next ch-2 sp, dc2tog.
*Ch 2. In the next ch-2 sp, (dc2tog, ch 2, dc2tog).
Ch 2. In the next ch-2 sp, dc2tog.
Ch 2. In the next ch-2 sp, dc2tog.*
Repeat from * to * around. (48 sts).
Ch 2. Sl st into the top of the first dc to join.
Round 8: Sl st into the first ch-2 sp. Ch 3.
In the same (the first) sp, tr2tog.
*Ch 2. In the next ch-2 sp, tr3tog.*
Repeat from * to * around. (48 sts).
Ch 2. Sl st into the top of the first tr2tog to join.
Round 9: Sl st into the first ch-2 sp. Ch 1.
In the first ch-2 sp, make 3 dc in the same sp. Sl st into the same sp.
*In the next ch-2 sp, make 3 dc in the same sp. Sl st into the same sp.*
Repeat from * to * around. (48 x 3 dc sts = 144 sts).
Sl st into the top of the first dc to join.
Fasten off and weave in all loose ends.
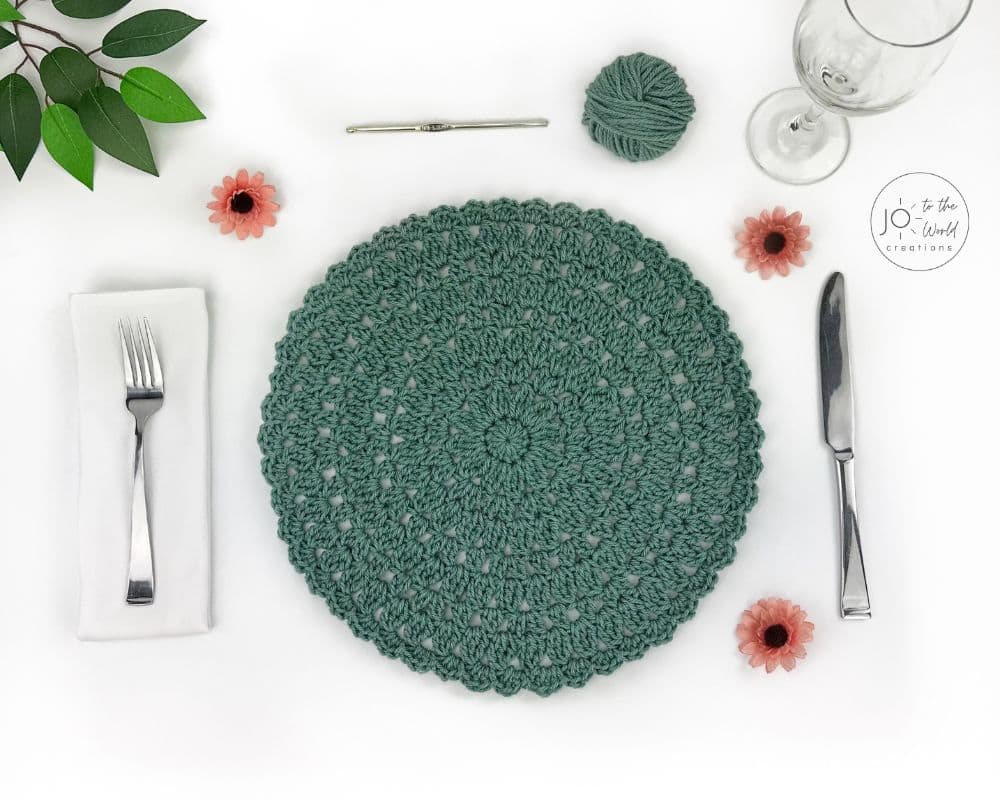
And now you have a new round placemat!
More Patterns You Might Like
Download. Print. Keep.
Get Instant Access to ALL Printable Patterns
Make your crocheting more enjoyable, relaxing and productive with printable PDF patterns.
- 100+ premium crochet patterns.
- Download, save and print from any device.
- No ads or popups!
Not sure yet? Take a look at the Pattern Library and see all the patterns you can download once you’re a member.

Save with Pattern Bundles
For a limited time, I’ve grouped some of my most popular crochet patterns and I’m offering them as pattern bundles where you can get the printable versions for one low, discounted price. Check out these incredible Crochet Pattern Bundles.
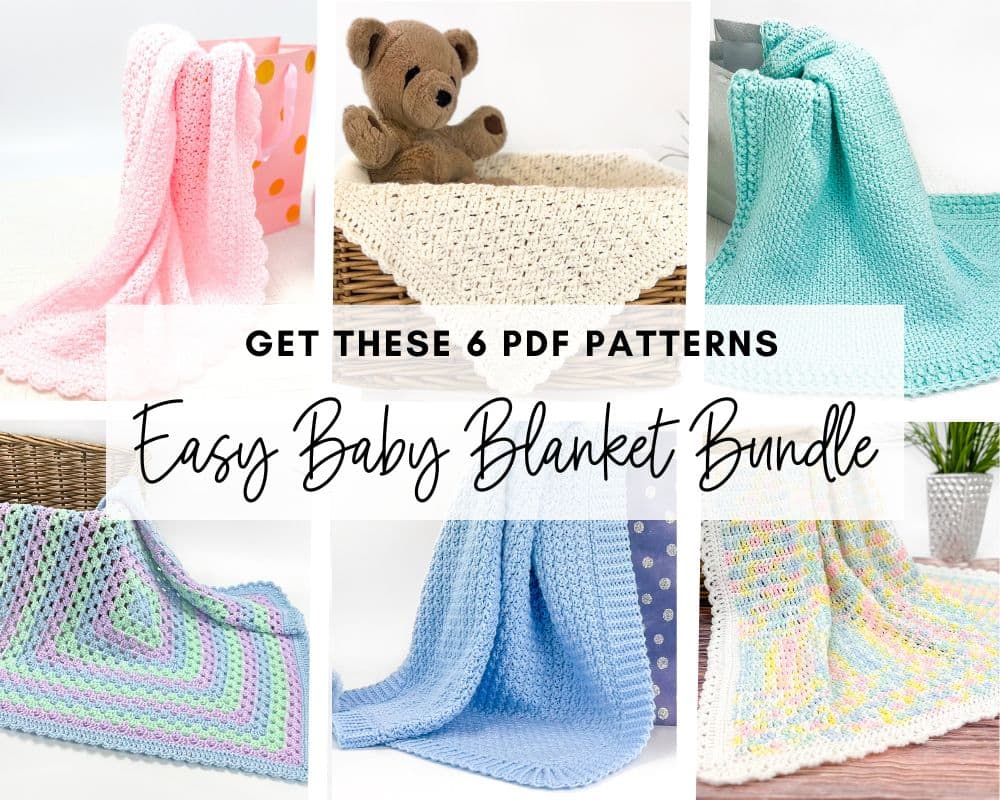
Easy Baby Blanket Bundle
With this Easy Baby Blanket Bundle, you’ll get SIX easy crochet baby blankets as printable downloads. Each pattern includes step-by-step instructions and a full video tutorial.

Delightful Baby Blanket Bundle
This incredible deal includes six SIX blanket patterns that are a delight to make and create truly stunning blankets – all as printable PDFs for one low, discounted price.
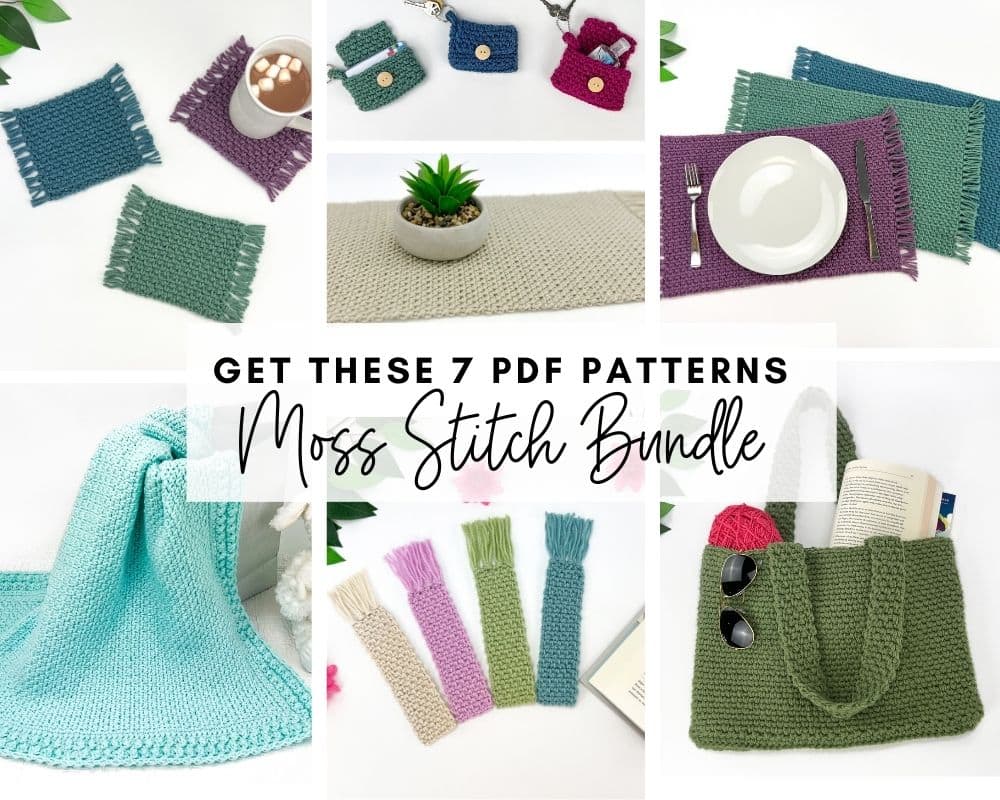
Moss Stitch Pattern Bundle
All your favorite Moss Stitch patterns in one bundle! Get SEVEN easy Moss Stitch crochet patterns as ad-free, print-ready PDFs to print, save and keep forever.
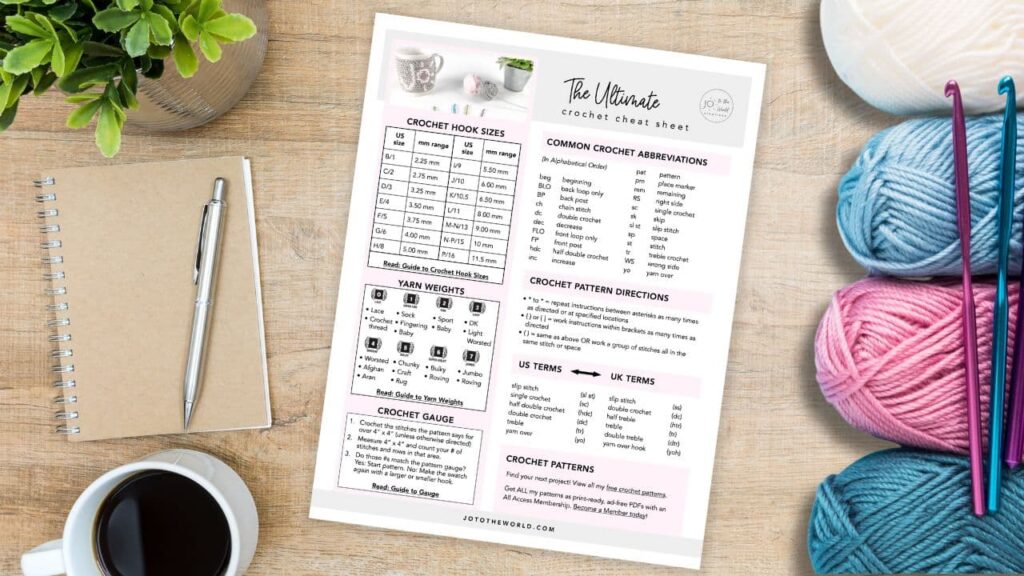
Free Crochet Cheat Sheet
Get instant access to this Ultimate Crochet Cheat Sheet! Plus you’ll receive free patterns for crochet gifts delivered right to your inbox!
Featured Crochet Patterns
Pattern Collections
Free Patterns for Crochet Gifts
Never miss a pattern! Get all my secrets to making incredible crochet gifts as well as new free crochet patterns and exclusive deals when you sign up for my newsletter (it’s free!).

