
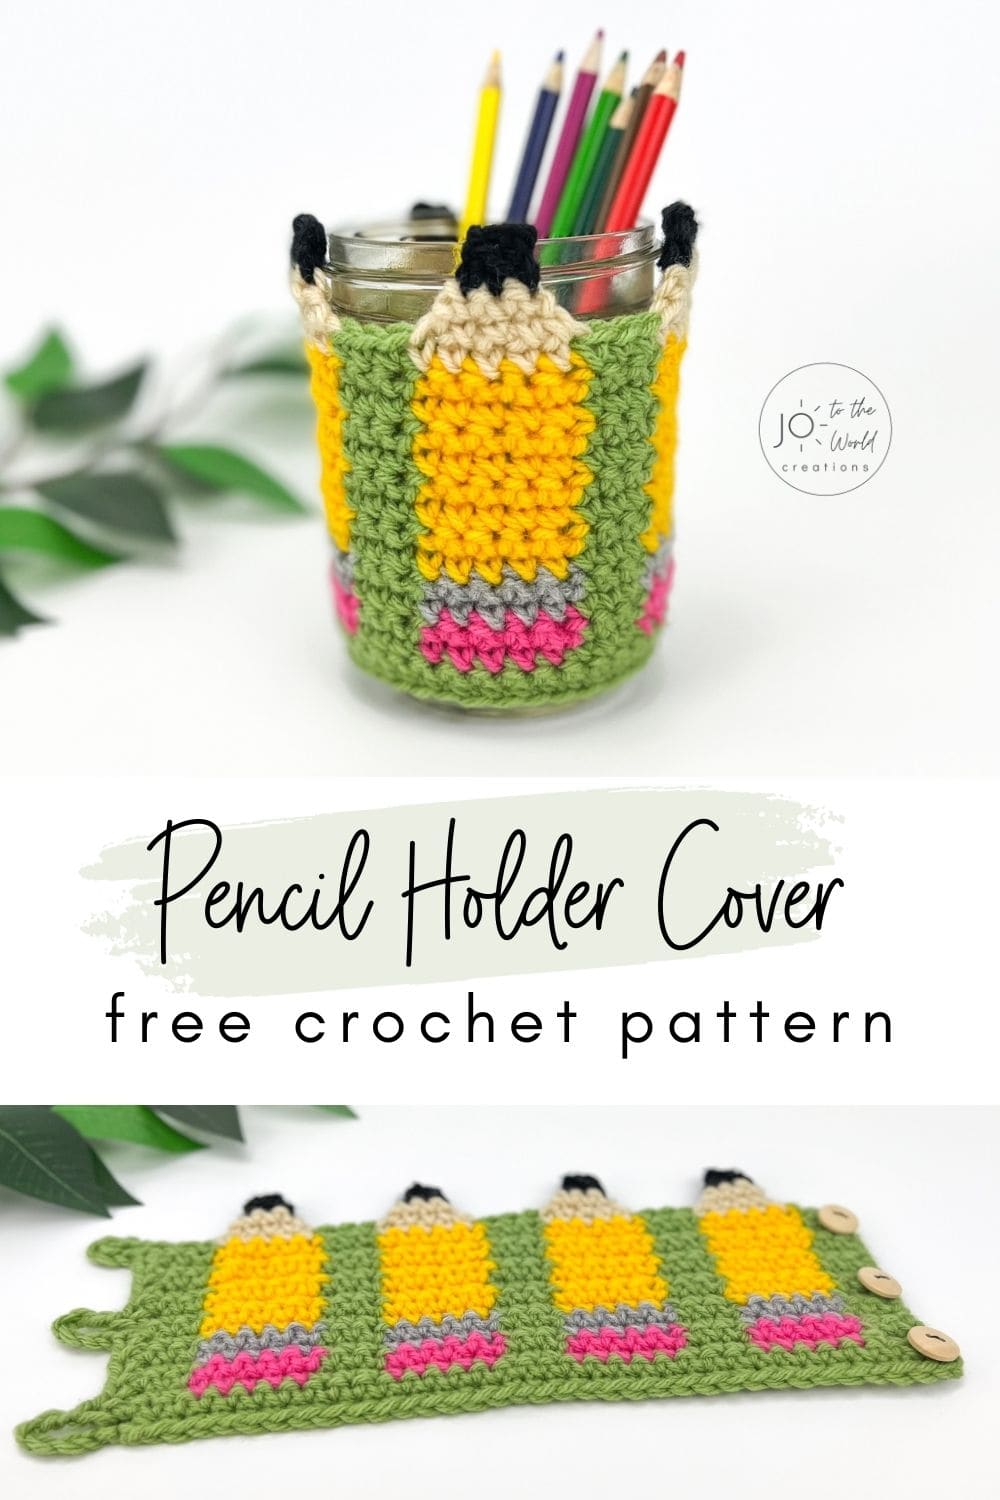
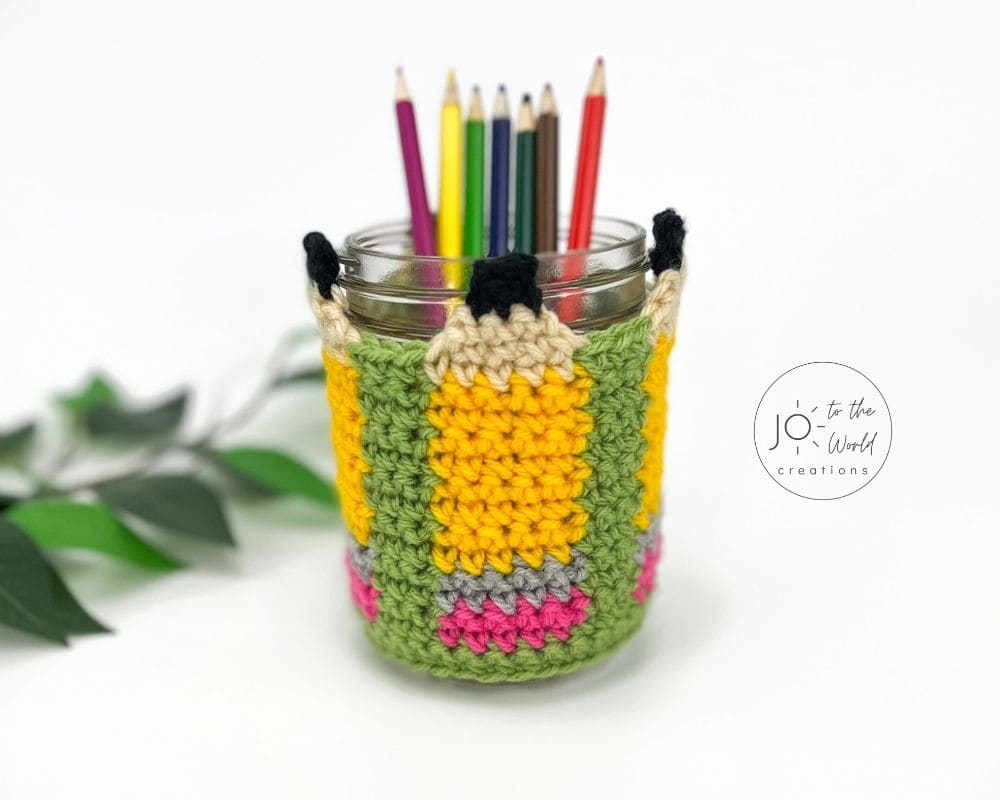
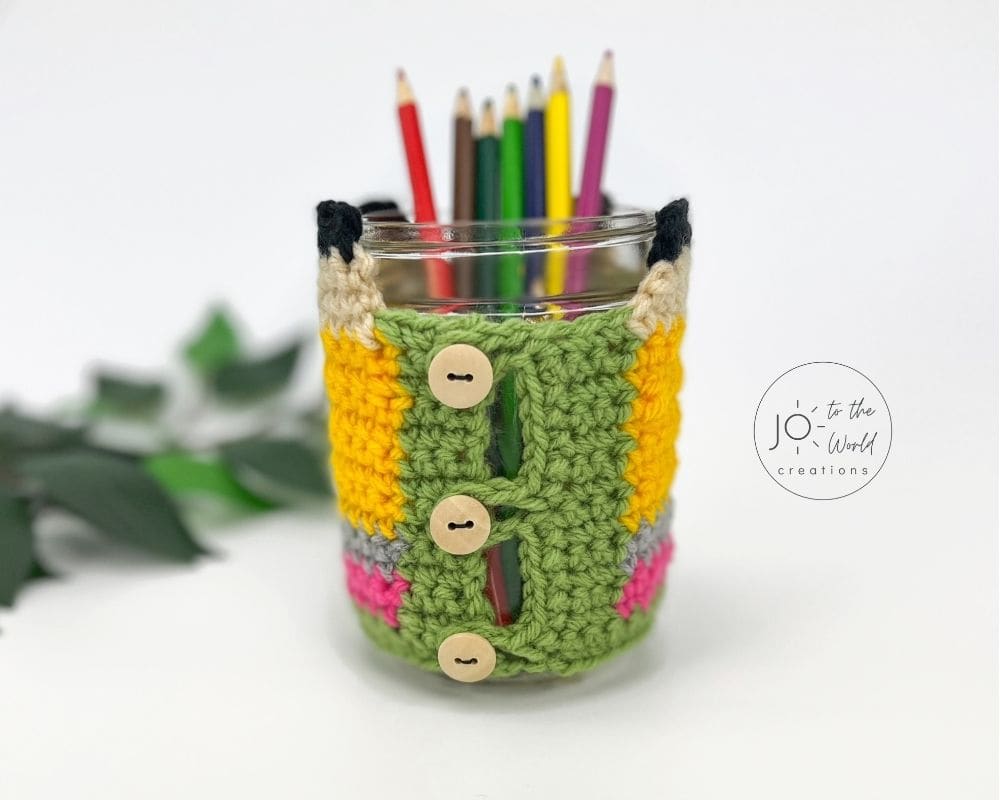
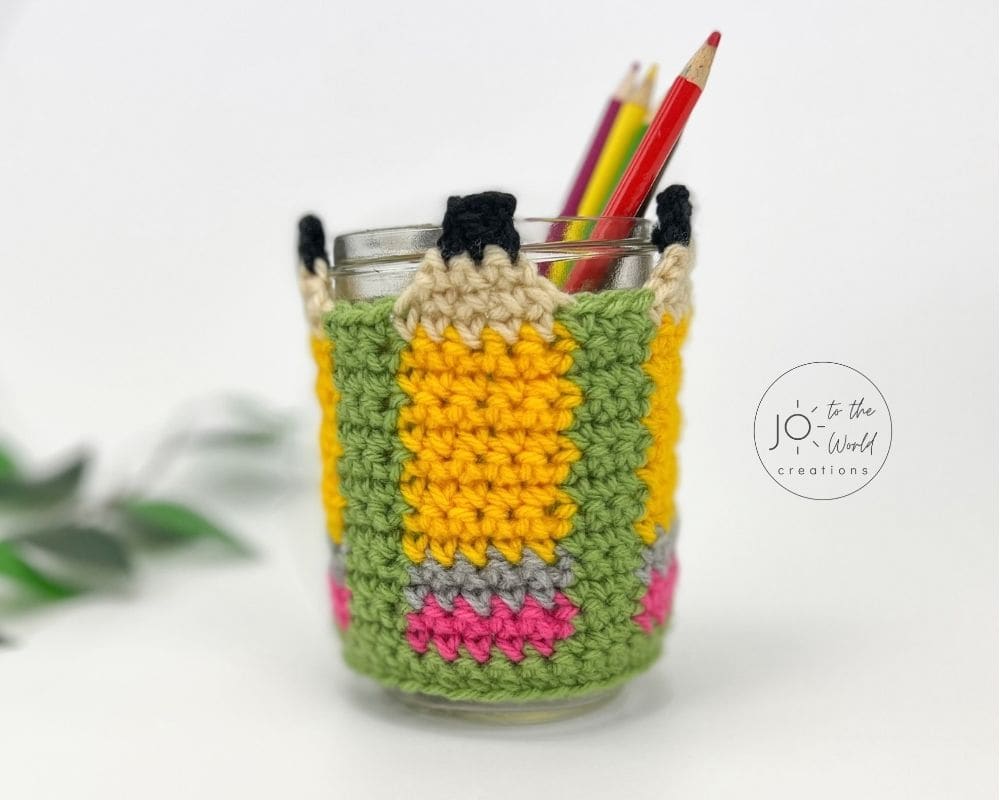
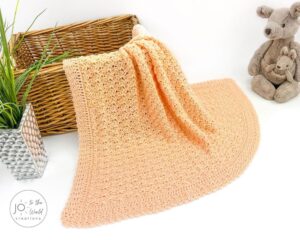
Crochet Pencil Holder Cover – Free Pattern
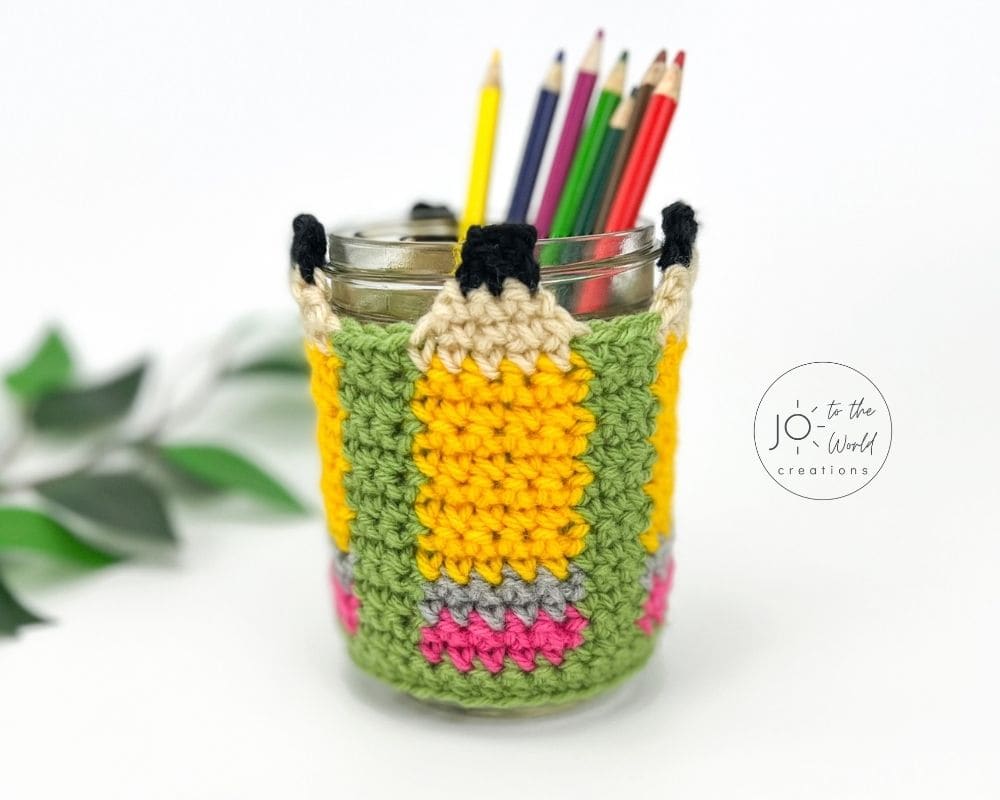
Here’s a great gift idea for a teacher or to make for a child’s desk. This Crochet Pencil Holder Pattern is a free, easy and super cute pattern that will instantly sharpen-up a pencil jar!
Before we begin, I would like to thank you for visiting Jo to the World Creations, a site dedicated to helping you give the gift of crochet.
More free patterns (that make awesome crochet gifts) are on the way! Sign up for my emails, follow me and never wonder “What should I make for…” again!
FREE PATTERNS FOR CROCHET GIFTS
Delivered to your inbox
AND GET A FREE PDF OF THE LOVE PILLOW
& A FREE CROCHET CHEAT SHEET
Unsubscribe at any time.
Delivered Socially
Follow Me on
A Wonderful Crochet Gift for a Teacher
With the end of the school year approaching, I wanted to give my six year old’s teacher something special and handmade. I wanted whatever I made to be relatively easy and quick to make but also thoughtful and appropriate for a teacher.
So I designed this Crochet Pencil Holder Cover, which I think is an absolutely perfect Christmas gift or an end of year gift for a teacher.
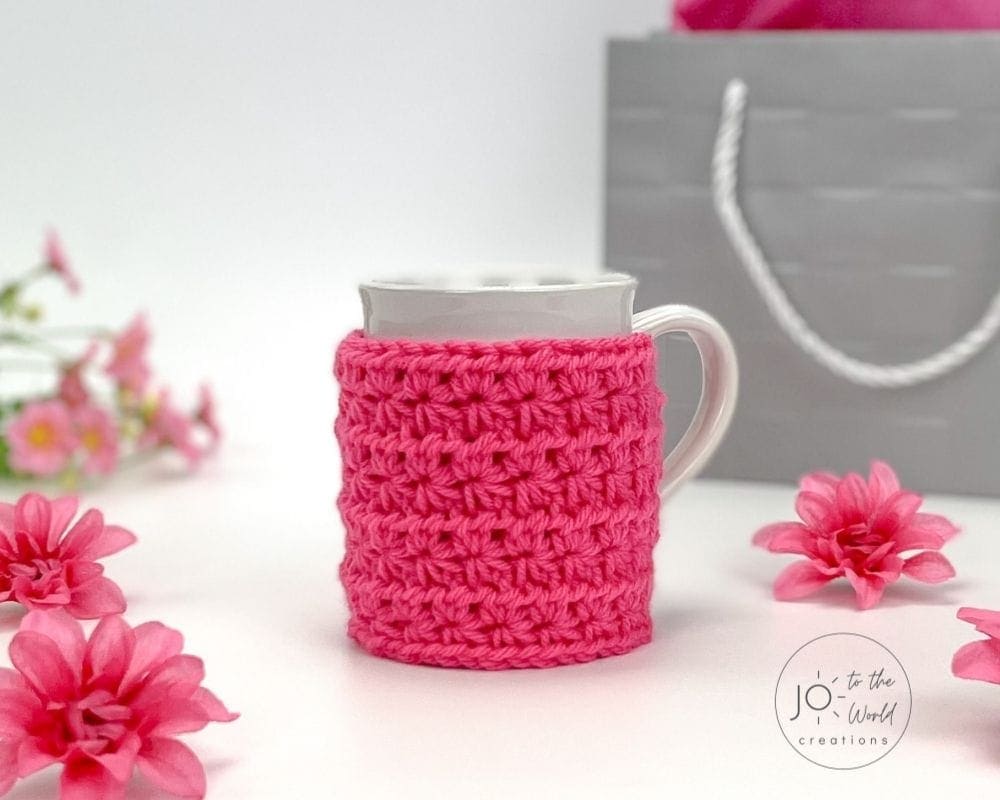
If you are looking for other gift ideas for teachers, this Coffee Cozy also makes a great gift.
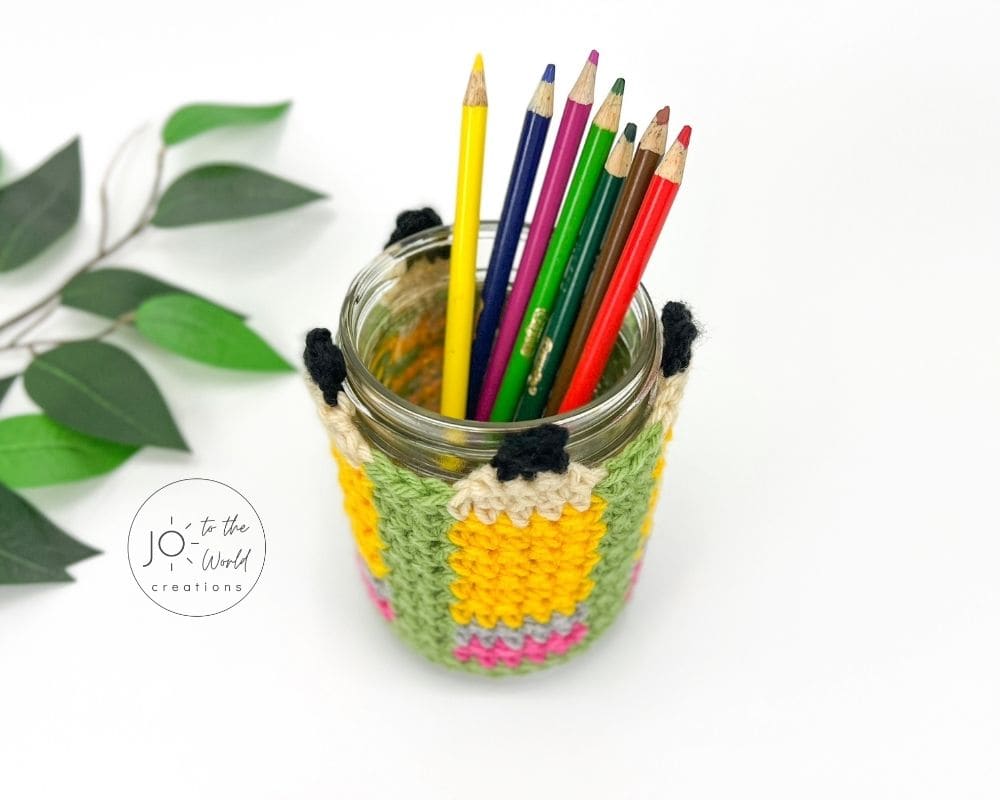
Super Cute Desk Decoration for Kids
While I designed this pattern as a gift for a teacher, the moment my six year old saw it, she wanted it for her own desk! A number of my testers also said their kids instantly claimed the finished pencil holder cover for themselves.
So if there is a child or grandchild in your life, I can speak from experience that it’s a crochet gift for kids that will be on point! (Pun totally intended)
Affiliate Disclosure: This post may contain affiliate links meaning I may receive a commission for purchases made through links in this post at no extra cost to you. As an Amazon Associate, I earn from qualifying purchases.
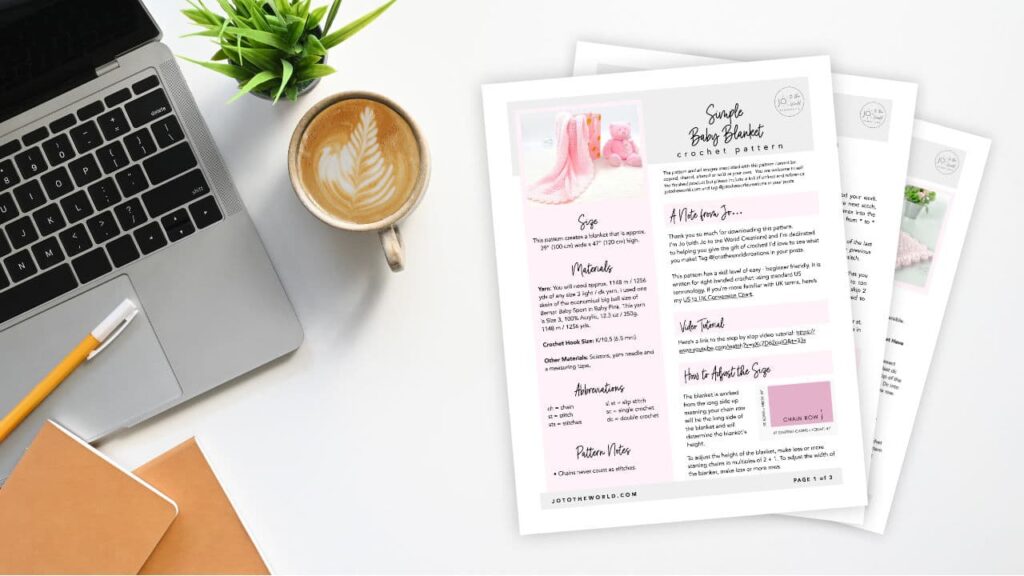
Get the PDF!
Purchase the printer-friendly PDF of this pattern that you can instantly download! It includes everything from this free pattern but you can easily save, print and access it anytime!
You can also purchase it on Etsy or Ravelry.

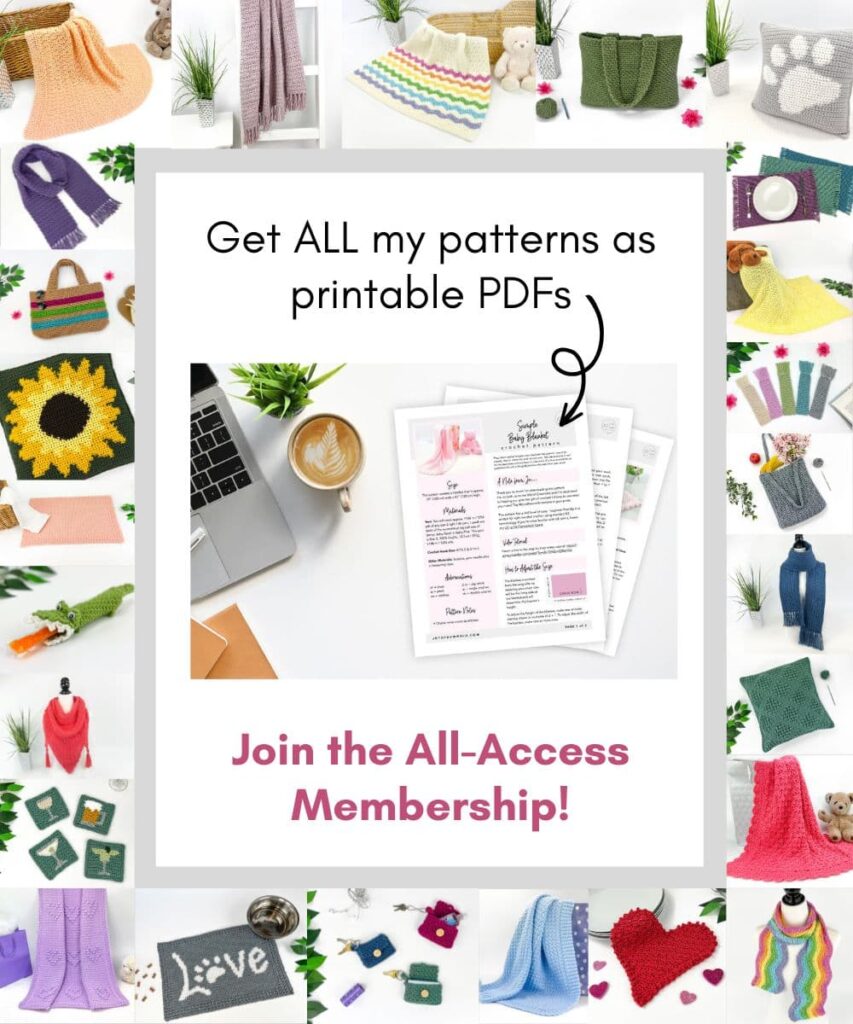
All-Access Membership
For only $0.14 a day, you can get this pattern as a PDF and my entire library of 100+ print-ready, ad-free PDF crochet patterns!

Crochet Pencil Holder Pattern Details
Skill Level
The skill level for this pattern is easy (simple stitches and colorwork) but if you are new to colorwork, I recommend reading my guide or watching my video tutorial on How to Crochet with Two Colors.
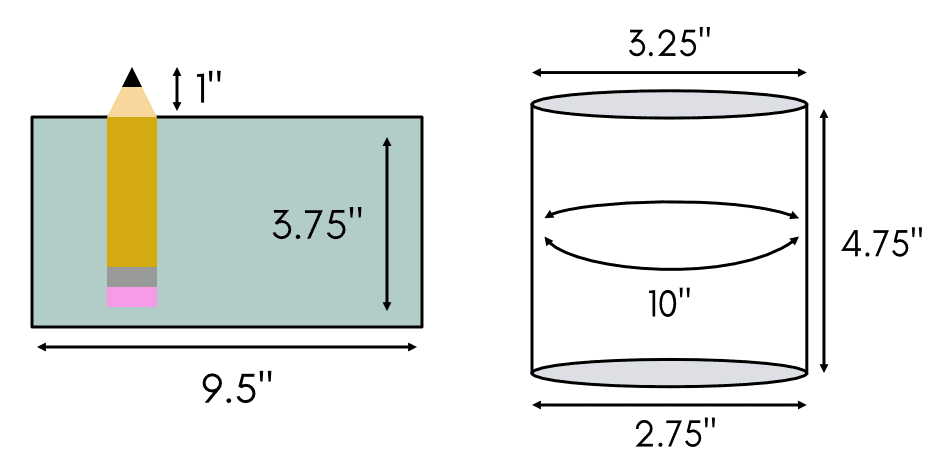
Size
Completed size: 9.5” wide and 3.75” high (plus the top of pencils, which are 1”). It is designed to fit a pint-size mason jar that is 10” around, 4.75” high, the top width is 3.25” and the bottom width is 2.75”.
Gauge
4” x 4” = 15 sc and 16 rows
Materials
Yarn: Any worsted weight, medium (4), 100% acrylic yarn. I used Impeccable by Loops and Threads, Solids in the colors: A) Main/Background = “Fern” (35 yds), B) Eraser = “Arbor Rose” (4 yds), C) Ferrule = “Pale Grey” (4 yds), D) Pencil Body = “Sunny Day” (14 yds), E) Collar = “Heather” (8 yds), F) Tip = “Black” (4 yds).
Crochet Hook: F/5 (3.75mm) or size needed to obtain gauge. You may want to go up one hook size for the starting chains.
Other Materials: Pint-size mason jar (see exact size above), 3 x 15mm buttons, sewing needle, thread, yarn needle, scissors and measuring tape.
Terminology
This pattern is written for right-handed crochet using standard US terminology.
Abbreviations
ch = chain
st = stitch
sts = stitches
sk = skip
sl st = slip stitch
sc = single crochet
YO = yarn over
RS = Right Side
WS = Wrong Side
How to Crochet with Multiple Colors
New to colorwork? Read my step-by-step guide: How to Crochet with Two Colors. You’ll be a pro in colorwork in no time!
Pattern Notes
- Each row has 35 stitches.
- Ch 1 and turn after every row.
- Ch 1 does not count as a stitch.
- Always work in the 1st st (the st attached to ch).
- Catch your float of the main/background color in the middle of each pencil (the 3rd stitch) (learn how to catch/trap floats here).
- Stretch your work wide after each row.
- Ensure all strands are always kept on the wrong side of the work.
- Add/switch color when you have two loops of the old color on the sc stitch BEFORE the new color stitch.
- When the instructions say: “repeat *B x 5, A x 3* across,” what this means is: B x 5, A x 3, B x 5, A x 3, B x 5, A x 3, B x 5, A x 3.
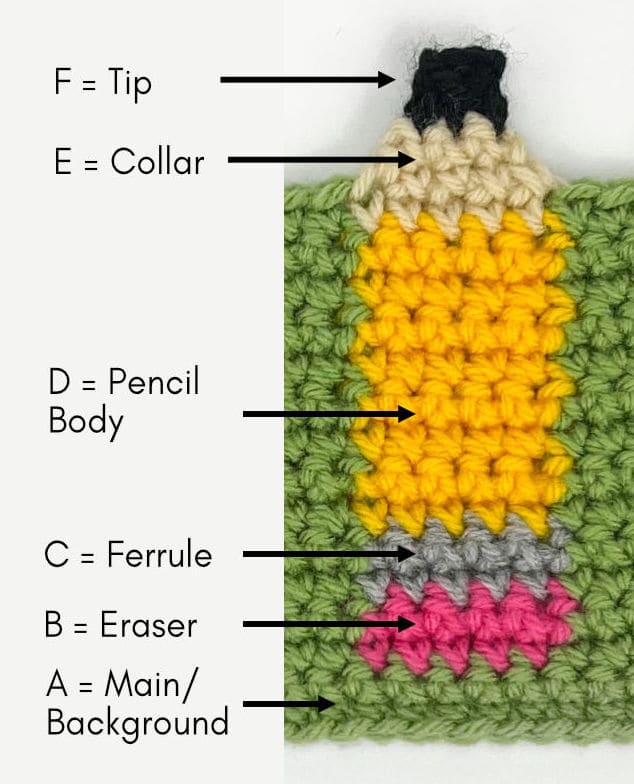
Color Legend
I’ll be honest, I had to look up the anatomy of a pencil for this pattern! Did you know that the metal “thing” above the eraser was called a Ferrule?! Here is the Color Legend:
A) Main/Background Color
B) Eraser Color
C) Ferrule (the metal “thing” above the eraser) Color
D) Pencil Body Color
E) Collar (the beige section between the tip and pencil body) Color
F) Tip
Just a Reminder!
This pattern is also available as a PDF, which includes everything listed here but as a printer-friendly PDF that you can instantly download, save, print, make notes on and keep forever.
You can also purchase it on Etsy or Ravelry.
Get this PDF with an All-Access Membership!
Only $0.14 a day!
- Instant Access to 100+ Premium PDF Crochet Patterns
- Make Gifts for Every Occasion!
- Save, Print & Keep Forever
- No Ads or Popups
- Happiness Guaranteed!
Please note: This pattern and all images associated with this pattern cannot be copied, shared, altered or sold on your own. You are welcome to sell the finished product but please include a link (if online) and reference jototheworld.com.

Crochet Pencil Holder Cover Written Instructions
(Chart is below)
If you crochet tightly, you may want to go up a hook size for the starting chains (only) to ensure you can work more easily into the back ridge loop on Row 1.
Chain/Foundation Row: With A (Main/Background Color), chain 36.
For Row 1 (only), work into the back ridge loops.
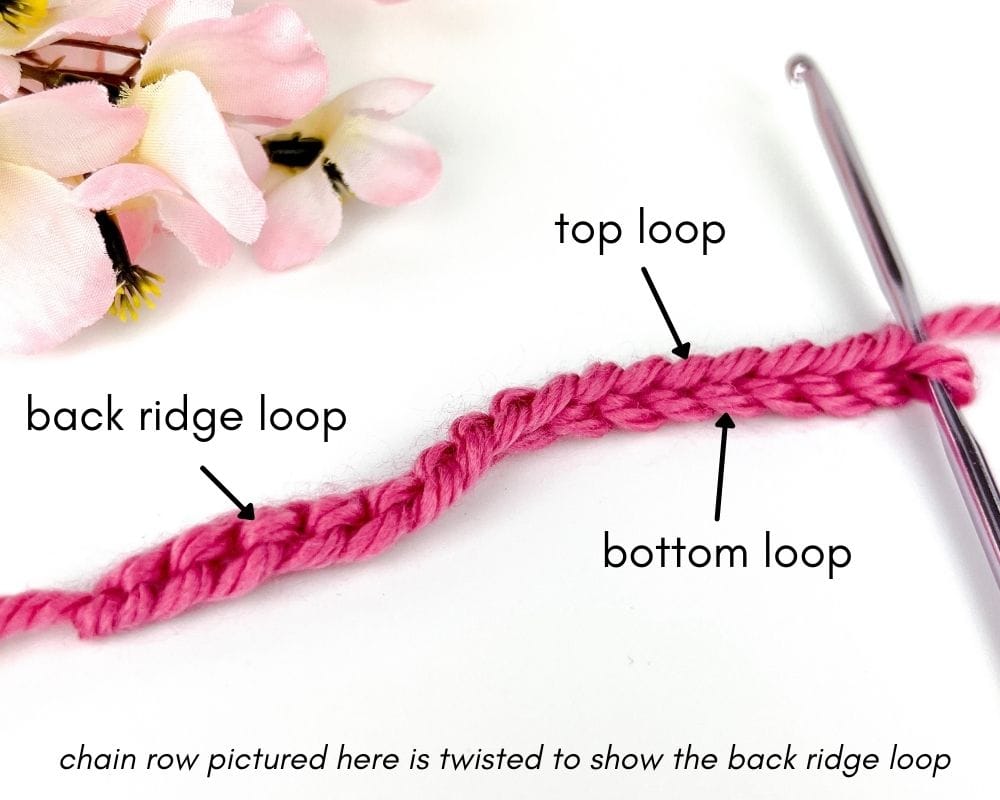
Row 1 (RS): (Continue using A for all of Row 1 & 2) In the 2nd ch from hook, sc. Sc in each ch across. Reminders: each row has 35 sts. Ch 1 and turn after each row.
(Work in both loops from now on)
Row 2 (WS): Sc in each st across.
Note About Colorwork Instructions:
In the next row, you will begin changing colors. Every stitch is a single crochet (sc). The pattern does not say to sc because it gets too jumbled. Instead it says something like: A x 3, B x 5 which means: using A (Main Color), sc for 2 sts, add B (Eraser Color) yarn on the last (the 3rd) st. Using B, sc for 4 sts (remember to catch your float on the 3rd st), on the last (the 5th) st, change back to A.
Row 3 (RS): A x 3, repeat *B x 5, A x 3* across.
Row 4 (WS): Repeat Row 3. Fasten off B.
Row 5 (RS): A x 3, repeat *C x 5, A x 3* across.
Row 6 (WS): Repeat Row 5. Fasten off C.
Row 7 (RS): A x 3, repeat *D x 5, A x 3* across.
Rows 8 – 14: Repeat Row 7. Fasten off D.
Row 15 (RS): A x 3, repeat *E x 5, A x 3* across. Fasten off E. Do not turn.
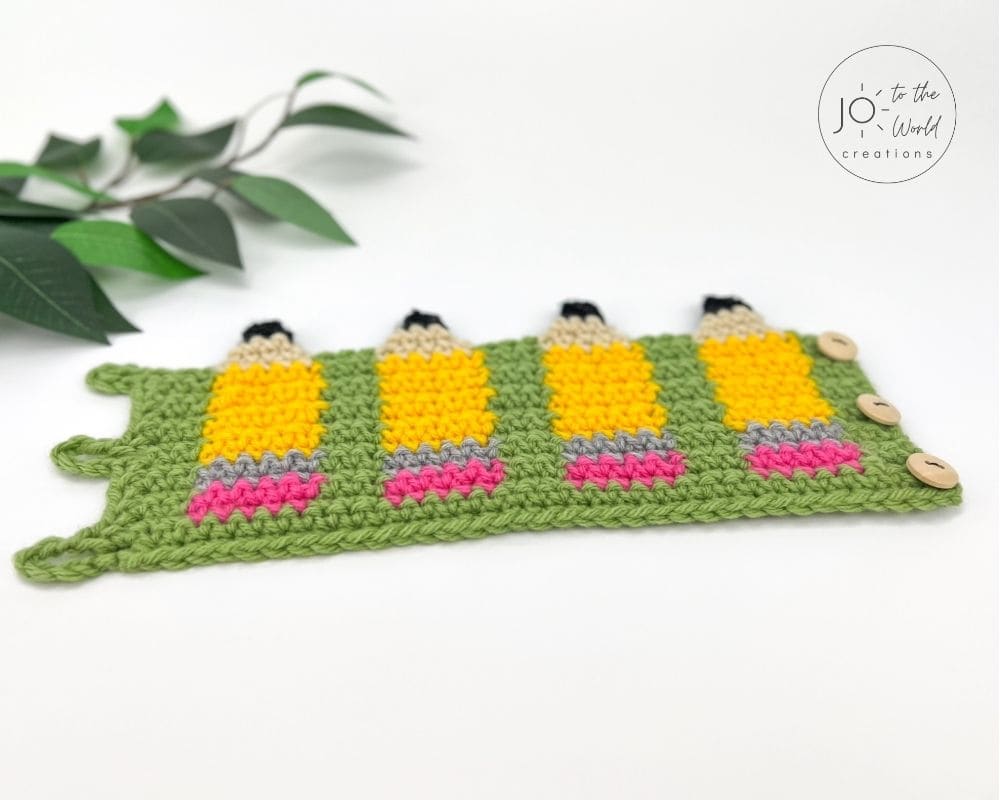
Button Straps
Test out the cover on your mason jar before making straps. To make the straps smaller or bigger, make fewer or more chains.
After completing Row 15 (ensure you have not turned), still with A (Main/Background Color), ch 6. Sl st into the same st. Sc evenly down the side until the halfway point. At the halfway point, ch 6. Sl st into the same st. Sc evenly down the side until the last st. At the last st, ch 6. Sl st into the same st. Fasten off A and weave in all loose ends.
Buttons
Test out the the cover on your mason jar to ensure proper button placement before sewing them on.
Sew on buttons at the top, middle and bottom on the opposite end from the button straps. Place button approximately 0.5″ away from end (placement spot may change depending on the size of your work – ensure strap fits over the button before sewing).
Pencil Tops
Complete all rows for one pencil top before moving on to the next.
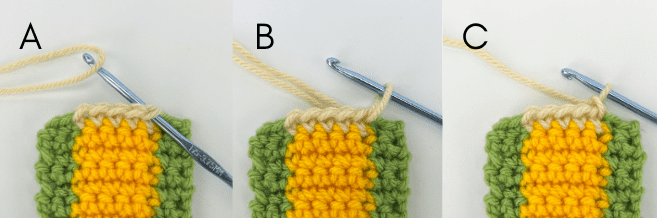
Row 1 (RS): With the RS facing you, insert hook into the 1st sc of E (Collar Color) stitches (the st furthest right). A) Place a new strand of E yarn on hook, B) pull through a loop and C) sl st. 1 sc in each of the next 3 sts. Sl st into last st. Ch 1 and turn.
Row 2 (WS): Sk the 1st sl st. 1 sc in each of the next 2 sts. Sl st into last st. Fasten off (pull end of yarn through loop to close).
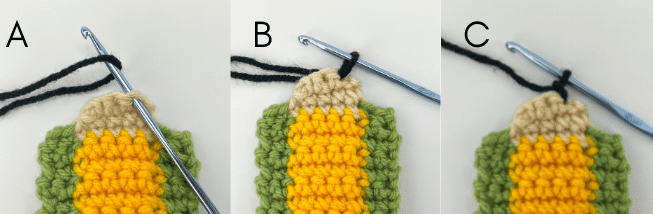
Row 3 (RS): With RS facing you, insert hook into the last sl st made with E (the st furthest right). A) Place a new strand of F (Tip Color) yarn on hook, B) pull through a loop and C) sl st. 1 sc in next 2 sts. Ch 1 and turn.
Row 4 (WS): Single crochet the 3 sts together (here’s how: insert hook into 1st st, YO and pull through loop (2 loops on hook). Insert hook into 2nd st, YO and pull through loop (3 loops on hook). Insert hook into 3rd st (the sl st), YO and pull through loop (4 loops on hook). YO and pull yarn through all 4 loops.
Fasten off and weave in all loose ends. Repeat instructions for each pencil top.
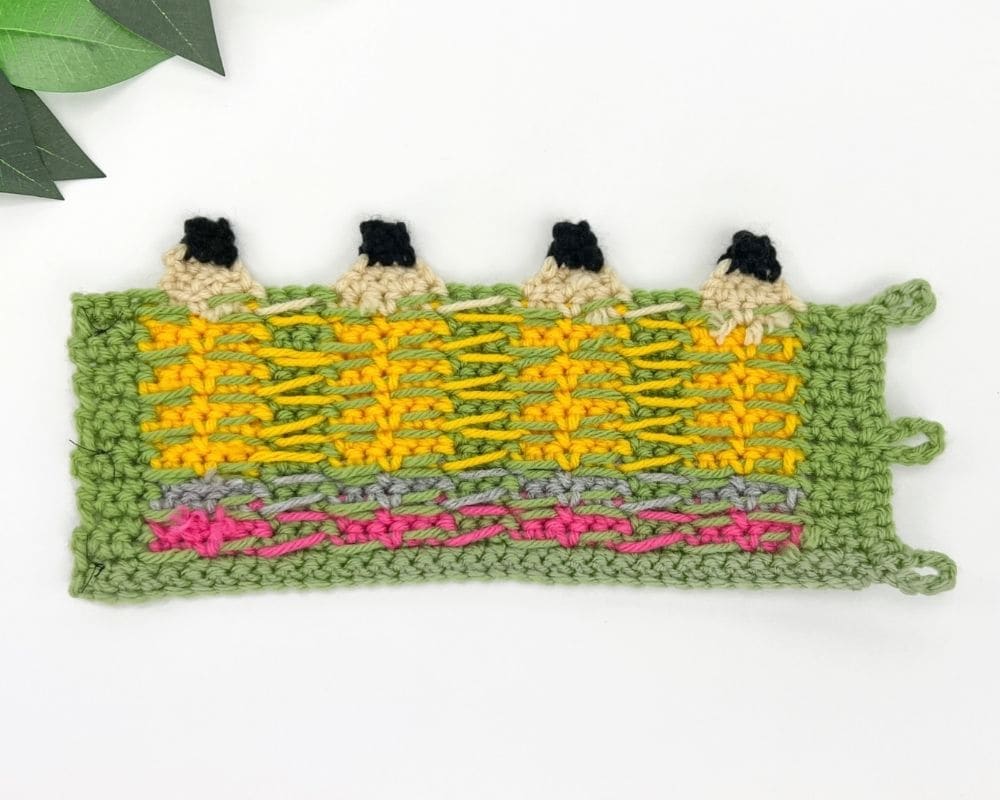
And now you have a new pencil holder cover!
Pattern Chart
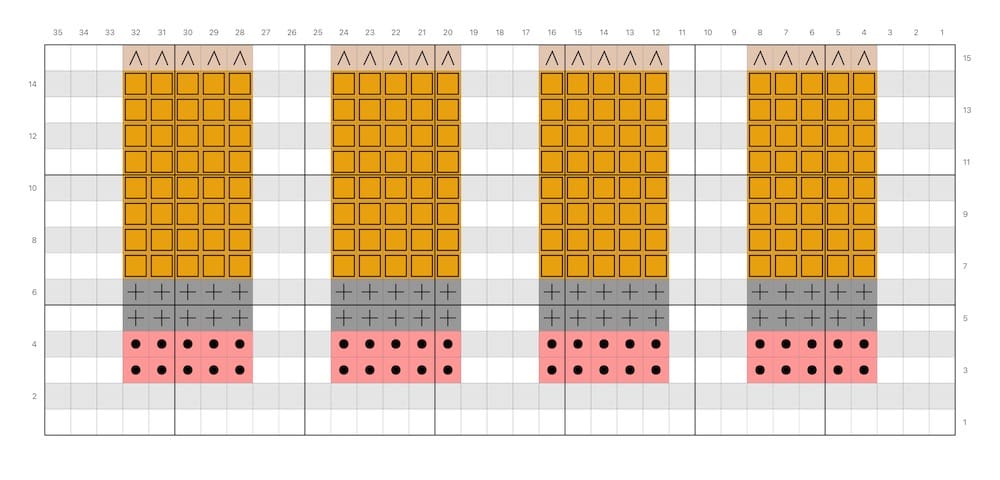
Chart Legend
- White square = sc with A (Main/Background Color)
- Light grey square = sc with A (Main/Background Color) on wrong side rows
- Pink square with circle = sc with B (Eraser Color)
- Dark grey with plus sign = sc with C (Ferrule Color)
- Orange square with black border = sc with D (Pencil Body Color)
- Beige square with upside down V = sc with E (Collar Color)
And now you have a new crochet pencil jar cover!


I’m Jo, the designer behind Jo to the World Creations, and I’m dedicated to helping you make the perfect crochet gift! I love designing and sharing free crochet patterns that you can make for every gift occasion.
About →Let’s Connect
Download. Print. Keep.
Get Instant Access to ALL Printable Patterns
Make your crocheting more enjoyable, relaxing and productive with printable PDF patterns.
- 100+ premium crochet patterns.
- Download, save and print from any device.
- No ads or popups!
Not sure yet? Take a look at the Pattern Library and see all the patterns you can download once you’re a member.
Save with Pattern Bundles
For a limited time, I’ve grouped some of my most popular crochet patterns and I’m offering them as pattern bundles where you can get the printable versions for one low, discounted price. Check out these incredible Crochet Pattern Bundles.
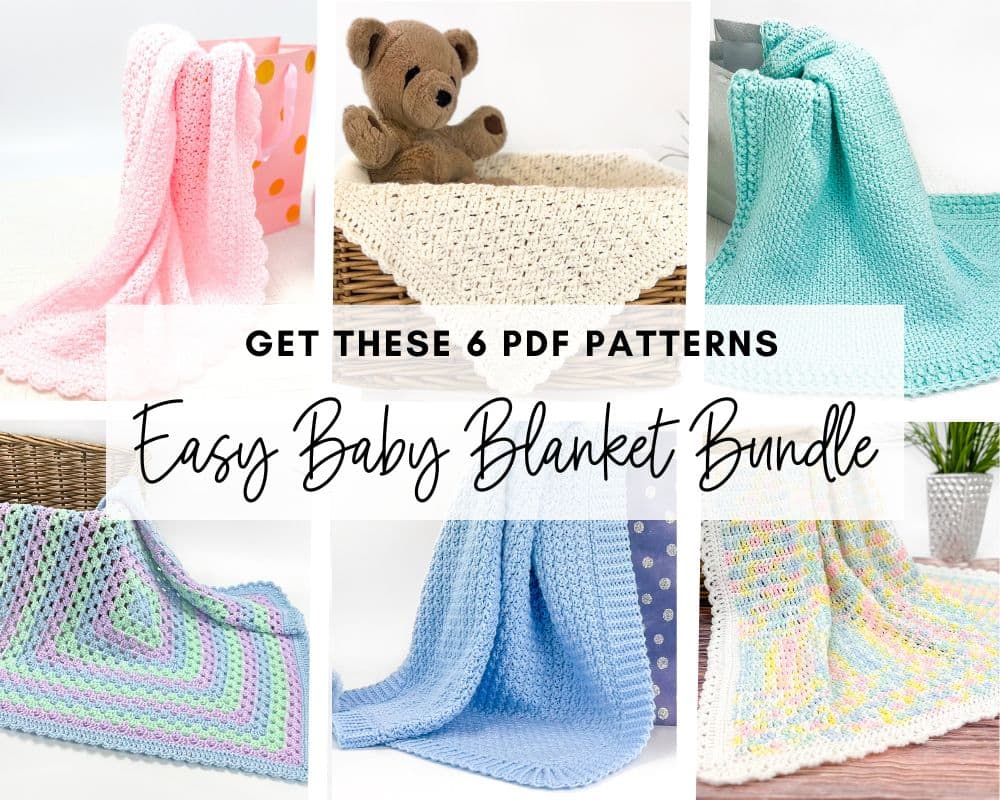
Easy Baby Blanket Bundle
With this Easy Baby Blanket Bundle, you’ll get SIX easy crochet baby blankets as printable downloads. Each pattern includes step-by-step instructions and a full video tutorial.
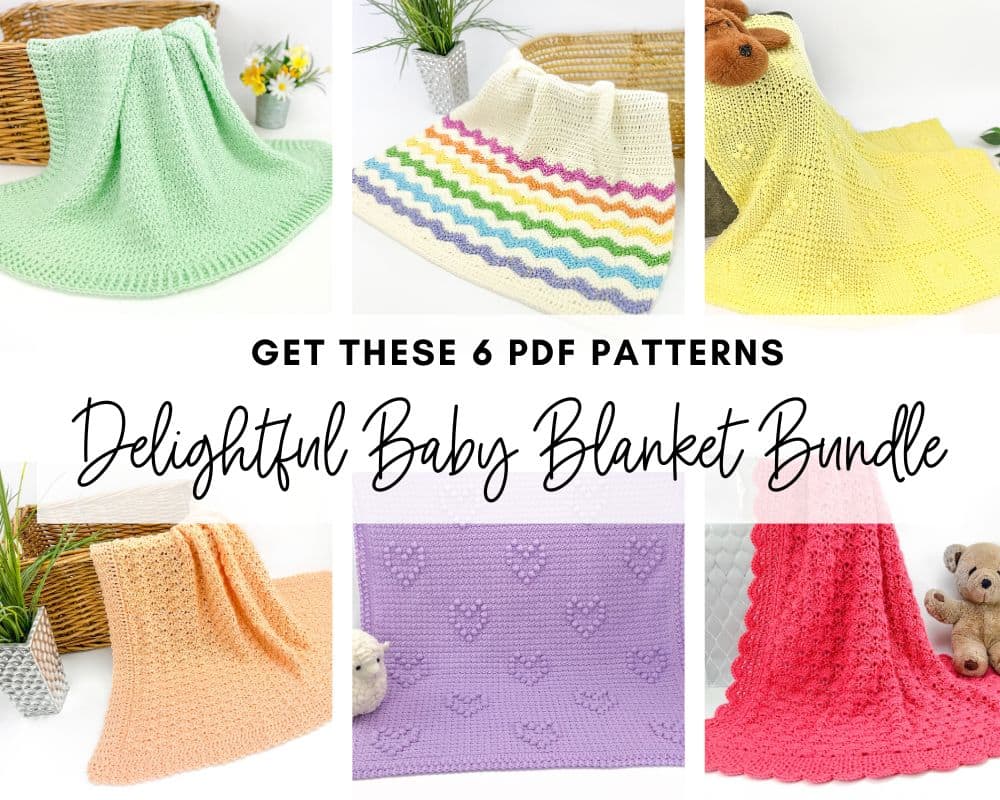
Delightful Baby Blanket Bundle
This incredible deal includes six SIX blanket patterns that are a delight to make and create truly stunning blankets – all as printable PDFs for one low, discounted price.
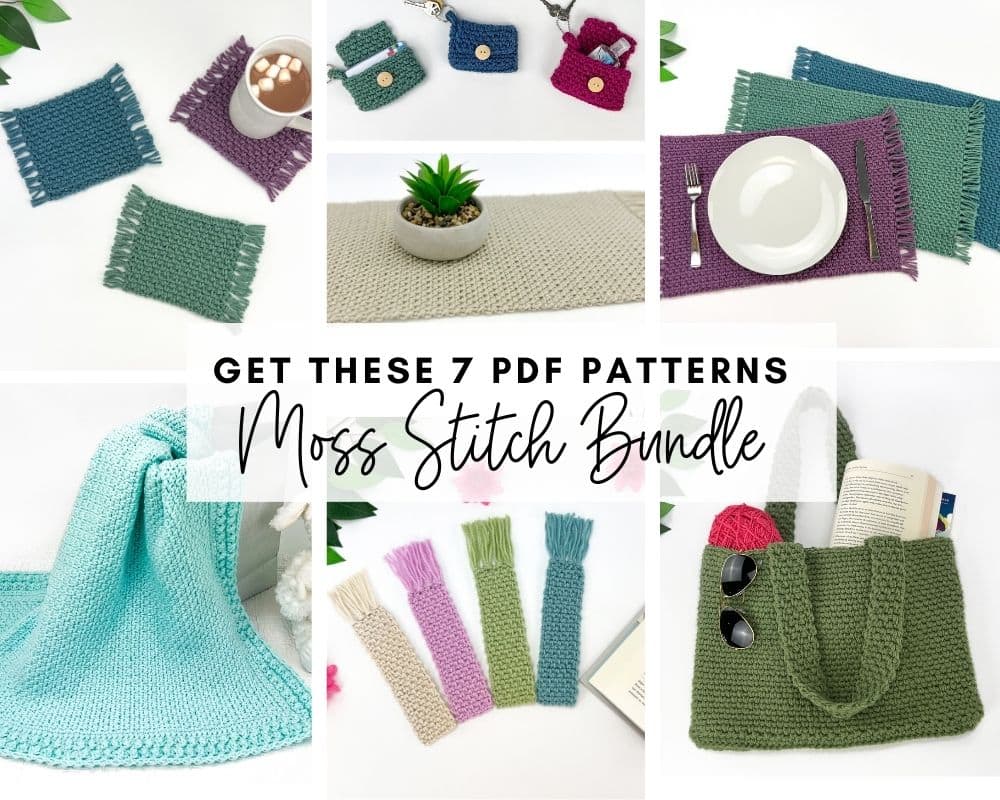
Moss Stitch Pattern Bundle
All your favorite Moss Stitch patterns in one bundle! Get SEVEN easy Moss Stitch crochet patterns as ad-free, print-ready PDFs to print, save and keep forever.
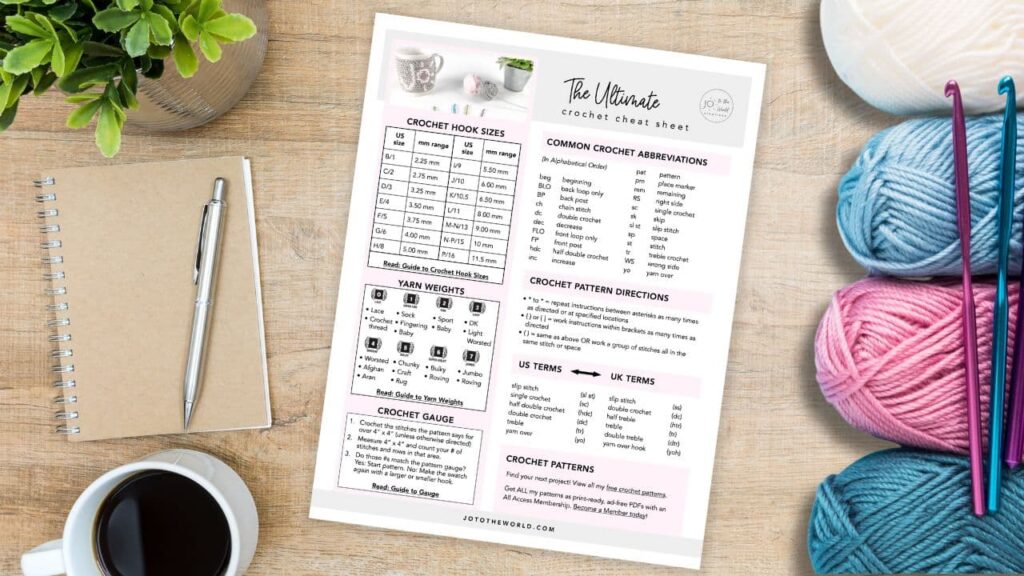
Free Crochet Cheat Sheet
Get instant access to this Ultimate Crochet Cheat Sheet! Plus you’ll receive free patterns for crochet gifts delivered right to your inbox!
Featured Crochet Patterns
Pattern Collections

Free Patterns for Crochet Gifts
Never miss a pattern! Get all my secrets to making incredible crochet gifts as well as new free crochet patterns and exclusive deals when you sign up for my newsletter (it’s free!).