Remote Holder – Free Crochet Pattern
This quick and easy pattern for a crochet remote holder (also called a remote caddy) will instantly de-clutter and organize your room. You can finally clear up much needed space on your side table and keep all your remotes, glasses, and phone nicely tucked away while your side table is beautifully clear. Looking for terrific crochet gift ideas? Make two and now you have gifts for him and her! The Remote Holder Crochet Pattern is super simple, perfect for beginners and works up really quickly. You can use any worsted weight yarn and your favorite colours so you can match…
Before we begin, I would like to thank you for visiting Jo to the World Creations, a site dedicated to helping you give the gift of crochet.
More free patterns (that make awesome crochet gifts) are on the way! Sign up for my emails, follow me and never wonder “What should I make for…” again!
FREE PATTERNS FOR CROCHET GIFTS
Delivered to your inbox
AND GET A FREE PDF OF THE LOVE PILLOW
& A FREE CROCHET CHEAT SHEET
Unsubscribe at any time.
Delivered Socially
Follow Me on
Crochet Remote Holder
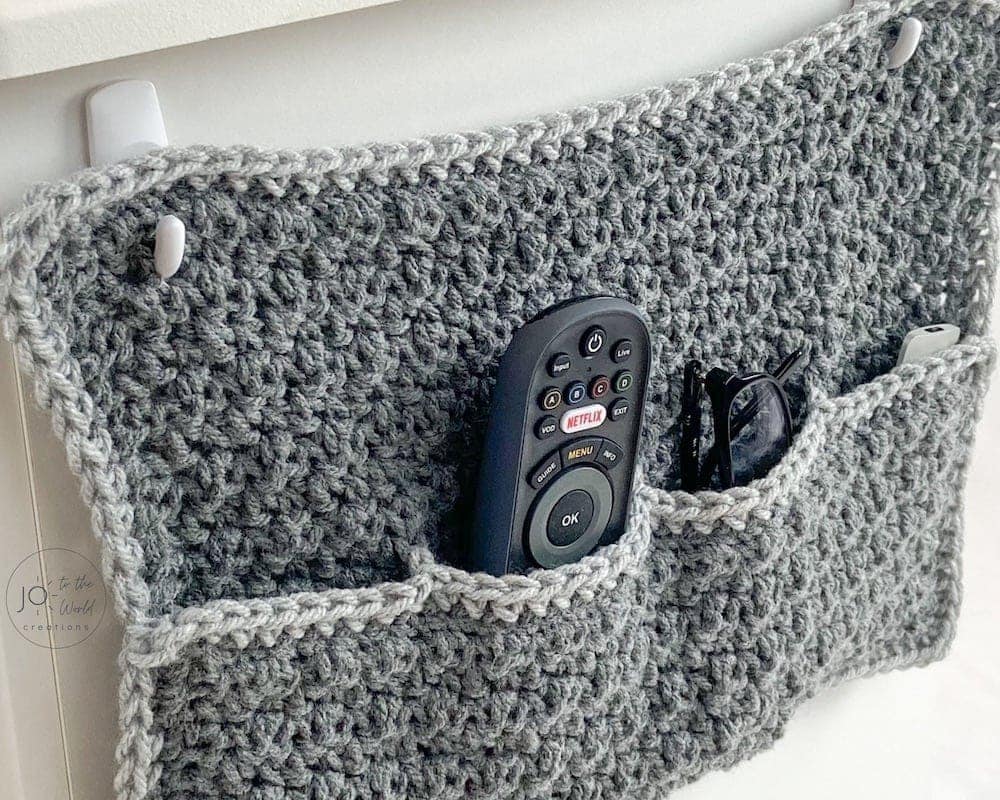
Why is there never any room on my nightside table?! I can barely find space for my glass of water let alone an iPad, phone, book, ball of yarn, back scratcher, tv remotes, glasses and this tiara that my four year old crowned me with that I’ve forgotten has been on since breakfast! I look over at my husband’s side and his is overflowing as well. That’s when I realized we needed help. When I saw the gap in between the bed and the table I could instantly envision a crochet organizer hanging there beaming with light as the answer to all our problems.
Fast forward to a future trip up to bed, all our gadgets in hand, there was no shuffling, pushing things off, having things fall, or playing remote Jenga. There was miraculously space on the table! All thanks to this awesome remote holder crochet pattern. Lives. Changed.

About This Crochet Remote Control Holder
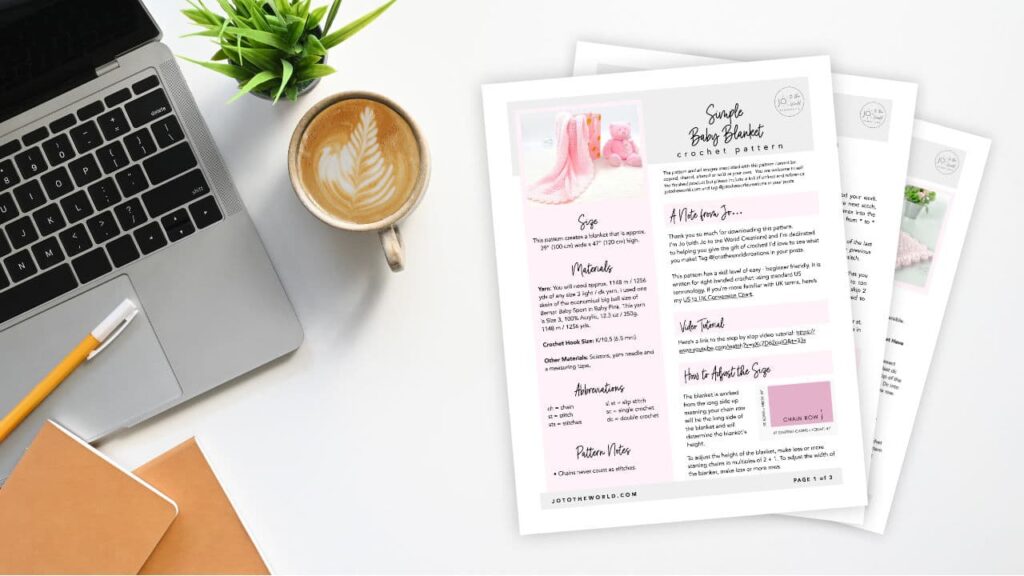
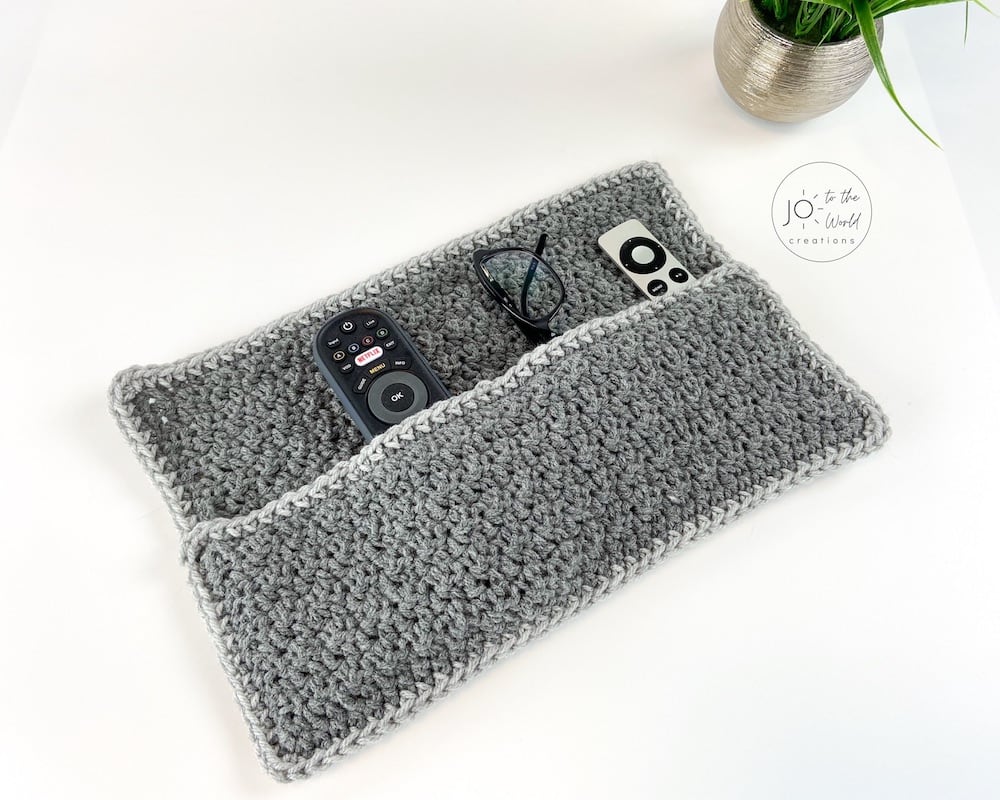
The pattern is super simple! It’s my favorite simple stitch – just single crochet and double crochet, which you see in a lot of my patterns (such as my Simple Baby Blanket). It’s often called the Lemon Peel Stitch. With this awesome, textured, easy stitch, you make the back and front pocket and single crochet them together. Then with your yarn needle you weave your yarn in and out to create the pockets and tada!
Now in addition to yarn you will need two hooks to hang this on. I highly recommend the Command 3D size small. I’ve had them on my side table for 4 years with my crochet remote control holder hanging from them and they’ve never flinched. They are removable and the package says it won’t damage your furniture (please ensure you follow the Instructions for your furniture. While I don’t guarantee anything, we use them all over the walls at Christmas and they’ve never damaged a thing).
When it comes to crochet gift ideas, this truly is such a unique, practical, professional-looking item that is sure to be used and loved by any recipient.
Crochet Remote Caddy Pattern Terminology
This Remote Holder crochet pattern is written in English for right-handed crochet using standard US crochet terminology. If you are more familiar with UK terminology, check out my US to UK Conversion Chart.
Affiliate Disclosure: This post may contain affiliate links meaning I may receive a commission for purchases made through links in this post at no extra cost to you. As an Amazon Associate, I earn from qualifying purchases.

All-Access Membership
For only $0.14 a day, you can get this pattern as a PDF and my entire library of 100+ print-ready, ad-free PDF crochet patterns!

Crochet Remote Holder/Caddy Pattern Details
Skill Level
Easy
Size
Final product is approximately 14” (36 cm) x 9” (23 cm)
Materials
Yarn: Any size 4 (medium) yarn in two colours – the less stretchy the better. I used Impeccable, which is size 4 (medium), 100% acrylic, 285 yds/4.5 oz (or 260 m/127.5g)
Colors used (as seen in the photos):
• Main Color (back and pocket) = True Grey (one skein)
• Contrast Color (the border) = Pale Grey (only a few meters is needed)
Crochet Hook Size: H/8 (5 mm)
Other Materials: scissors, yarn needle, pins, two small size Command Removable Hooks by 3M*
*The hooks are reusable and can be re- positioned. They will attach to your nightside table and the remote control holder will hang from them.
Gauge
Not important unless you want my exact measurements. For reference, 4” x 4” (10 cm) = 12 stitches of repeating *sc, dc* across and 11 rows.
Abbreviations
sc = single crochet
dc = double crochet
MC = main color
CC = contrast color
ch = chain
st = stitch
sts = stitches
Speaking of abbreviations, if you ever need help determining what a crochet abbreviation is, check out my list of the most commonly used Crochet Abbreviations.
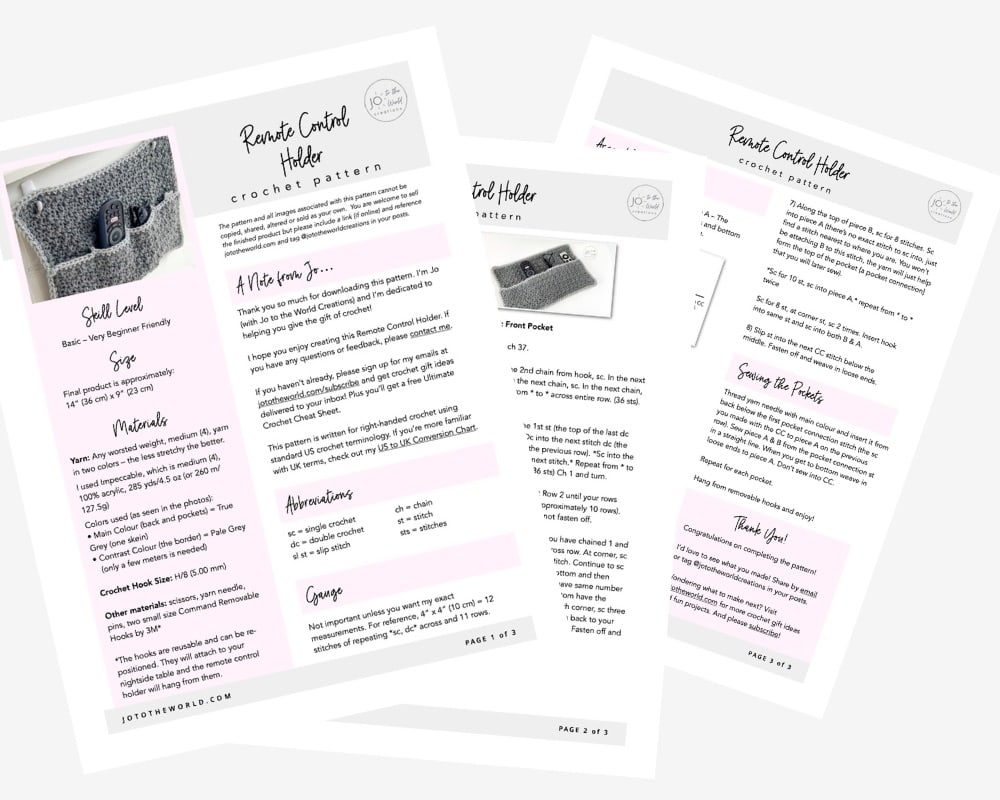
Please note: This pattern and all images associated with this pattern cannot be copied, shared, altered or sold on your own. You are welcome to sell the finished product but please include a link (if online) and reference jototheworld.com.
Just a Reminder!
This pattern is also available as a PDF, which includes everything listed below but as a printer-friendly PDF that you can instantly download, save, print, make notes on and keep forever.
You can also purchase it on Etsy and Ravelry.
Get this PDF with an All-Access Membership!
Only $0.14 a day!
- Instant Access to 100+ Premium PDF Crochet Patterns
- Make Gifts for Every Occasion!
- Save, Print & Keep Forever
- No Ads or Popups
- Happiness Guaranteed!
Crochet Remote Organizer Pattern Notes
• Chain 1 never counts as a stitch
• The holder is worked from the long side up meaning your chain row will be the long side of the holder.
Crochet Remote Caddy Pattern Instructions
Piece A: Back of Holder
Start: With MC, ch 37.
Row 1: In the 2nd chain from hook, sc. In the next chain, dc. *In the next chain, sc. In the next chain, dc.* Repeat from * to * across entire row. (36 sts). Ch 1 and turn.
Row 2: Sc into the 1st st (the top of the last dc you completed). Dc into the next stitch dc (the top of the sc from the previous row). *Sc into the next st. Dc into the next stitch.* Repeat from * to * across entire row. (36 sts). Ch 1 and turn.
Row 3 and on: Repeat Row 2 until your rows measure around 8” (approximately 20 rows). Each row has 36 sts. Do not fasten off.
MC Border: (Ensure that you have chained 1 and turned). Still with MC, sc across row. At corner, sc three times into the corner stitch. Continue to sc evenly down the side, then bottom and then other side (ensure both sides have same number of stitches and the top and bottom have the same number of stitches). At each corner, sc three times into the corner stitch. When back to your first sc stitch, join with a slip stitch. Fasten off and weave in ends.
Piece B: Front Pocket
Start: With MC, ch 37.
Row 1: In the 2nd chain from hook, sc. In the next chain, dc. *In the next chain, sc. In the next chain, dc.* Repeat from * to * across entire row. (36 sts) Ch 1 and turn.
Row 2: Sc into the 1st st (the top of the last dc you completed). Dc into the next stitch dc (the top of the sc from the previous row). *Sc into the next st. Dc into the next stitch.* Repeat from * to * across entire row. (36 sts) Ch 1 and turn.
Row 3 and on: Repeat Row 2 until your rows measure around 4.5” (approximately 10 rows). Each row has 36 sts. Do not fasten off.
MC Border: (Ensure that you have chained 1 and turned). Still with MC, sc across row. At corner, sc three times into the corner stitch. Continue to sc evenly down the side, then bottom and then other side (ensure both sides have same number of stitches and the top and bottom have the same number of stitches). At each corner, sc three times into the corner stitch. When back to your first sc stitch, join with a slip stitch. Fasten off and weave in ends.
Assembly
Place Piece B – the Pocket (B) over Piece A – The Back of Holder (A) with both bottom rows and bottom corners in line with each other. Pin in place.
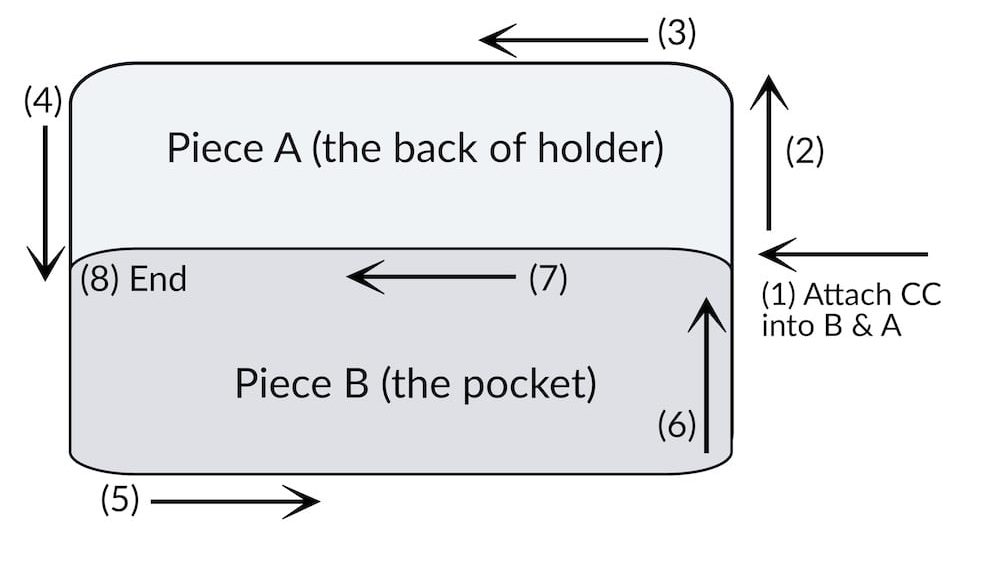
1) Attach CC by inserting hook into the top right corner stitch of B and into the closest stitch of A. Pull through yarn and slip stitch.
2) Working in only A, sc in each st up the right side. At corner st, sc into corner st 3 times.
3) Sc across top of A. At corner st, sc into st 3 times.
4) Sc down left side of A. When at the middle where B is, join by sc into both pieces. Continue to sc down left side into both A & B. When at the corner st, sc into both corner stitches of A & B 3 times.
5) Sc across bottom into both A & B
6) Sc up into both A & B until the place you joined the CC. Insert hook into same stitch where you joined and sc into both B & A. Now working only into B, sc 2 times into that same stitch that you just joined to A but now 2 sc into just B.
7) Along the top of piece B, sc for 8 stitches. Sc into piece A (there’s no exact stitch to sc into, just find a stitch nearest to where you are. You won’t be attaching B to this stitch, the yarn will just help form the top of the pocket {a pocket connection] that you will later sew).
*Sc for 10 st, sc into piece A.* repeat from * to * twice
Sc for 8 st, at corner st, sc 2 times. Insert hook into same st and sc into both B & A.
8) Slip st into the next CC stitch below the middle. Fasten off and weave in loose ends.
Sewing the Pockets
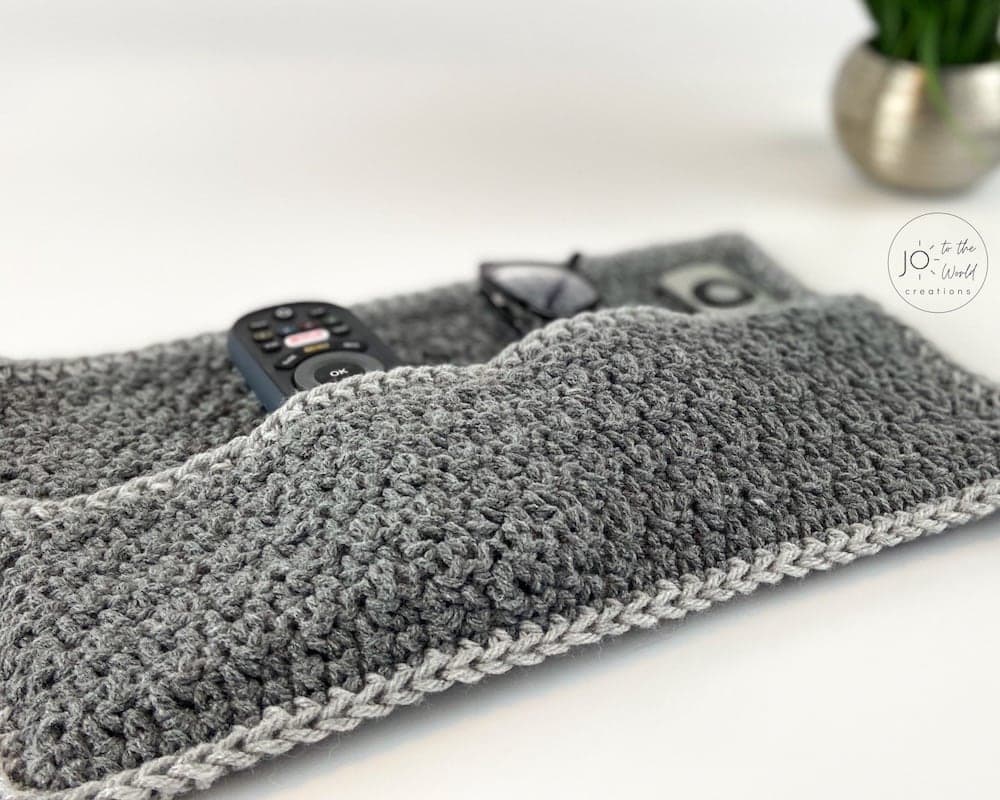
Thread yarn needle with main color and insert it from back below the first pocket connection stitch (the sc you made with the CC to piece A on the previous row). Sew piece A & B from the pocket connection st in a straight line. When you get to bottom weave in loose ends to piece A. Don’t sew into CC.
Repeat for each pocket.
Hang from removable hooks and enjoy!
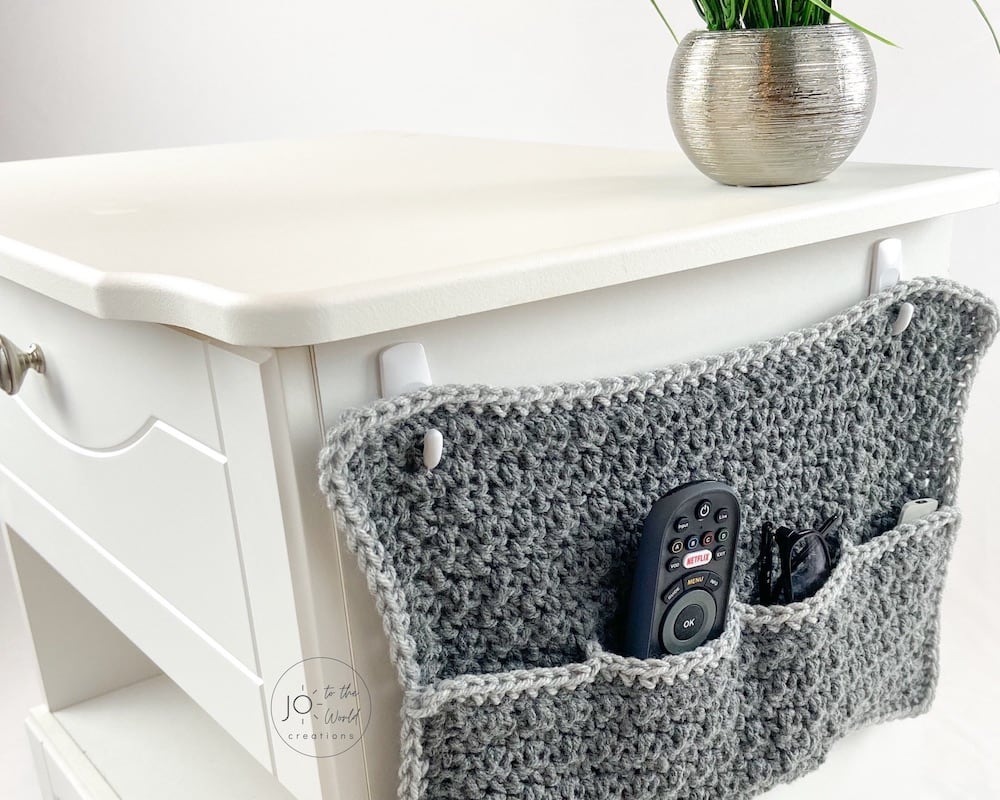
Look at all that space on your table now! I hope you enjoyed creating this Remote Holder Crochet Pattern.
Download. Print. Keep.
Get Instant Access to ALL Printable Patterns
Make your crocheting more enjoyable, relaxing and productive with printable PDF patterns.
- 100+ premium crochet patterns.
- Download, save and print from any device.
- No ads or popups!
Not sure yet? Take a look at the Pattern Library and see all the patterns you can download once you’re a member.

Save with Pattern Bundles
For a limited time, I’ve grouped some of my most popular crochet patterns and I’m offering them as pattern bundles where you can get the printable versions for one low, discounted price. Check out these incredible Crochet Pattern Bundles.

Easy Baby Blanket Bundle
With this Easy Baby Blanket Bundle, you’ll get SIX easy crochet baby blankets as printable downloads. Each pattern includes step-by-step instructions and a full video tutorial.

Delightful Baby Blanket Bundle
This incredible deal includes six SIX blanket patterns that are a delight to make and create truly stunning blankets – all as printable PDFs for one low, discounted price.
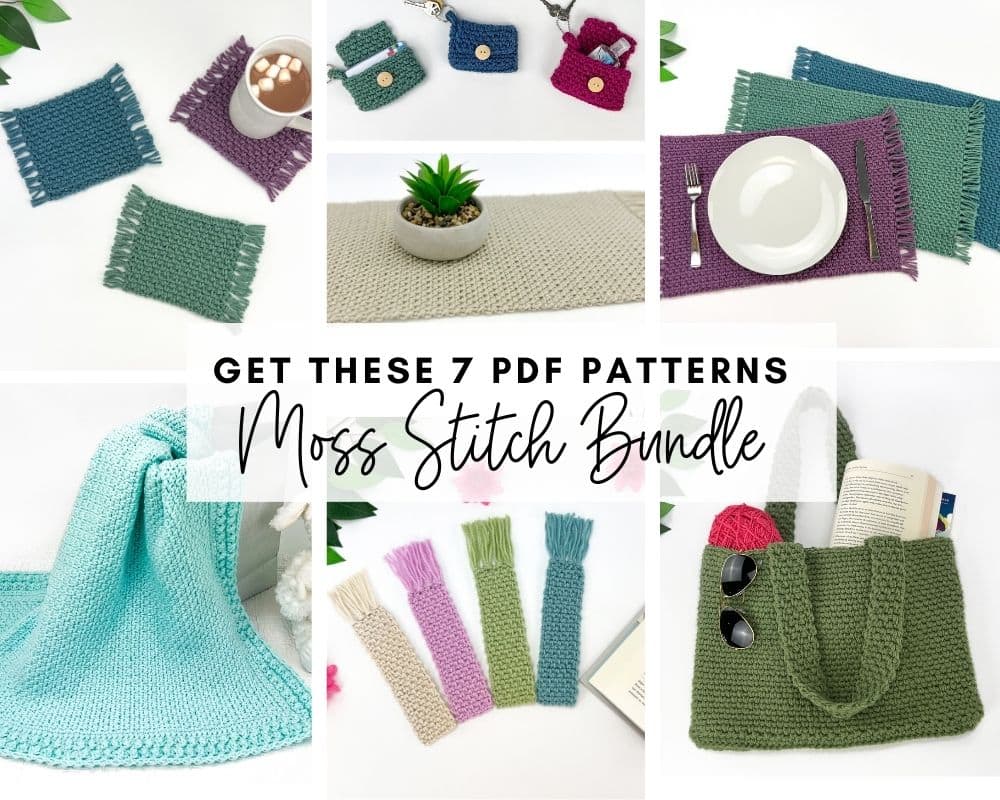
Moss Stitch Pattern Bundle
All your favorite Moss Stitch patterns in one bundle! Get SEVEN easy Moss Stitch crochet patterns as ad-free, print-ready PDFs to print, save and keep forever.
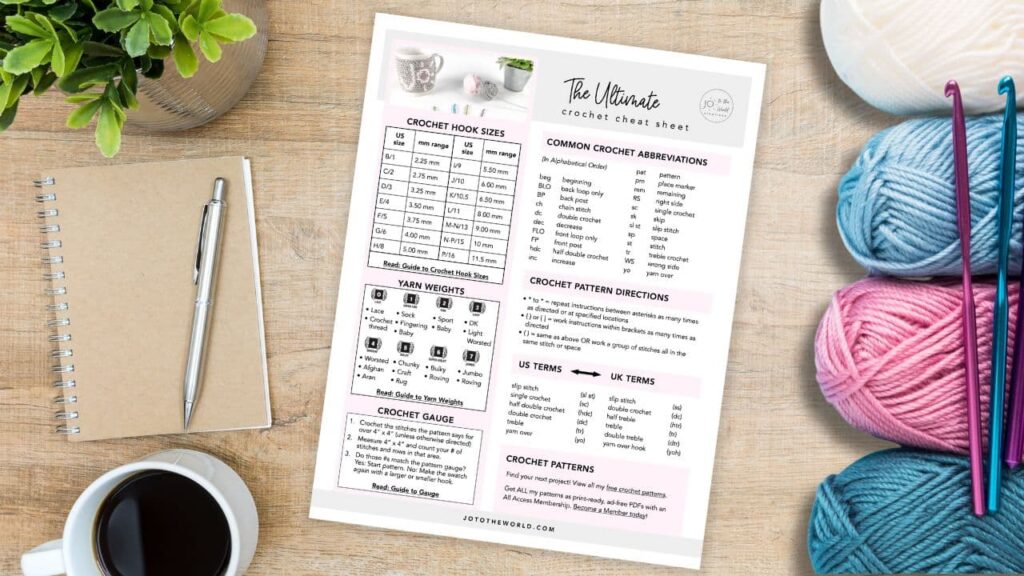
Free Crochet Cheat Sheet
Get instant access to this Ultimate Crochet Cheat Sheet! Plus you’ll receive free patterns for crochet gifts delivered right to your inbox!
Featured Crochet Patterns
Pattern Collections
Free Patterns for Crochet Gifts
Never miss a pattern! Get all my secrets to making incredible crochet gifts as well as new free crochet patterns and exclusive deals when you sign up for my newsletter (it’s free!).


