
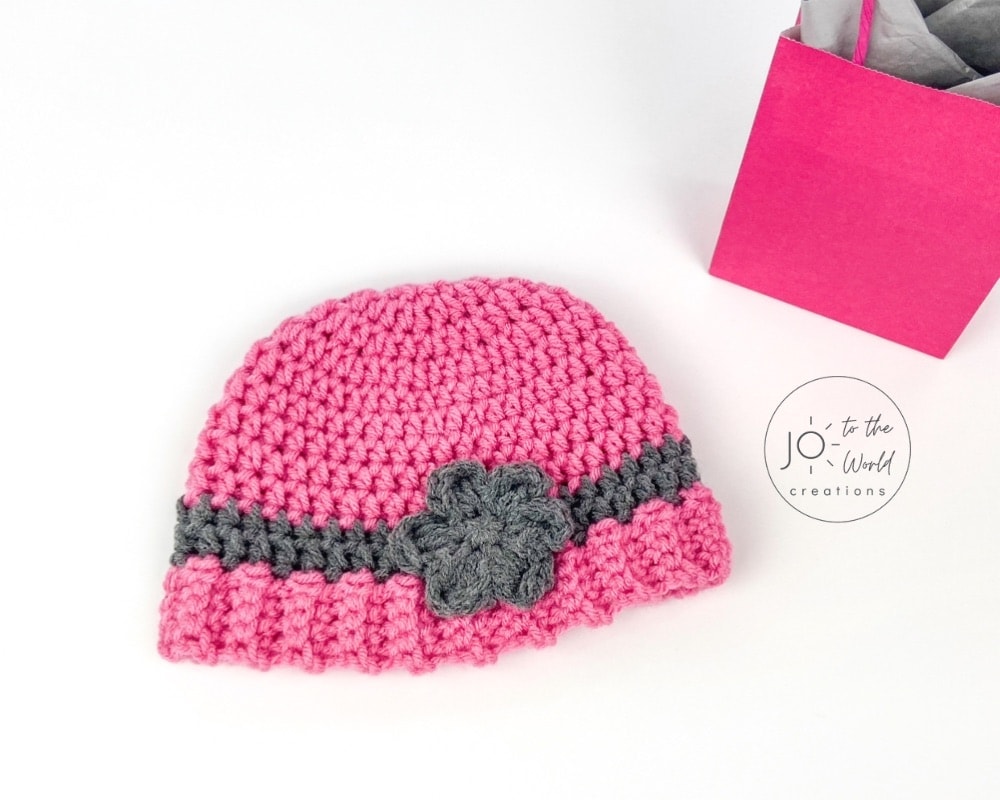
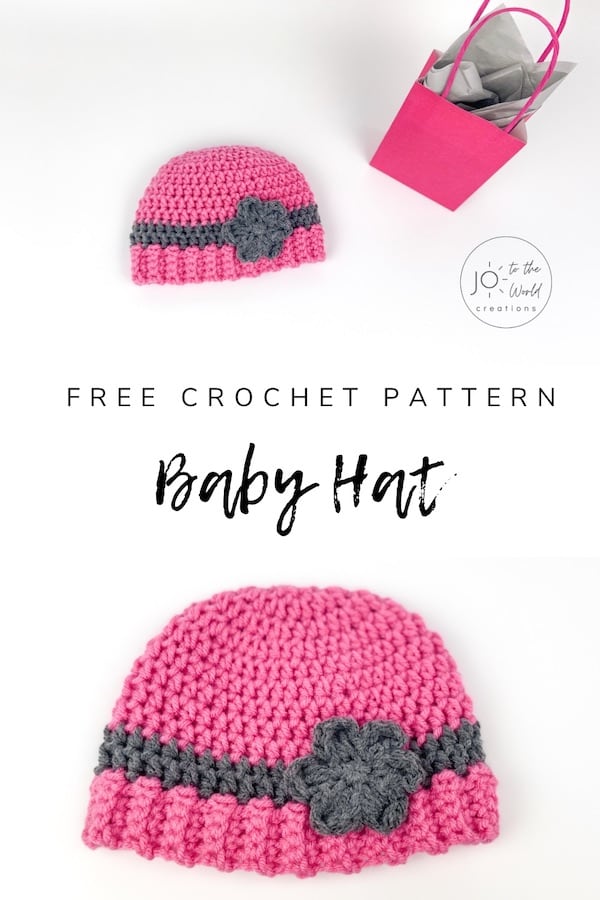
Adorable Baby Hat Crochet Pattern
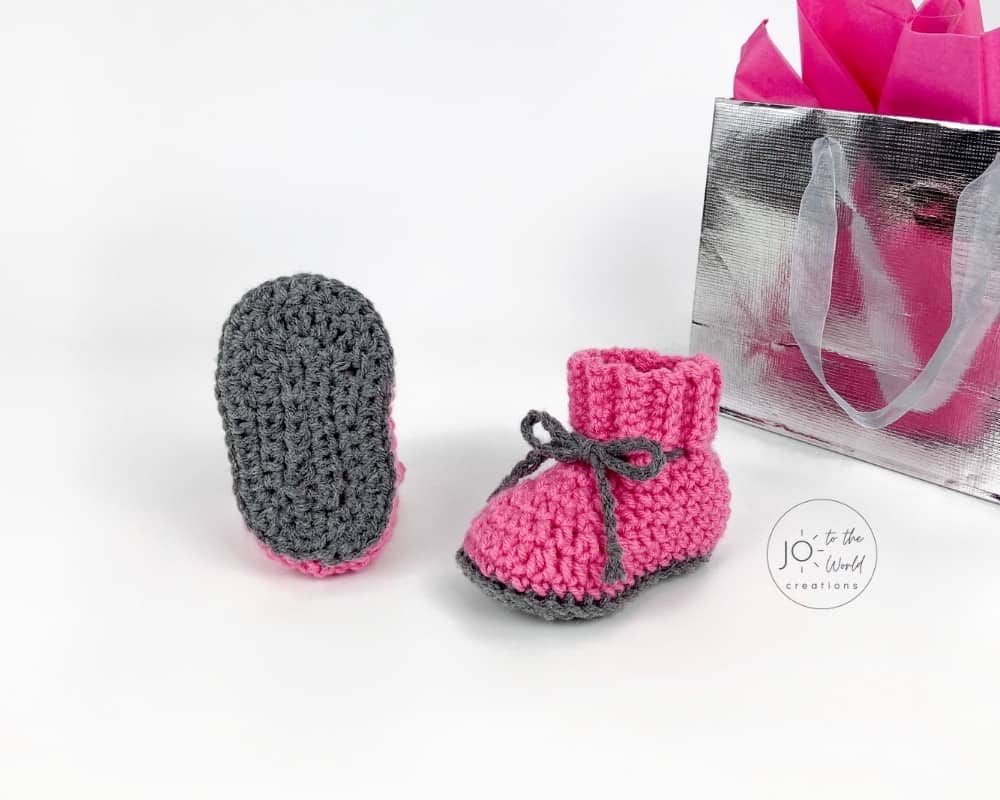
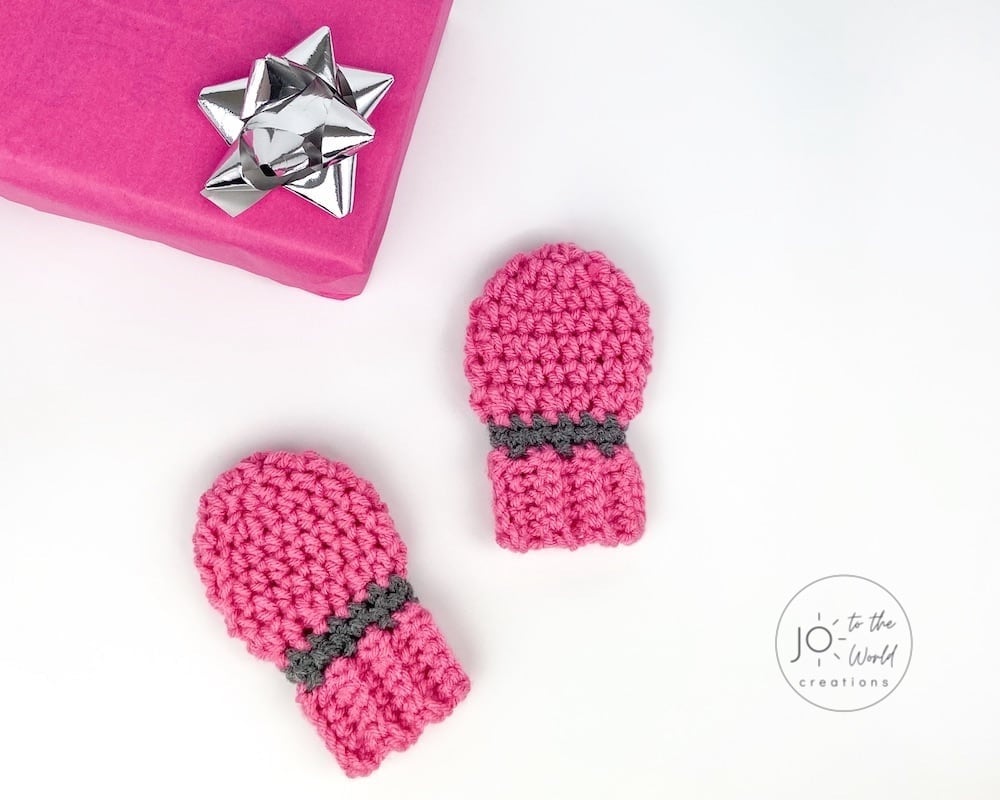
Here’s a super cute, quick and easy free pattern for a crochet baby hat. This Adorable Baby Hat Crochet Pattern is perfect for beginners learning how to crochet a hat. It comes in four sizes: newborn, 0 – 3 months, 3 – 6 months and 6 – 12 months. And it matches my Baby Booties and Baby Mittens crochet patterns! Make this crochet hat on it’s own or make the full collection as a crochet baby gift or for your own baby!
Before we begin, I would like to thank you for visiting Jo to the World Creations, a site dedicated to helping you give the gift of crochet.
More free patterns (that make awesome crochet gifts) are on the way! Sign up for my emails, follow me and never wonder “What should I make for…” again!
FREE PATTERNS FOR CROCHET GIFTS
Delivered to your inbox
AND GET A FREE PDF OF THE LOVE PILLOW
& A FREE CROCHET CHEAT SHEET
Unsubscribe at any time.
Delivered Socially
Follow Me on

Adorable Baby Hat Crochet Pattern
Is there anything cuter than babies in crochet hats? I absolutely love making hats for babies and kids…just ask about anyone with kids who lives in a 100 mile radius from me!

I made this hat to match my Baby Booties and Baby Mittens patterns (links below) but it looks great on it’s own and is an easy, simple pattern that creates a super cozy and adorable baby hat.
Make Matching Booties and Mittens!
This hat is part of my Adorable Booties, Mittens & Hat collection that all match and would make a terrific crochet gift set for baby.
Check out the matching Baby Booties Crochet Pattern (with photo tutorial).
And take a look at the matching Baby Mittens Crochet Pattern.
That’s going to be one stylish baby!
About This Crochet Baby Hat Pattern
- This hat pattern comes in four sizes (newborn, 0 – 3 months, 3 – 6 months and 6 – 12 months).
- Ideal for beginners as the pattern only uses simple stitches…if you know how to single crochet, half double crochet, triple/treble crochet, chain and slip stitch you can make this hat!
- It works up super quickly – you can make it in just one evening.
- You can use any brands and colors of your favorite light (3) yarn for the newborn size or worsted weight (4) yarn for every other size.
- Uses only a quarter of a skein of yarn (approximately).
- Warm and cozy – keep baby’s head snug all while looking adorable!
Crochet Baby Hat Pattern Details
Skill Level
Easy
Size
The pattern is available in four sizes: newborn, 0 – 3 months, 3 – 6 months and 6 – 12 months. These sizes are based on the Crochet Crowd’s Hat Sizes Reference Guide.

Newborn
Crown Size: 4″
Circumference: 12.5″
Height: 4.75″
Width: 6.25″
Newborn to 3 Months
Crown Size: 4.25″
Circumference: 13″
Height: 5.5″
Width: 6.5″
3 – 6 Months
Crown Size: 5″
Circumference: 15″
Height: 6.25″
Width: 7.5″
6 – 12 Months
Crown Size: 5.5″
Circumference: 16″
Height: 6.5″
Width: 8″
Baby Hat Materials
Yarn:
Newborn Size: Any size 3 (light) yarn. You only need approximately a quarter of a skein in total.
All Other Sizes: Any size 4 (medium) yarn. You only need approximately a quarter of a skein in total.
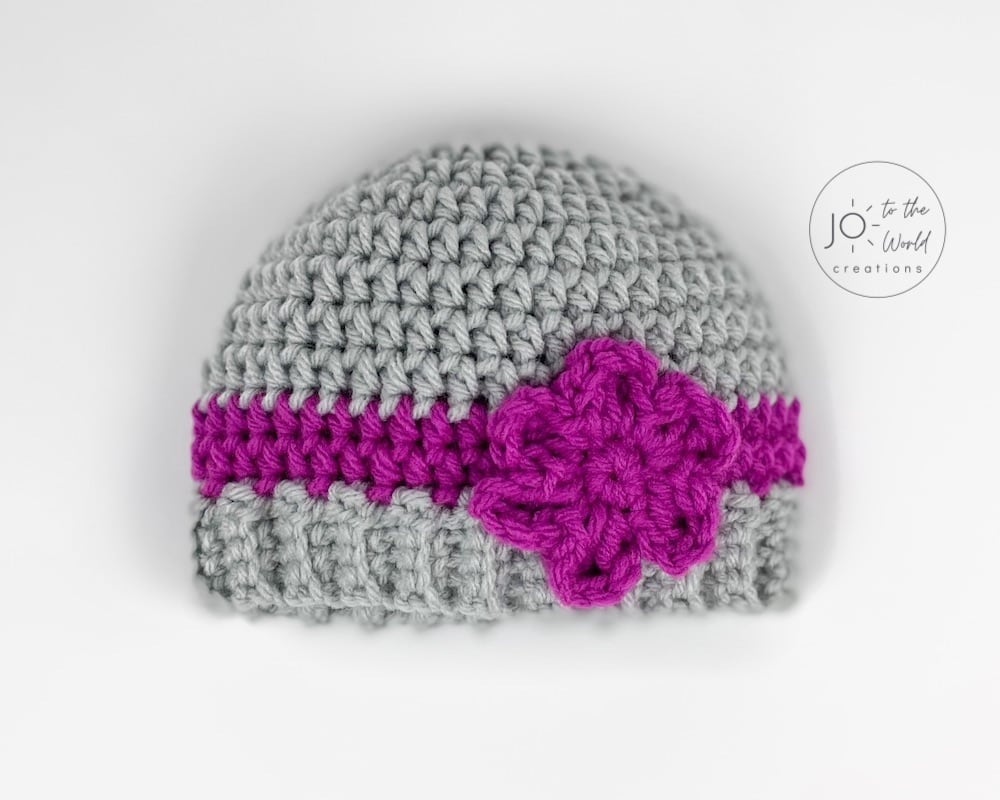
As seen in the pictures of the pink hat with a grey stripe and flower, I used Craft Smart Value (in Pink Rose) for the main part of the hat and ribbing, which is Medium (4) Weight, 100% acrylic, 7 oz / 198 g and 364 yd / 333 m. For the contrast line and flower, I used Impeccable by Loops & Threads (in True Grey), which is Medium (4) Weight, 100% acrylic, 4.5oz / 127.5g and 285 yd/260 m.
Crochet Hook:
- Newborn Size: G/6 (4.00mm) for the hat and F/5 (3.75mm) for the ribbing and flower
- 0 – 3 Months Size: H/8 (5.00mm) for hat, G/6 (4.00mm) for the ribbing and F/5 (3.75mm) for the flower
- 3 – 6 Months & 6 – 12 Month Sizes: H/8 (5.00mm) for hat and flower and G/6 (4.00mm) for the ribbing
Other Materials;
Yarn Needle, Scissors, Measuring Tape
Abbreviations (All Sizes)
- st = stitch
- sts = stitches
- ch = chain
- sc = single crochet
- hdc = half double crochet
- tr = triple/treble crochet
- sl st = slip stitch
Crochet Baby Hat Pattern Notes (all Sizes):
- This Adorable Baby Hat Crochet Pattern is written in English for right-handed crochet using standard US crochet terminology. If you’re more familiar with UK terminology, check out my US to UK Conversion Chart.
- The hat is worked from the top down.
- Do not turn work after a ch 1, continue crocheting in same direction.
- Ch 1 does not count as a stitch.
- Always start in the same st as the chain.
- To begin the pattern, I recommend starting with a magic ring/circle. If you need help creating a magic ring/circle, Crochet365KnitToo has a great step by step photo tutorial here.
Please note: This pattern and all images associated with this pattern cannot be copied, shared, altered or sold on your own. You are welcome to sell the finished product but please include a link (if online) and reference jototheworld.com.
Adorable Baby Hat Crochet Pattern
Hat Instructions
Use the links below to jump to the size you’d like to make:
Newborn
0 – 3 Months
3 – 6 Months
6 – 12 Months
Newborn
Hat
Using a G/6 (4.00 mm) hook and light (3) yarn, create a magic ring/circle.
Round 1: hdc 11 times into magic ring/circle. Pull tight. Join with a sl st into 1st hdc. (11 sts)
Round 2: ch 1. 2 hdc in each st around. Join with a sl st into 1st hdc. (22 sts)
Round 3: ch 1. 2 hdc in first st and 1 hdc in next st. Repeat *2 hdc in next st, 1 hdc in next st* around. Join with a sl st into 1st hdc. (33 sts)
Round 4: ch 1. 2 hdc in first st, hdc in next 2 sts. Repeat *2 hdc in next st, hdc in next 2 sts* around. Join with a sl st into 1st hdc. (44 sts)
Measure your crown size: it should measure 4.25″. If it is much smaller or larger, I recommend starting again with a smaller or larger hook.
Round 5-10: ch 1. hdc in each st around. Sl st into 1st hdc to join. (44 sts)
Round 11: Add 2nd color by attaching with a sl st. You can leave current (1st) color hanging (as long as it is hanging on the wrong side of your work) and pick it back up again when you begin the ribbing. With new color, ch 1. (If not changing color, ch 1 with current color). hdc in each st around. Sl st into 1st hdc to join. (44 sts)
Round 12: Ch 1. hdc in each st around. Sl st into 1st hdc to join (44 sts).
Begin the hat ribbing. Click here to jump down to the Hat Ribbing Instructions.
0 – 3 Months
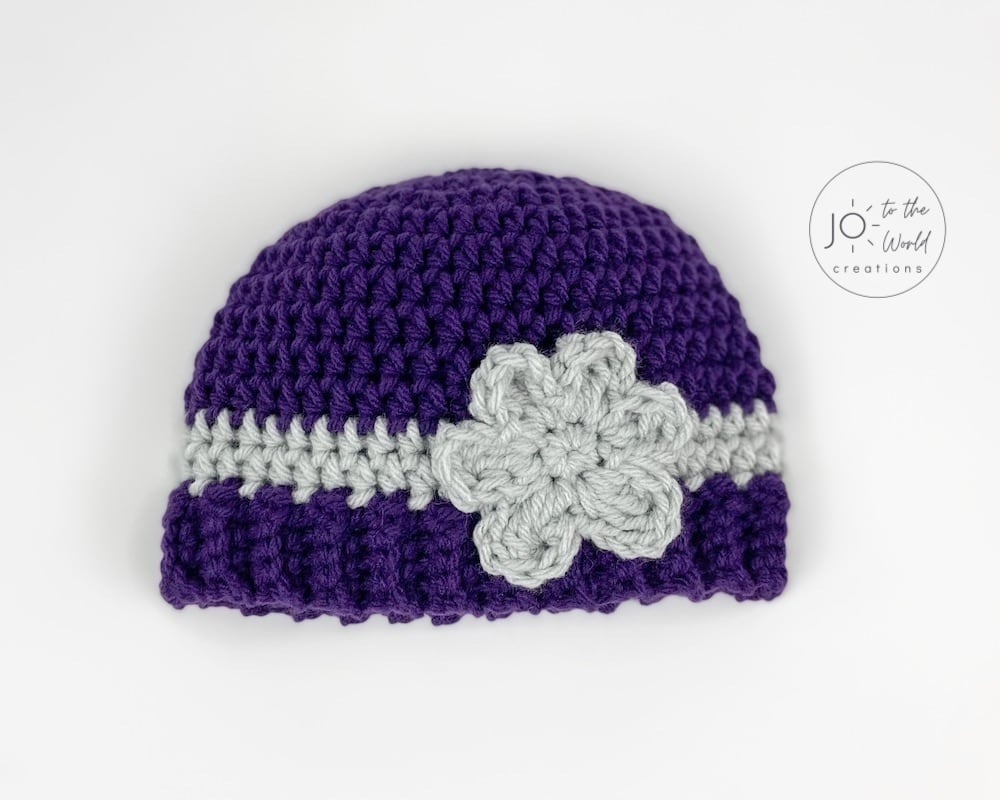
(Hat pictured above is made with Loops & Threads Impeccable Yarn, Solid with the colors “Putty” for the hat and “Magenta” for the stripe and flower)
Using a H/8 (5.00 mm) hook and worsted weight (4) yarn, create a magic ring/circle.
Round 1: hdc 11 times into magic ring/circle. Pull tight. Join with a sl st into 1st hdc. (11 sts)
Round 2: ch 1. 2 hdc in each st around. Join with a sl st into 1st hdc. (22 sts)
Round 3: ch 1. 2 hdc in first st and 1 hdc in next st. Repeat *2 hdc in next st, 1 hdc in next st* around. Join with a sl st into 1st hdc. (33 sts)
Round 4: ch 1. 2 hdc in first st, hdc in next 2 sts. Repeat *2 hdc in next st, hdc in next 2 sts* around. Join with a sl st into 1st hdc. (44 sts)
Measure your crown size: it should measure 4.25″. If it is much smaller or larger, I recommend starting again with a smaller or larger hook.
Round 5-8: ch 1. hdc in each st around. Sl st into 1st hdc to join. (44 sts)
Round 9: Add 2nd color by attaching with a sl st. You can leave current (1st) color hanging (as long as it is hanging on the wrong side of your work) and pick it back up again when you begin the ribbing. With new color, ch 1. (If not changing color, ch 1 with current color). hdc in each st around. Sl st into 1st hdc to join. (44 sts)
Round 10: Ch 1. hdc in each st around. Sl st into 1st hdc to join (44 sts).
Begin the hat ribbing. Click here to jump down to the Hat Ribbing Instructions.
3 – 6 Months
(Hat pictured above is made with Loops & Threads Impeccable Yarn, Solid with the colors “Amethyst” for the hat and “Putty” for the stripe and flower)
Using a H/8 (5.00 mm) hook and worsted weight (4) yarn, create a magic ring/circle.
Round 1: hdc 11 times into magic ring/circle. Pull tight. Join with a sl st into 1st hdc. (11 sts)
Round 2: ch 1. 2 hdc in each st around. Join with a sl st into 1st hdc. (22 sts)
Round 3: ch 1. 2 hdc in first st and 1 hdc in next st. Repeat *2 hdc in next st, 1 hdc in next st* around. Join with a sl st into 1st hdc. (33 sts)
Round 4: ch 1. 2 hdc in first st, hdc in next 2 sts. Repeat *2 hdc in next st, hdc in next 2 sts* around. Join with a sl st into 1st hdc. (44 sts)
Round 5: ch 1. 2 hdc in first st, hdc in next 10 sts. Repeat *2 hdc in next st, hdc in next 10 sts* around. Join with a sl st into 1st hdc. (48 sts)
Measure your crown size: it should measure 5″. If it is much smaller or larger, I recommend starting again with a smaller or larger hook.
Round 6-10: ch 1. hdc in each st around. Sl st into 1st hdc to join. (48 sts)
Round 11: Add 2nd color by attaching with a sl st. You can leave current (1st) color hanging (as long as it is hanging on the wrong side of your work) and pick it back up again when you begin the ribbing. With new color, ch 1. (If not changing color, ch 1 with current color). hdc in each st around. Sl st into 1st hdc to join. (48 sts)
Round 12: Ch 1. hdc in each st around. Sl st into 1st hdc to join (48 sts).
Begin the hat ribbing. Click here to jump down to the Hat Ribbing Instructions.

6 – 12 Months
(Hat pictured above is made with Loops & Threads Impeccable Yarn, Solid with the colors “Magenta” for the hat and “Amethyst” for the stripe and flower)
Using a H/8 (5.00 mm) hook and worsted weight (4) yarn, create a magic ring/circle.
Round 1: hdc 11 times into magic ring/circle. Pull tight. Join with a sl st into 1st hdc. (11 sts)
Round 2: ch 1. 2 hdc in each st around. Join with a sl st into 1st hdc. (22 sts)
Round 3: ch 1. 2 hdc in first st and 1 hdc in next st. Repeat *2 hdc in next st, 1 hdc in next st* around. Join with a sl st into 1st hdc. (33 sts)
Round 4: ch 1. 2 hdc in first st, hdc in next 2 sts. Repeat *2 hdc in next st, hdc in next 2 sts* around. Join with a sl st into 1st hdc. (44 sts)
Round 5: ch 1. 2 hdc in first st, hdc in next 10 sts. Repeat *2 hdc in next st, hdc in next 10 sts* around. Join with a sl st into 1st hdc. (48 sts)
Round 6: ch 1. 2 hdc in first st, hdc in next 11 sts. Repeat *2 hdc in next st, hdc in next 11 sts* around. Join with a sl st into 1st hdc. (52 sts)
Measure your crown size: it should measure 5.5″. If it is much smaller or larger, I recommend starting again with a smaller or larger hook.
Round 7-11: ch 1. hdc in each st around. Sl st into 1st hdc to join. (52 sts)
Round 12: Add 2nd color by attaching with a sl st. You can leave current (1st) color hanging (as long as it is hanging on the wrong side of your work) and pick it back up again when you begin the ribbing. With new color, ch 1. (If not changing color, ch 1 with current color). hdc in each st around. Sl st into 1st hdc to join. (52 sts)
Round 13: Ch 1. hdc in each st around. Sl st into 1st hdc to join (52 sts).
Begin the hat ribbing.
Hat Ribbing
Newborn Size: Use F/5 (3.75mm) hook
All Other Sizes: Use G/6 (4.00 mm) hook
If you were using a different hook size for the hat (not what was listed in the instructions), use one size smaller from the hook size you were using. Here’s a Crochet Hook Sizes Chart for easy reference.
Step 1: Pick up 1st color and attach with a sl st. Fasten off 2nd color, leaving a tail to weave in ends. With 1st color, ch 5 (or if you’re not changing color, with current color ch 5).
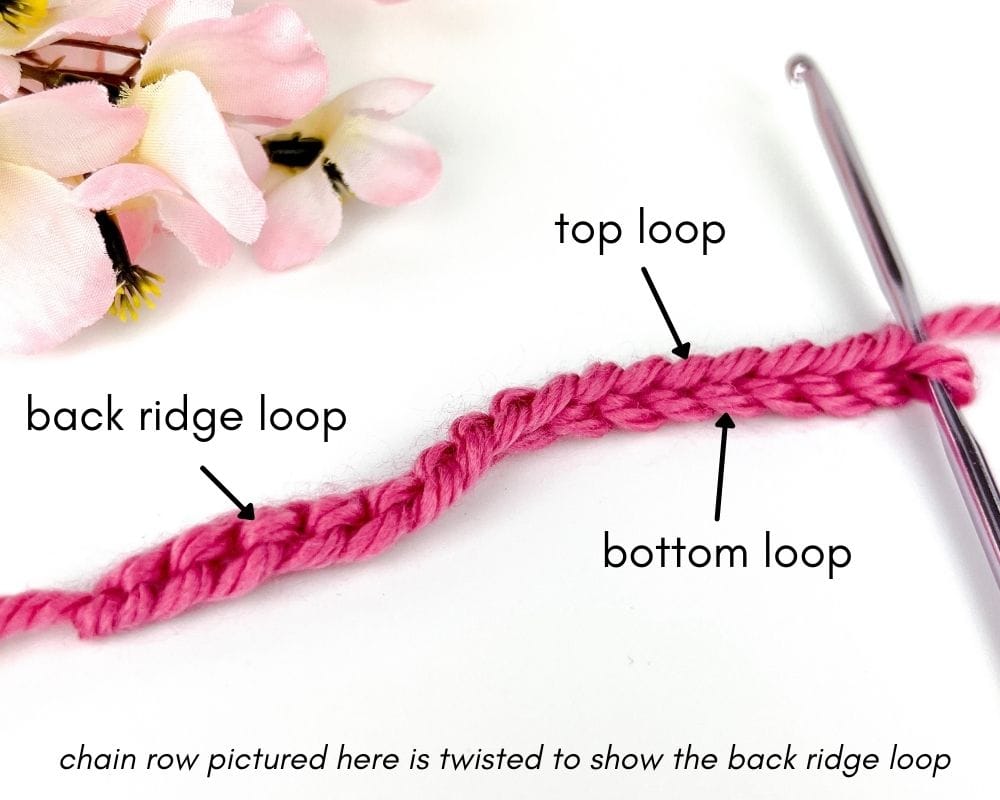
Step 2: In 2nd ch from hook, sc into back ridge loop. Sc into each back ridge loop down ch (4 sc).
Step 3: sl st into the next 2 stitches to attach the cuff to the hat. Ensure the first st that you sl st into is not the current st that the ch is attached to. ch 1 and turn.
Step 4: Skip the two sl sts you just made. sc into the back loops only of the last sc you made (the bottom of the chain). sc into each back loop up the chain (4 sc). ch 1 and turn.
Step 5: sc back down into the back loops only (4 sc). sl st into the next st of the hat (not the st attached). Sl st into the following st. ch 1 and turn.

Repeat this process of skipping the two slip stitches, then working up into the back loops only, ch 1 and turn, work down, slip stitch into the next two stitches all the way around.
When you’ve slipped stitched into the last two stitches of the hat (there are no more stitches to attach the cuff to), do not chain. Slip stitch into the outside loops of both sides to join together (ensure your hat is inside out and join the sides on the inside/wrong side of the hat). Sl st into each of the outside loops of both sides all the way up (4 sl sts in total).
Fasten off and weave in loose ends. Turn right side out.

Crochet Flower
The flower is made with triple/treble crochet stitches. If you are not familiar with this stitch or would like a reminder, the Spruce Crafts has a great overview here.
Newborn and 0 – 3 Months : Use F/5 (3.75mm) hook
3 – 6 Months and 6 – 12 Months: Use H/8 (5.00 mm) hook
Create a magic ring/circle.
Round 1: sc 6 times into magic ring/circle. Join with a sl st to 1st sc. Do not turn.
Round 2: ch 3. triple/treble crochet (tr) three times into first sc. sl st into same sc.
sc into next st. ch 3. 3 tr and sl st into st.
Repeat in each st (a total of 6 petals).
Sl st in back of 1st petal (close to center) to join.
Fasten off leaving a 12” tail that you will use to attach the flower onto the hat. Attach flower to the hat so that it is slightly to right of the front of the hat and the middle of the flower is over the center of the contrast line. Weave the tail in and out all around the edges of the flower to attach.
And that’s it! Now you have an adorable crochet baby hat!
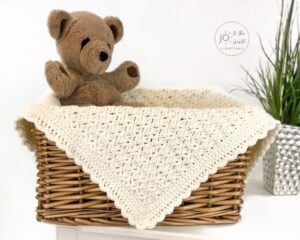
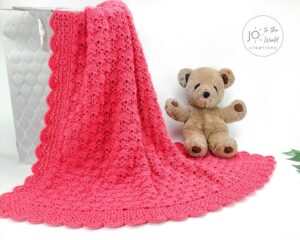
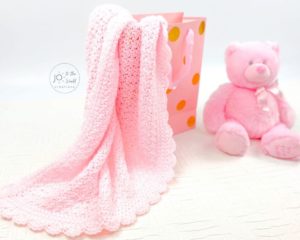
Wondering what to make next? Check out these free crochet patterns for babies.


I’m Jo, the designer behind Jo to the World Creations, and I’m dedicated to helping you make the perfect crochet gift! I love designing and sharing free crochet patterns that you can make for every gift occasion.
About →Let’s Connect
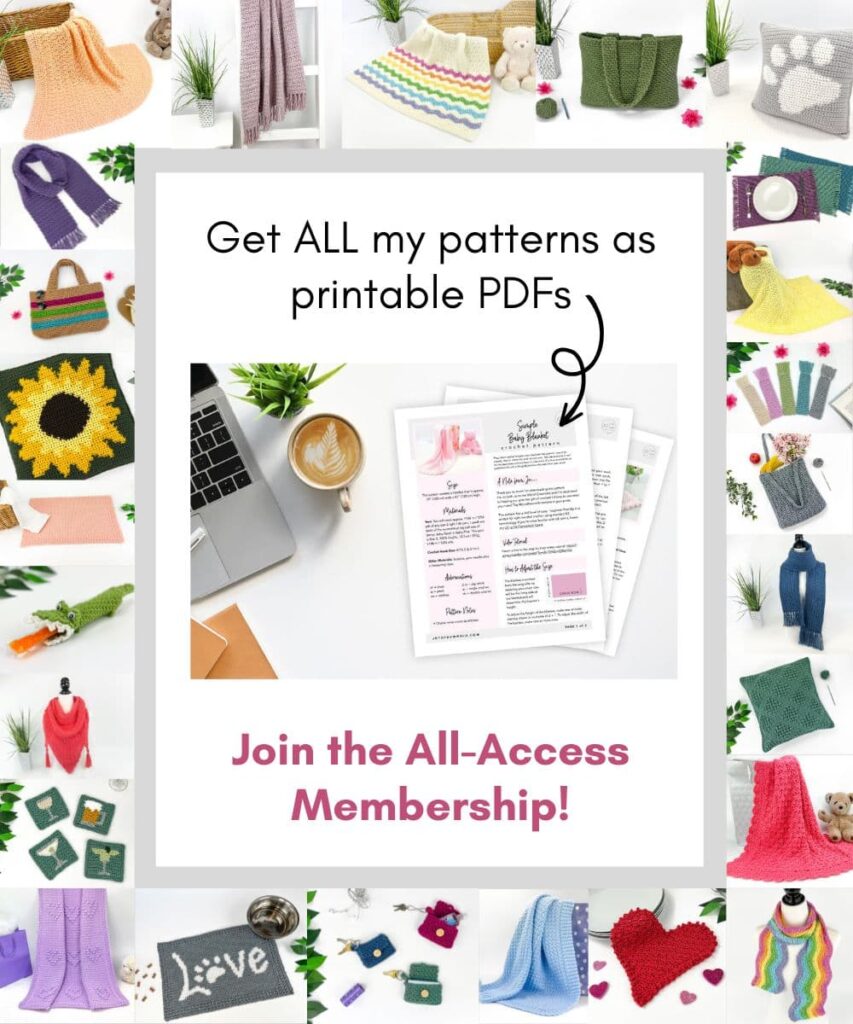
Download. Print. Keep.
Get Instant Access to ALL Printable Patterns
Make your crocheting more enjoyable, relaxing and productive with printable PDF patterns.
- 100+ premium crochet patterns.
- Download, save and print from any device.
- No ads or popups!
Not sure yet? Take a look at the Pattern Library and see all the patterns you can download once you’re a member.
Save with Pattern Bundles
For a limited time, I’ve grouped some of my most popular crochet patterns and I’m offering them as pattern bundles where you can get the printable versions for one low, discounted price. Check out these incredible Crochet Pattern Bundles.
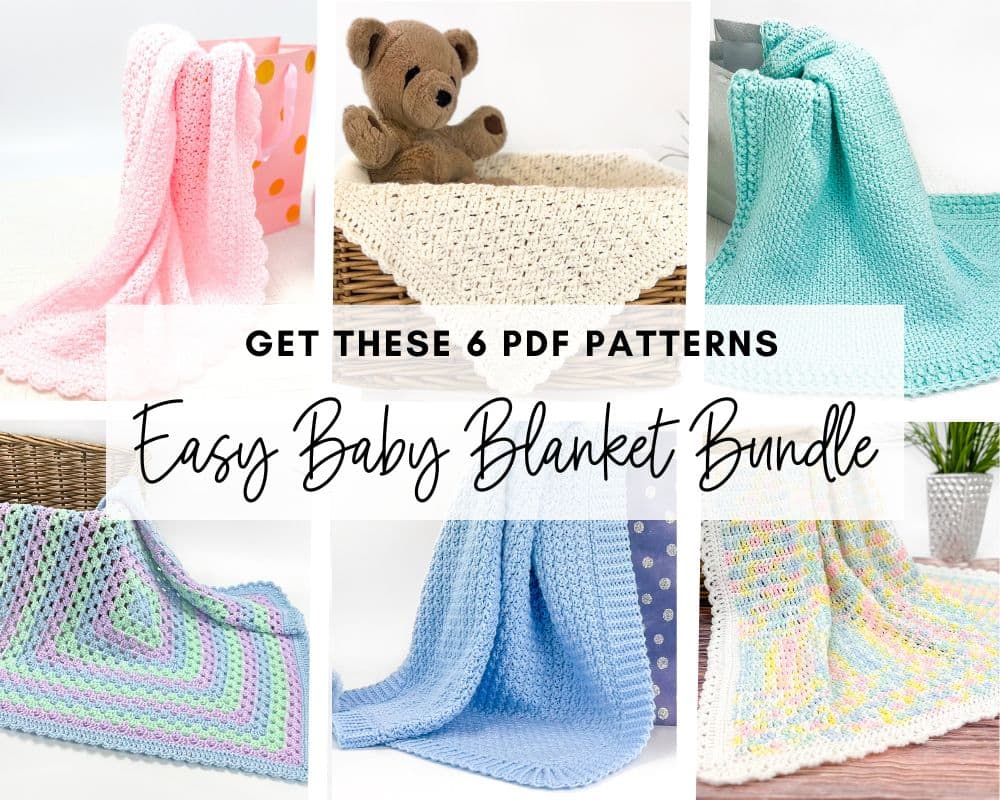
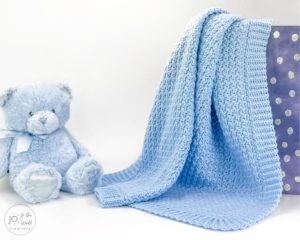
Easy Baby Blanket Bundle
With this Easy Baby Blanket Bundle, you’ll get SIX easy crochet baby blankets as printable downloads. Each pattern includes step-by-step instructions and a full video tutorial.
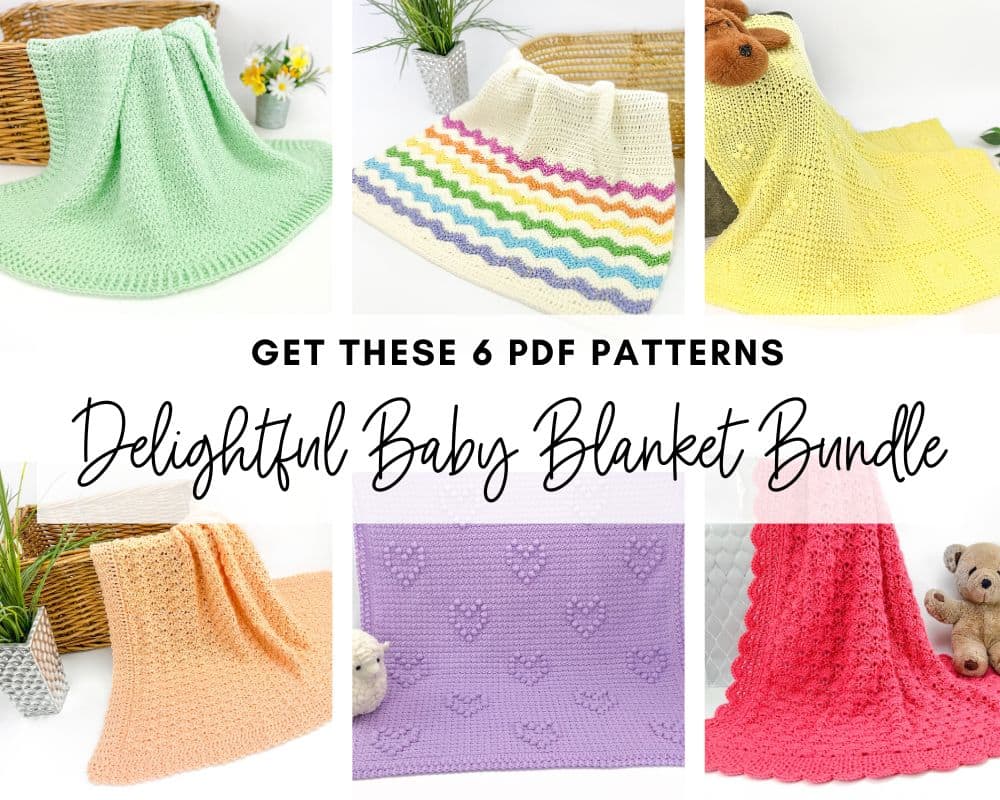
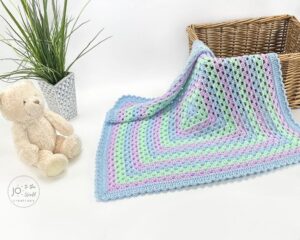
Delightful Baby Blanket Bundle
This incredible deal includes six SIX blanket patterns that are a delight to make and create truly stunning blankets – all as printable PDFs for one low, discounted price.
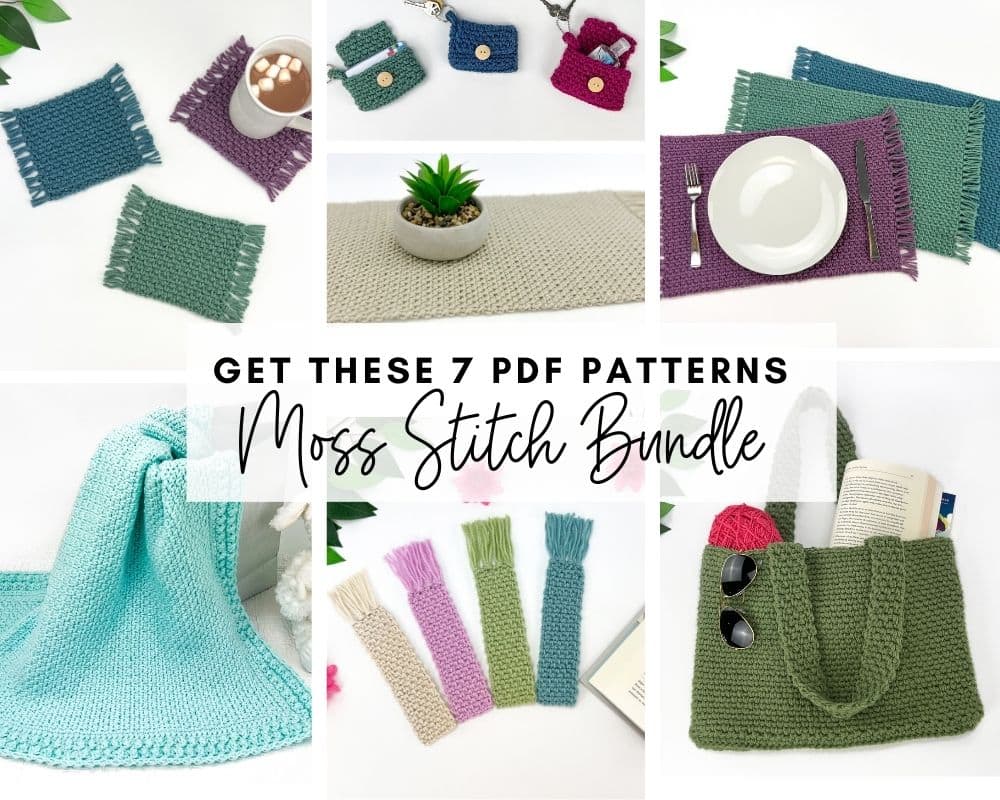
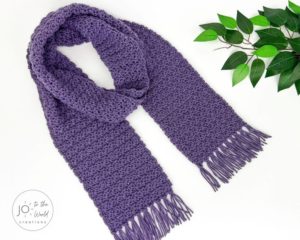
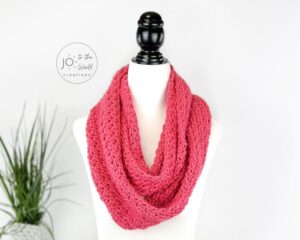
Moss Stitch Pattern Bundle
All your favorite Moss Stitch patterns in one bundle! Get SEVEN easy Moss Stitch crochet patterns as ad-free, print-ready PDFs to print, save and keep forever.
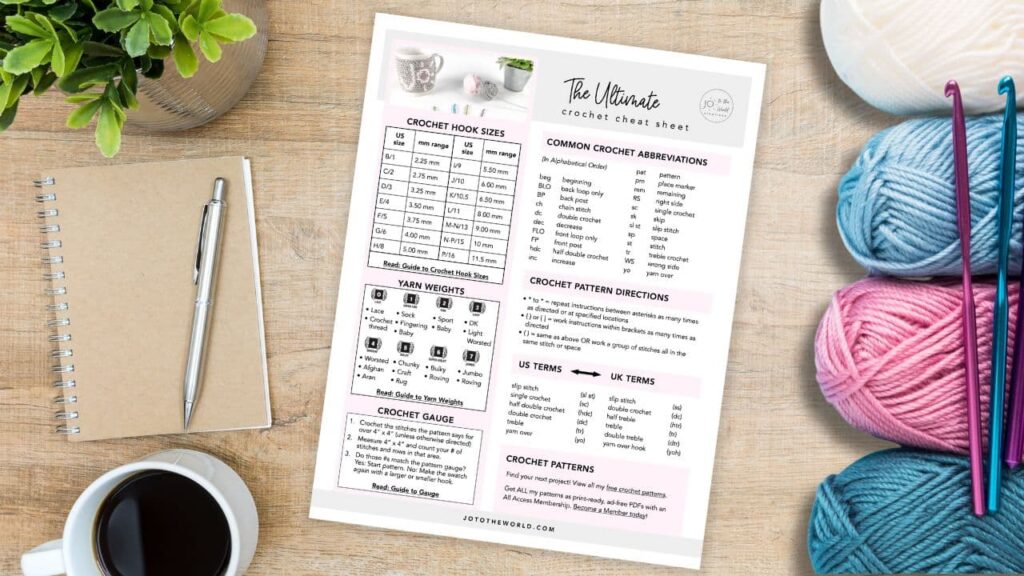
Free Crochet Cheat Sheet
Get instant access to this Ultimate Crochet Cheat Sheet! Plus you’ll receive free patterns for crochet gifts delivered right to your inbox!
Featured Crochet Patterns
Pattern Collections


Free Patterns for Crochet Gifts
Never miss a pattern! Get all my secrets to making incredible crochet gifts as well as new free crochet patterns and exclusive deals when you sign up for my newsletter (it’s free!).