
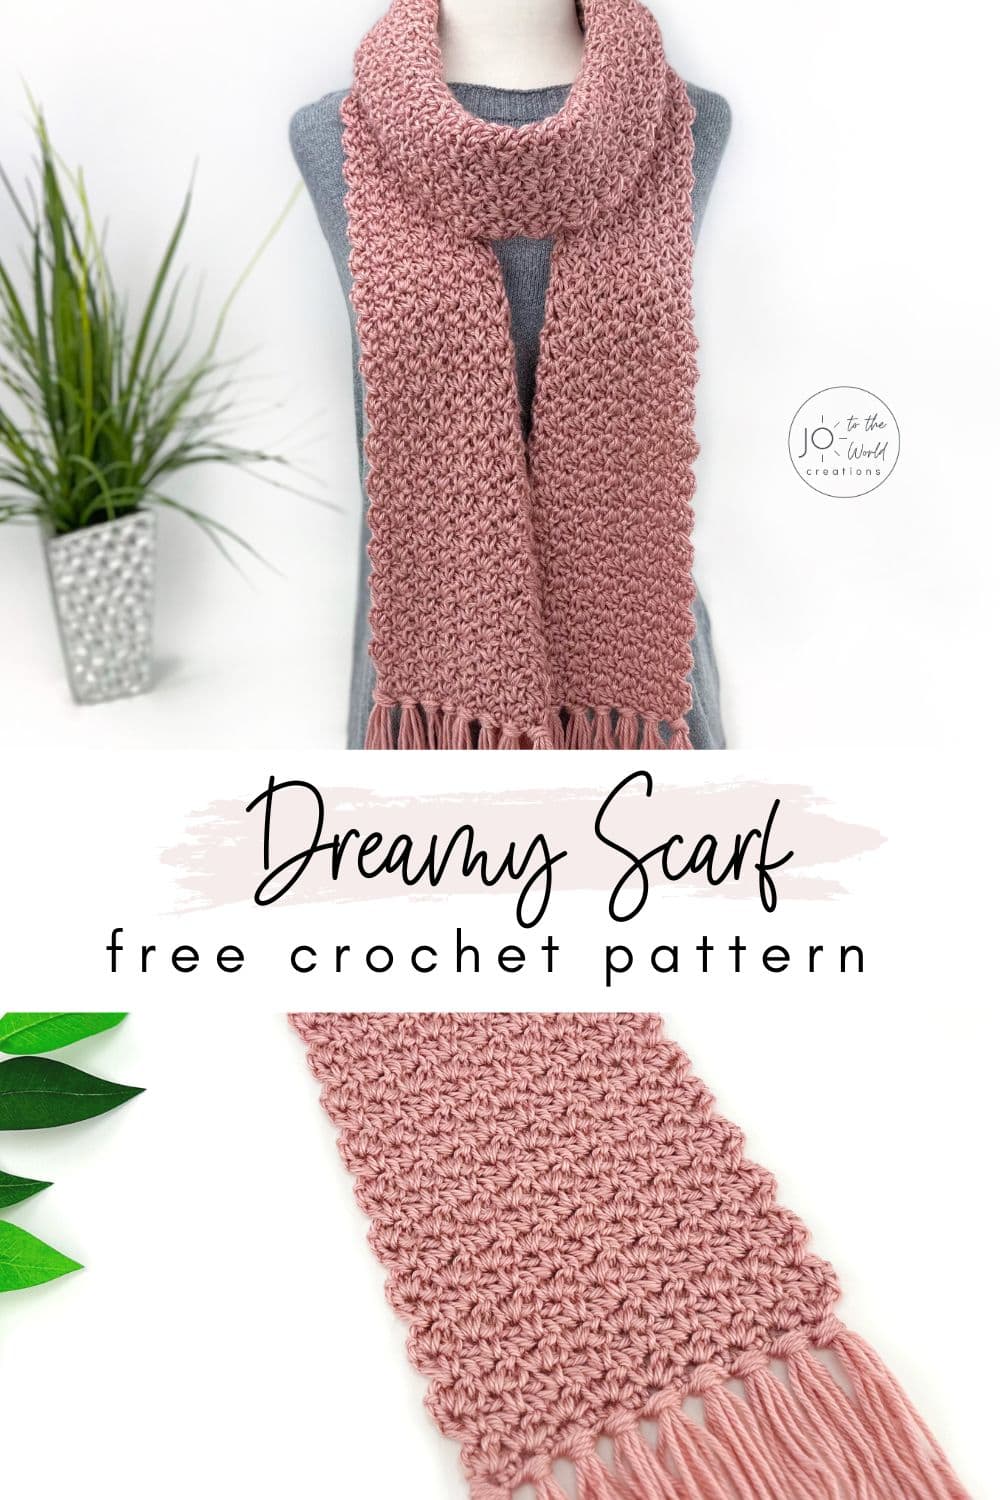
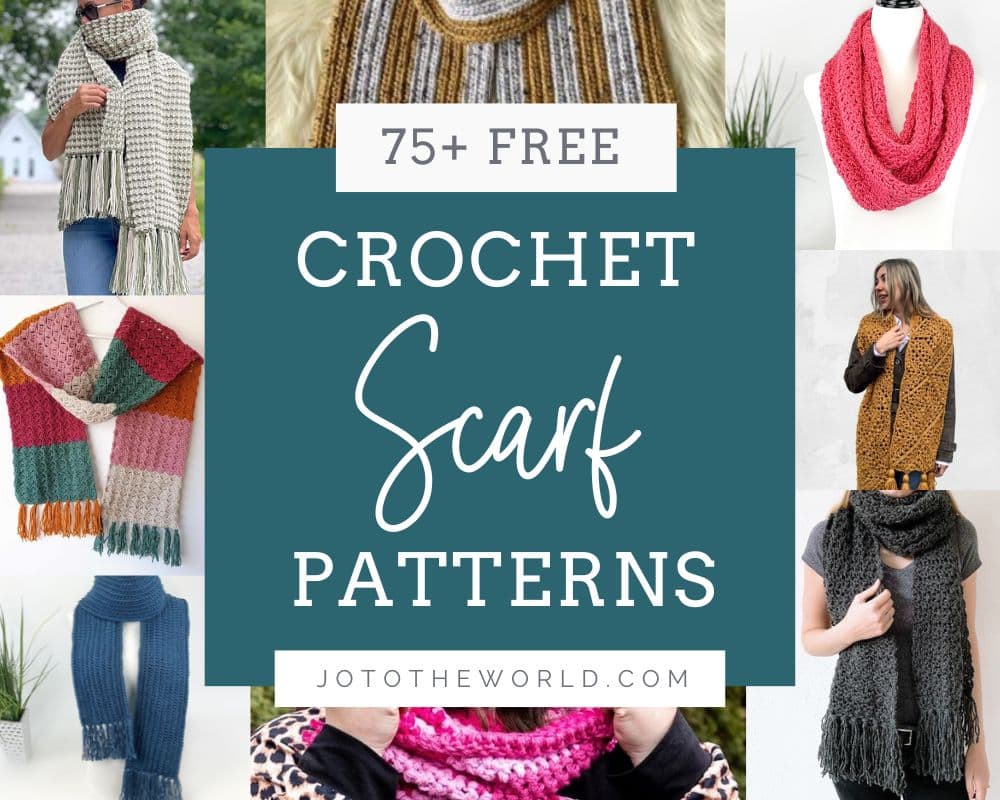
Easy Dreamy Winter Scarf – Free Crochet Pattern
Here’s a quick and easy crochet scarf pattern that’s perfect for winter. It’s soft, warm and stunning! You’ll be proud to wear this beautiful scarf or give it as a gift.
Before we begin, I would like to thank you for visiting Jo to the World Creations, a site dedicated to helping you give the gift of crochet.
More free patterns (that make awesome crochet gifts) are on the way! Sign up for my emails, follow me and never wonder “What should I make for…” again!
FREE PATTERNS FOR CROCHET GIFTS
Delivered to your inbox
AND GET A FREE PDF OF THE LOVE PILLOW
& A FREE CROCHET CHEAT SHEET
Unsubscribe at any time.
Delivered Socially
Follow Me on
About This Scarf Pattern
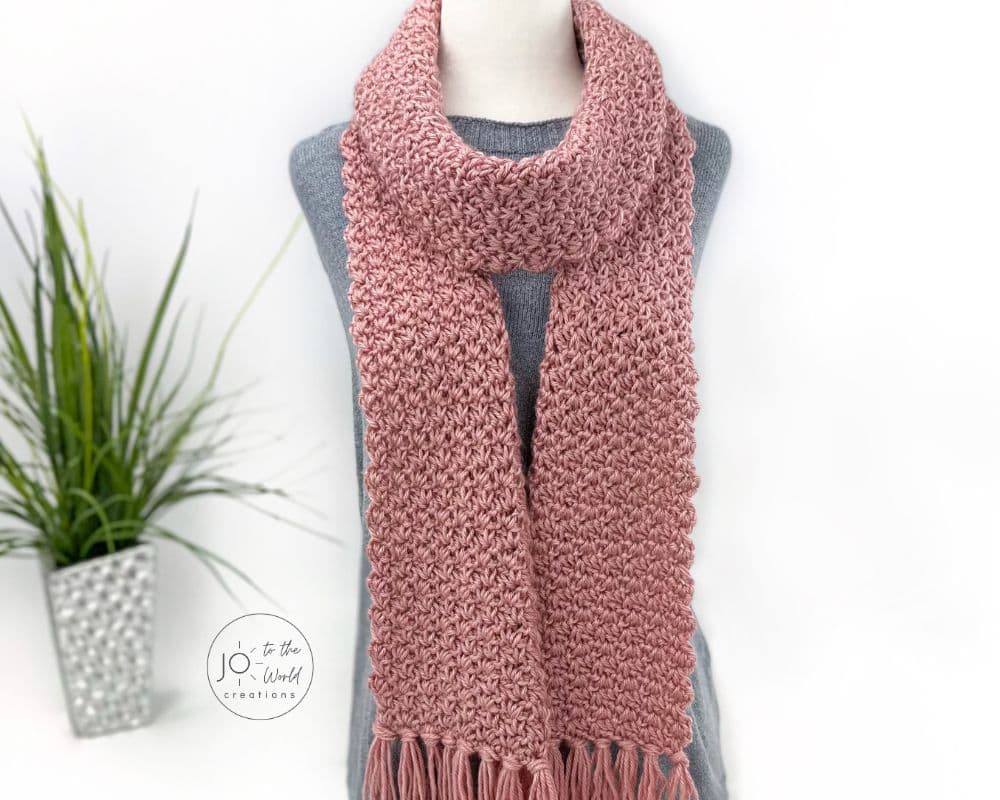
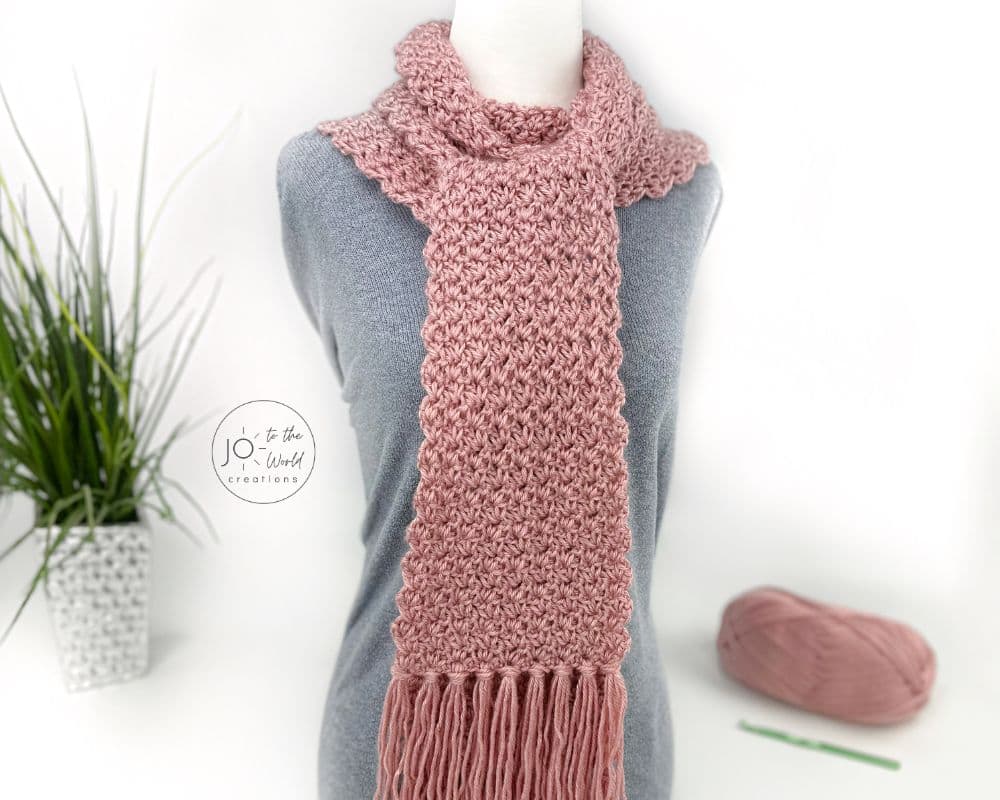
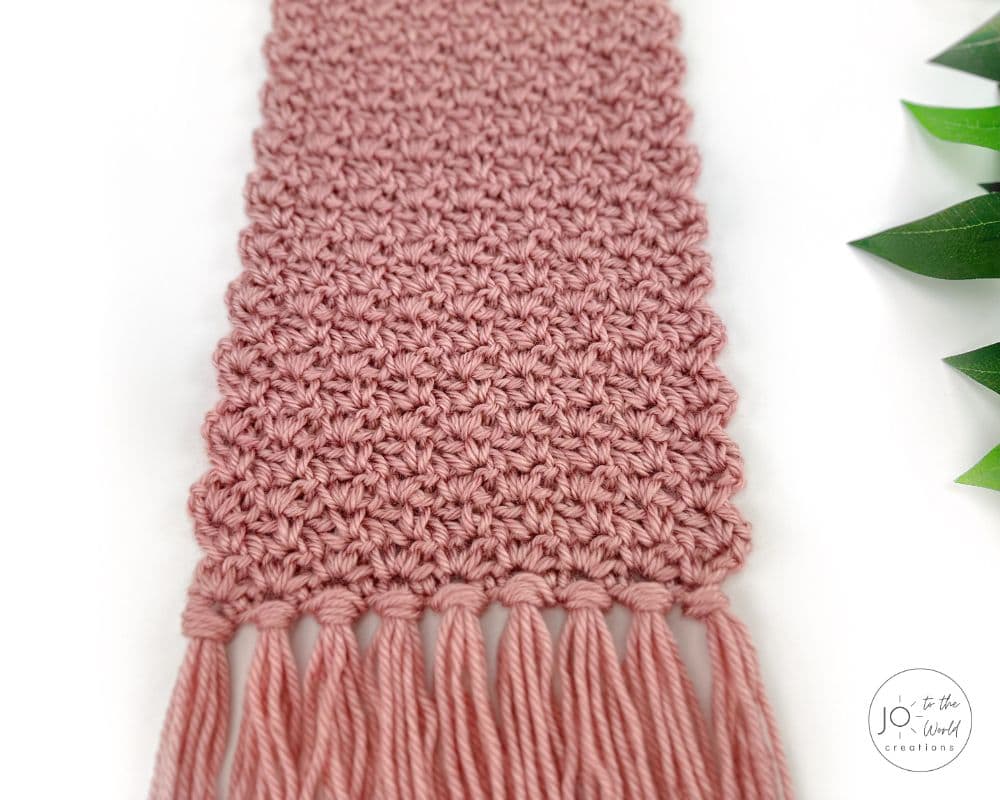
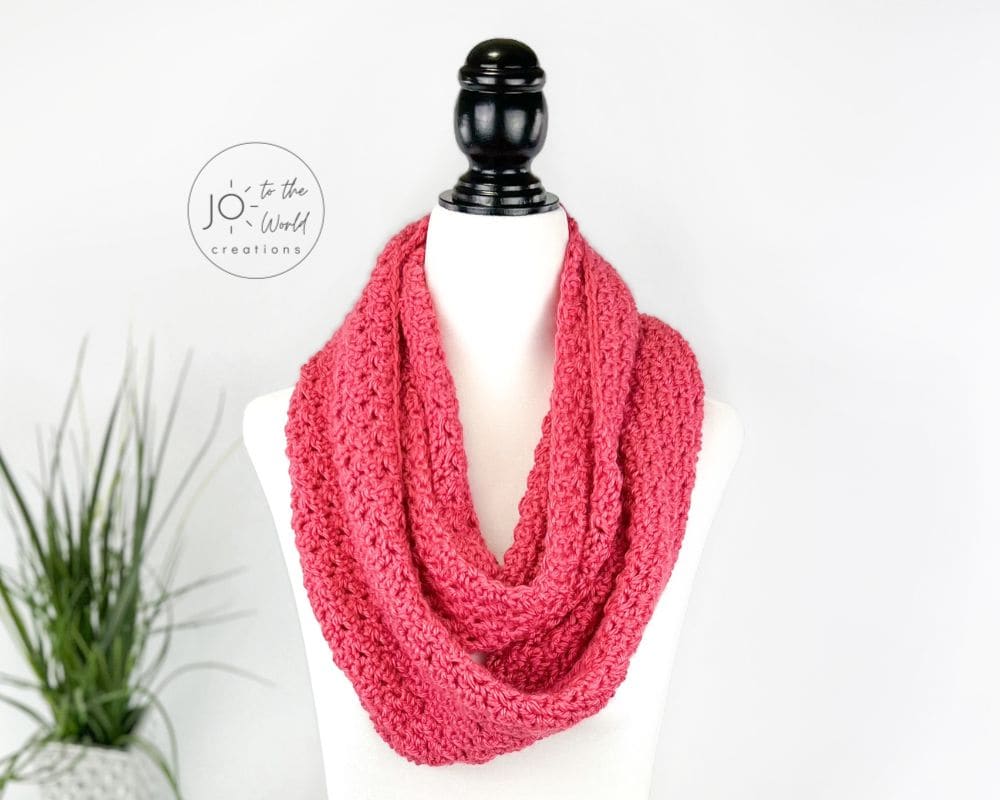
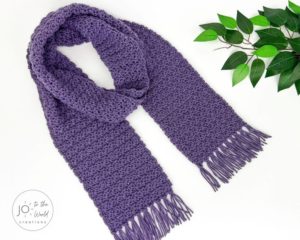
In the midst of winter’s chill, there’s nothing quite like wrapping yourself in a cozy, snuggly crochet scarf to stay warm. This fast and easy crochet scarf pattern creates a stylish accessory that combines comfort and elegance. You’ll look and feel fabulous wrapped in this gorgeous winter scarf that’s a dream to make and wear!
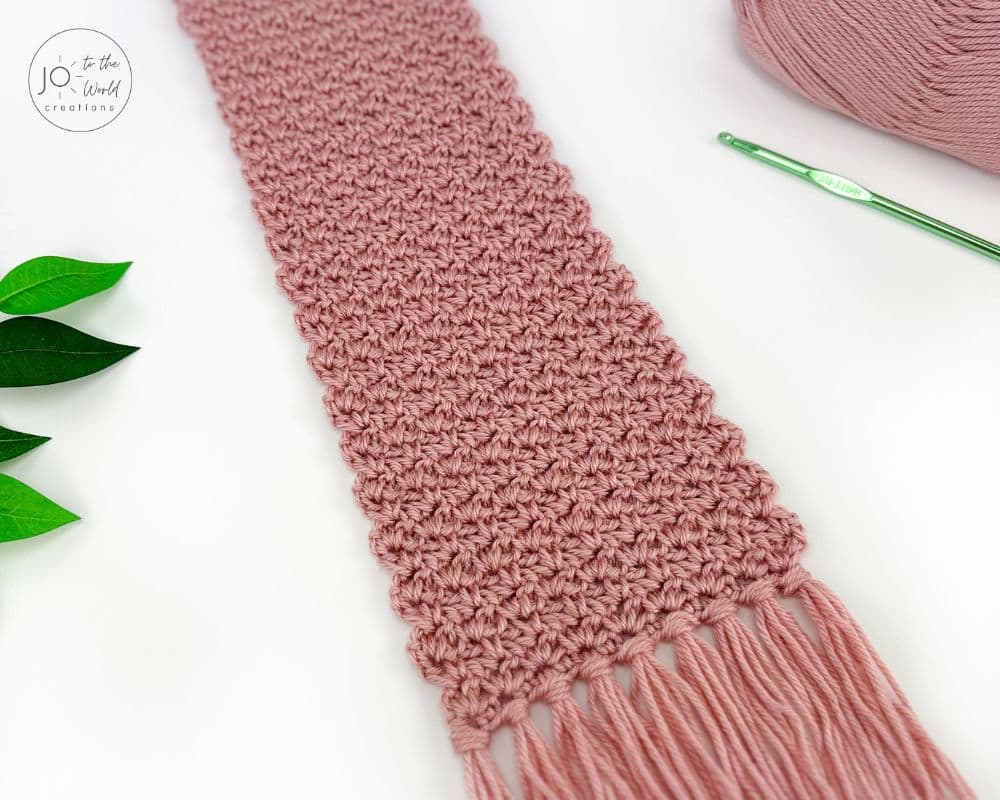
This Easy Dreamy Winter Scarf Crochet Pattern is made with only beginner-friendly stitches (chains, single crochet and double crochet stitches). It’s a one-stitch, one-row repeat that works up quickly. In approximately 4 to 5 hours, you’ll have a brand-new fashionable scarf that will keep you warm and cozy all winter long.
Affiliate Disclosure: This post may contain affiliate links meaning I may receive a commission for purchases made through links in this post at no extra cost to you. As an Amazon Associate, I earn from qualifying purchases.
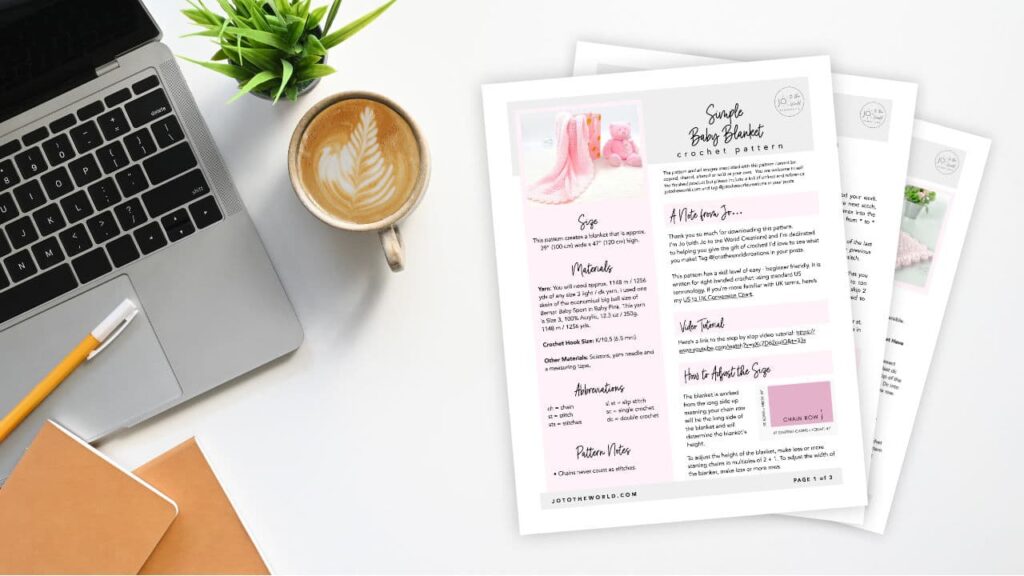
Get the PDF!
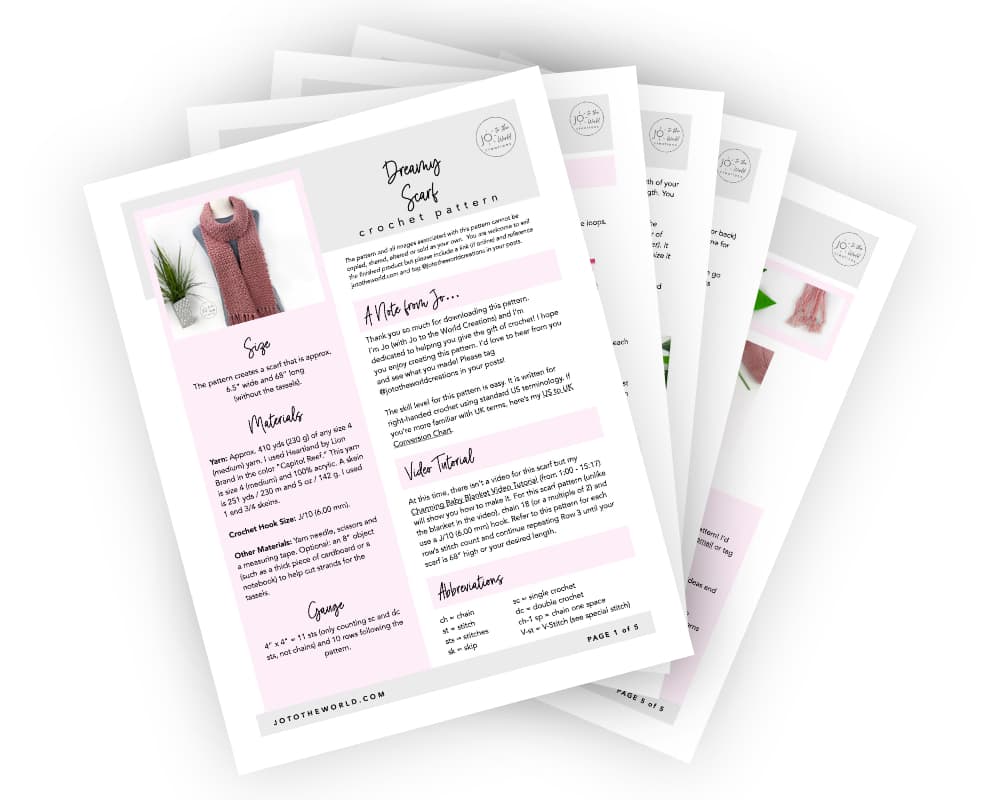
Purchase the printer-friendly, ad-free PDF of this pattern that you can instantly download! It includes everything from this free pattern but you can easily save, print and access it anytime!
You can also purchase it on Ravelry.

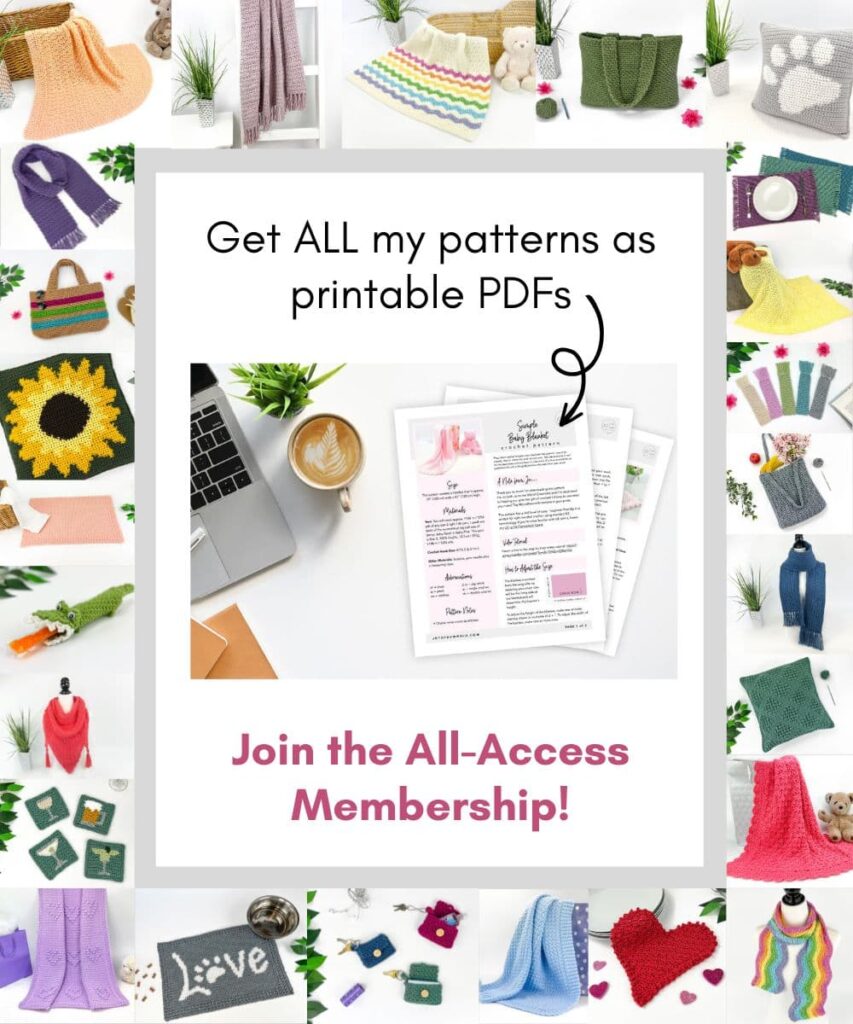
All-Access Membership
For only $0.14 a day, you can get this pattern as a PDF and my entire library of 100+ print-ready, ad-free PDF crochet patterns!
Pattern Details
Skill Level
Easy
Size
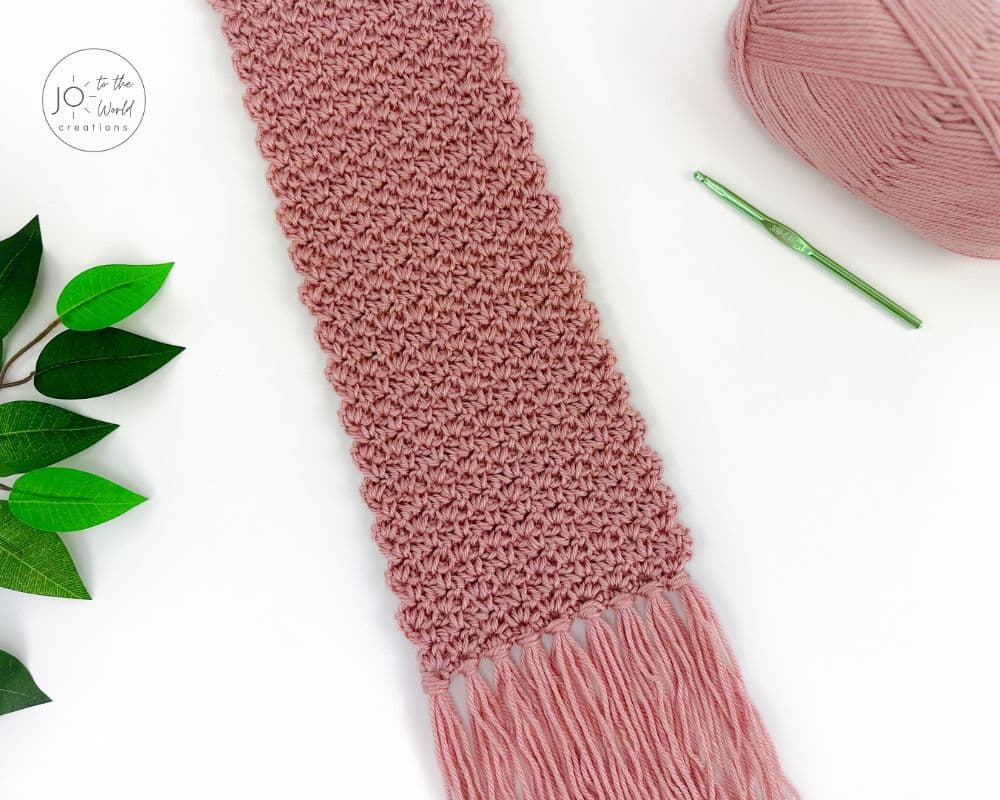
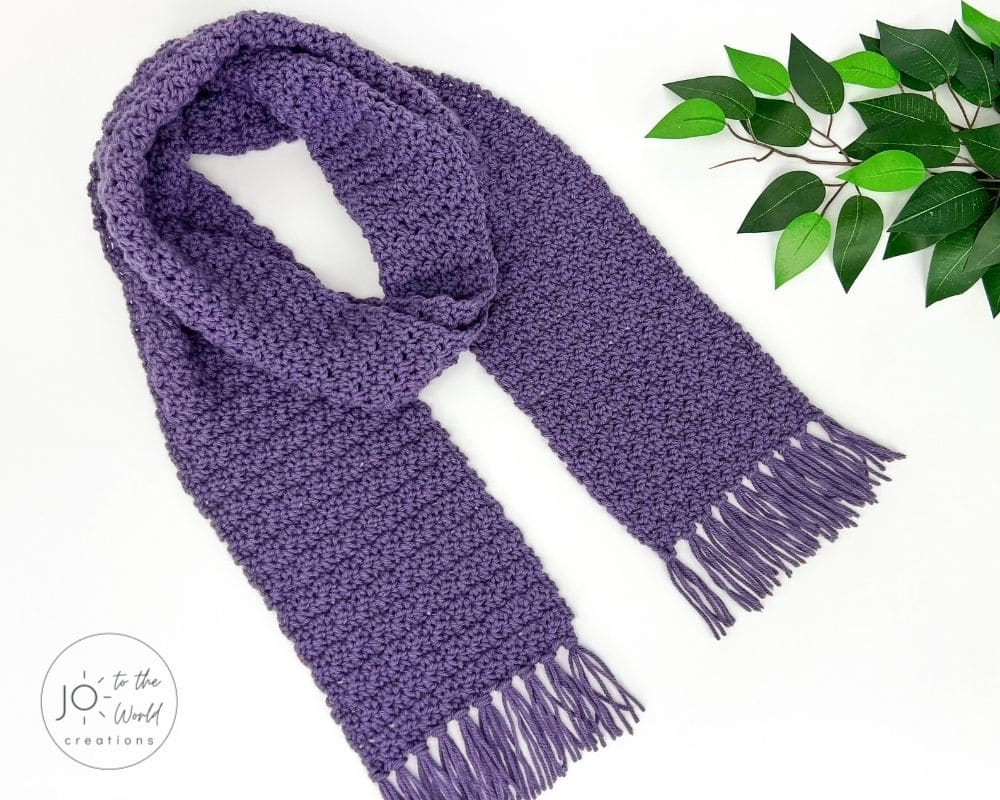
The pattern creates a scarf that is approx. 6.5” wide and 68” long (without the tassels).
Materials
Yarn: Approx. 410 yds (230 g) of any size 4 (medium) yarn. I used Heartland by Lion Brand in the color “Capitol Reef.” This yarn is size 4 (medium) and 100% acrylic. A skein is 251 yds / 230 m and 5 oz / 142 g. I used 1 and 3/4 skeins.
Crochet Hook Size: J/10 (6.00 mm).
Wondering if you can use a different yarn weight or hook size? All my patterns are designed with the yarn weight and hook size that are listed in the pattern. You are welcome to try something else but the size, overall look and feel of your finished item as well as the amount of yarn required may be different.
I really wish I could help and tell you how to make the pattern with a different yarn weight and/or hook size but I’ve only designed, made and tested the pattern with the yarn weight and hook size listed and I wouldn’t want to give you inaccurate information. You might find these two articles helpful: Yarn Weight Guide & Chart and Crochet Hook Sizes Guide & Chart.
Other Materials: Yarn needle, scissors and a measuring tape. Optional: an 8” object (such as a thick piece of cardboard or a notebook) to help cut strands for the tassels.
Terminology
This pattern is written for right-handed crochet using standard US terminology. If you’re more familiar with UK terms, here’s my US to UK Conversion Chart.
Abbreviations
- ch = chain
- st = stitch
- sts = stitches
- sk = skip
- sc = single crochet
- dc = double crochet
- ch-1 sp = chain one space
- V-st = V-Stitch (see special stitch)
Gauge
4” x 4” = 11 sts (only counting sc and dc sts, not chains) and 10 rows following the pattern.

Pattern Notes
- This pattern is made from the chain row up. The number of starting chains determines the width and the number of rows determines the length. To adjust the width, make more or less starting chains in multiples of 2 (an even number). To adjust the length, make more or less rows.
- Chains never count as stitches.
- Tip: Cut the strands for the tassels before beginning the pattern so that the strands are not all bent from being at the end of the skein.
Special Stitch
V-Stitch (V-st): In this pattern, a V-st is (sc, ch 1, dc) in the same stitch/space (this is commonly referred to as the Wattle Stitch but will be called a V-st throughout this pattern).
Every time you make a V-st, you create a ch-1 sp that you will work into on the following row.
When working into a ch-1 sp, work into the space under the ch-1 and between the dc and sc from the previous row.

Please note: This pattern and all images associated with this pattern cannot be copied, shared, altered or sold on your own. You are welcome to sell the finished product but please include a link (if online) and reference jototheworld.com.
Video Tutorial
At this time, there isn’t a specific video for this scarf but my Charming Baby Blanket Video Tutorial (from 1:00 – 15:17) will show you how to make it. For this scarf pattern (unlike the blanket in the video), chain 18 (or a multiple of 2) and use a J/10 (6.00 mm) hook. Refer to this pattern for each row’s stitch count and continue repeating Row 3 until your scarf is 68” high or your desired length.
Just a Reminder!
This pattern is also available as a PDF, which includes everything listed here but as a printer-friendly, ad-free PDF that you can instantly download, save, print, make notes on and keep forever.
You can also purchase it on Ravelry.
Get this PDF with an All-Access Membership!
Only $0.14 a day!
- Instant Access to 100+ Premium PDF Crochet Patterns
- Make Gifts for Every Occasion!
- Save, Print & Keep Forever
- No Ads or Popups
- Happiness Guaranteed!
Pattern Instructions
Scarf
Start: Chain 18.
For Row 1 (only) work into the back ridge loops.
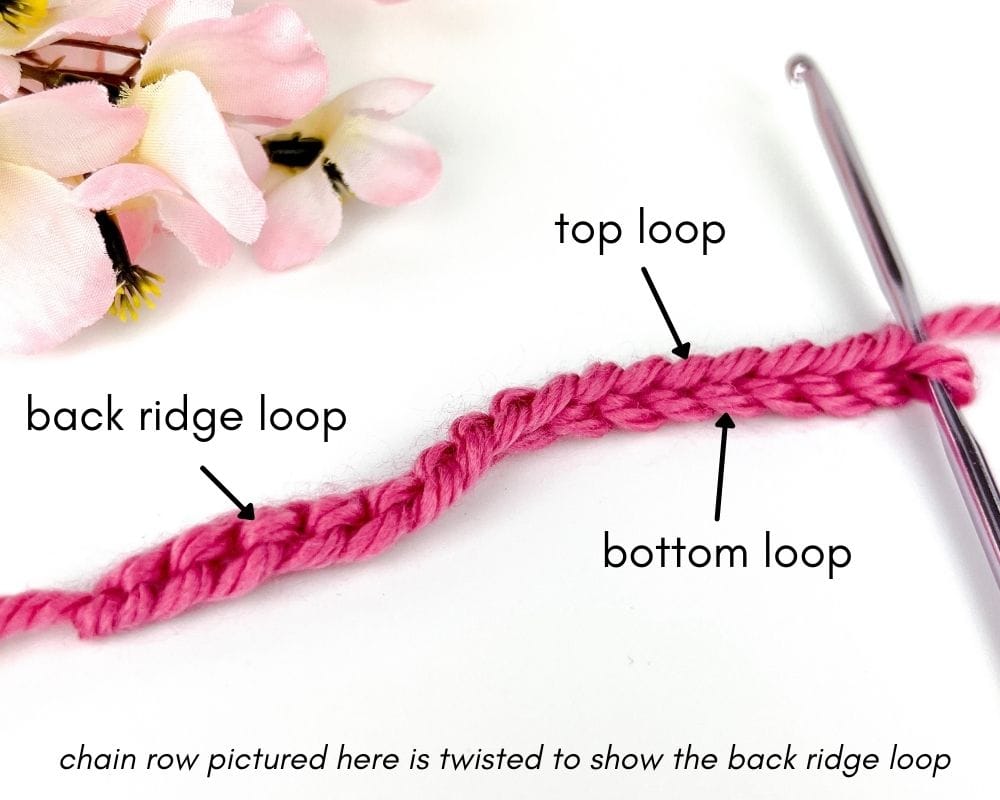
Row 1: In the second ch from hook, sc. Sc in each st across. (17 sc sts made).
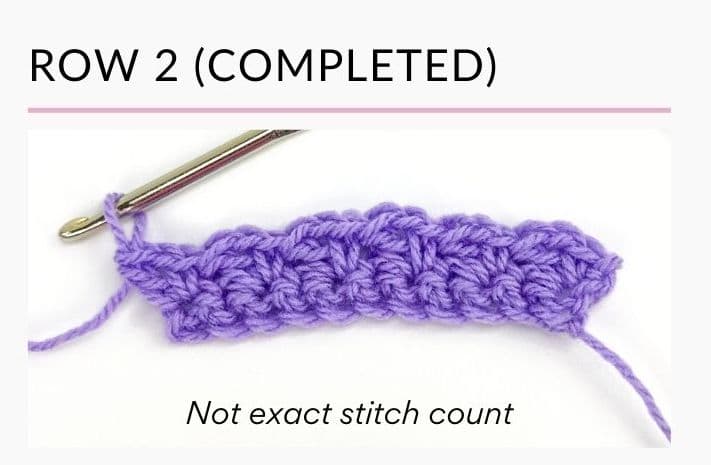
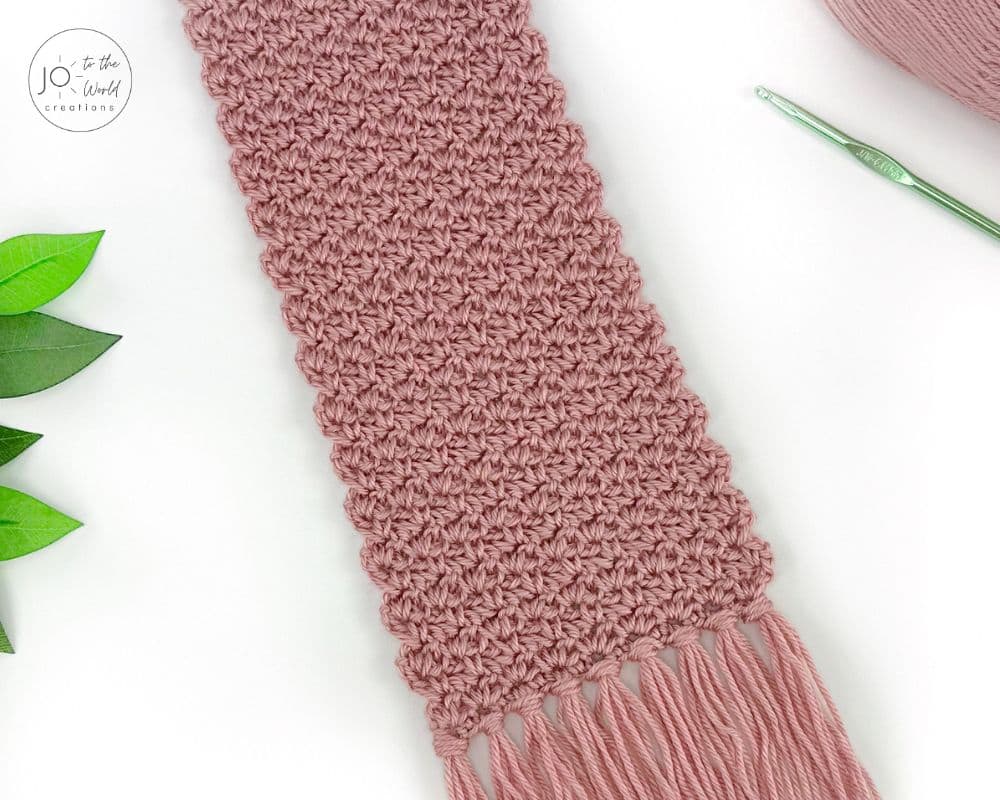
Row 2: Ch 1 and turn. In the first st (the st attached to the ch), make a V-st (reminder: a V-st is (sc, ch 1, dc) in the same st). *Sk the next st. In the next st, make a V-st.* Repeat from * to * across. Your final st is a V-st in the last st. (9 V-sts made).
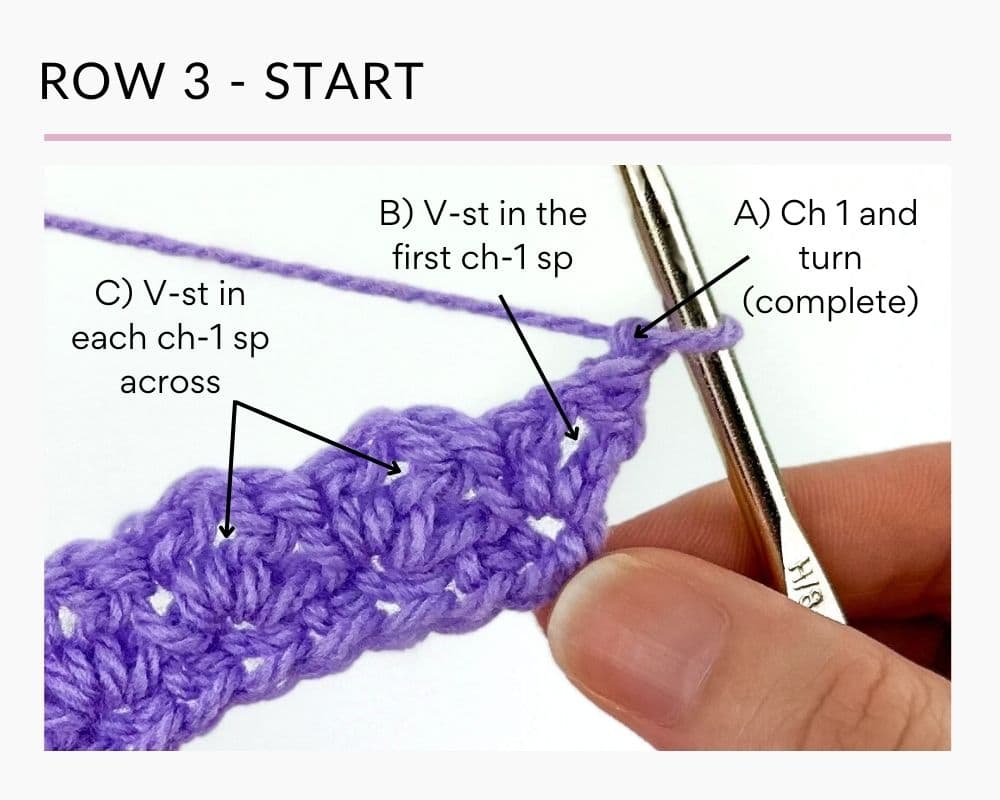
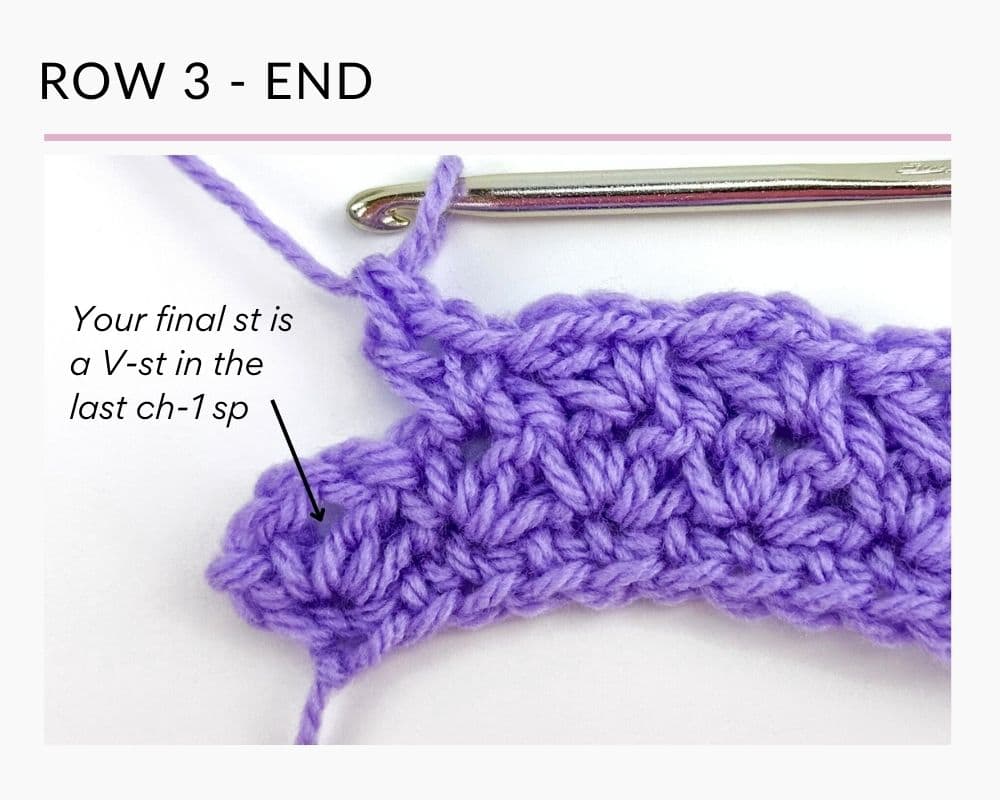
Row 3: Ch 1 and turn. You will now only work into the ch-1 spaces from the previous row – not into the tops of stitches. In the first ch-1 sp, make a V-st. Make a V-st in each ch-1 sp across. Your final st is a V-st in the last ch-1 sp. (9 V-sts made).
Row 4 and on: Repeat Row 3 until the length of your scarf is approx. 68” high or your desired length. You can end after any row.
Note: If after Row 5, you are not happy with the width, start again and make a different number of starting chains in multiples of 2 (an even number). It takes several rows for the width to grow to the size it will be for the remainder of the pattern.
Once you reach your desired length, fasten off and weave in all loose ends.
Tassels/Fringe
Preparing Your Yarn
Each tassel is made with 4 strands of yarn. Each strand of yarn is 16” long.
You will need 72 strands that are 16” long for 18 tassels (9 tassels for the bottom and 9 tassels for the top).
If you made the width of the scarf a different length, you will need 1 tassel for each V-st on the bottom and each V-st on the top.
You can make the tassels shorter or longer by cutting smaller or bigger strands.
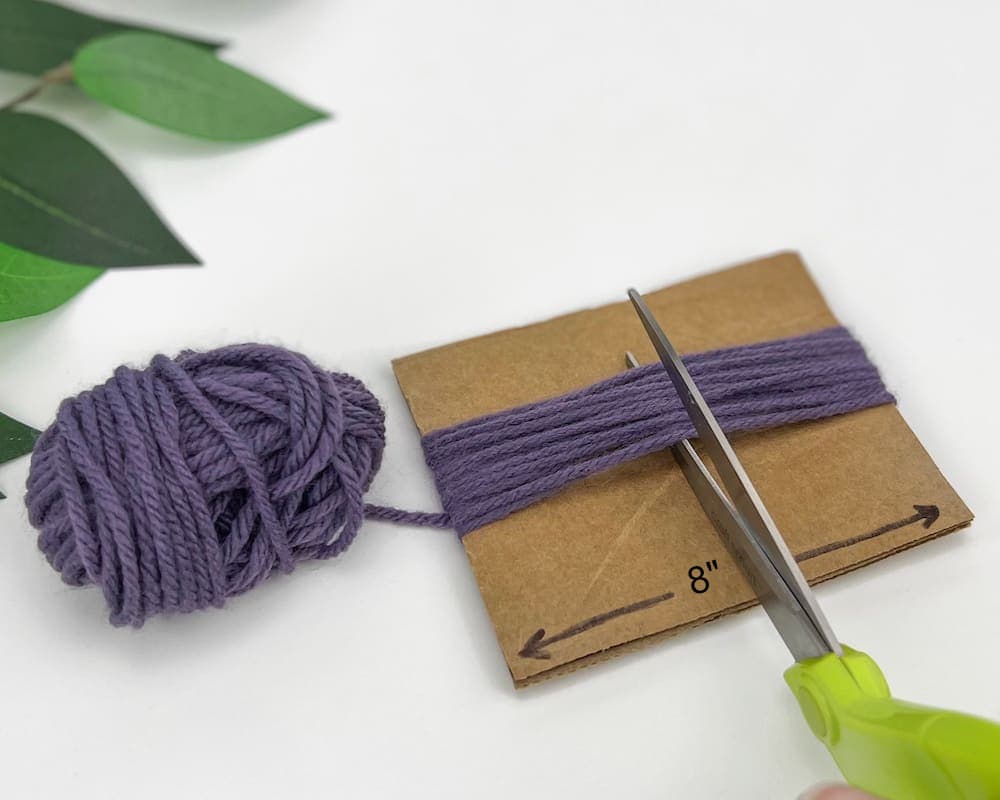
Tip for cutting the strands: find an object that is 8” wide (a piece of cardboard, a notebook, etc). Wrap your yarn around the 8” object 72 times or your desired amount (each wrap = 1 strand). Cut the yarn in half.
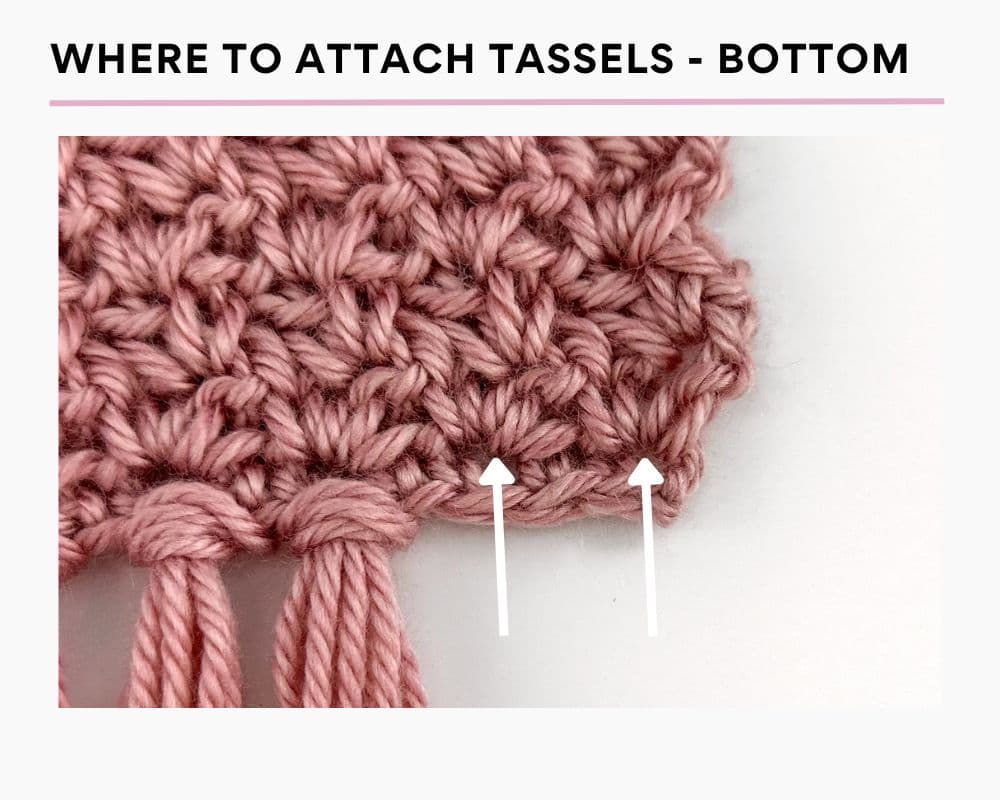
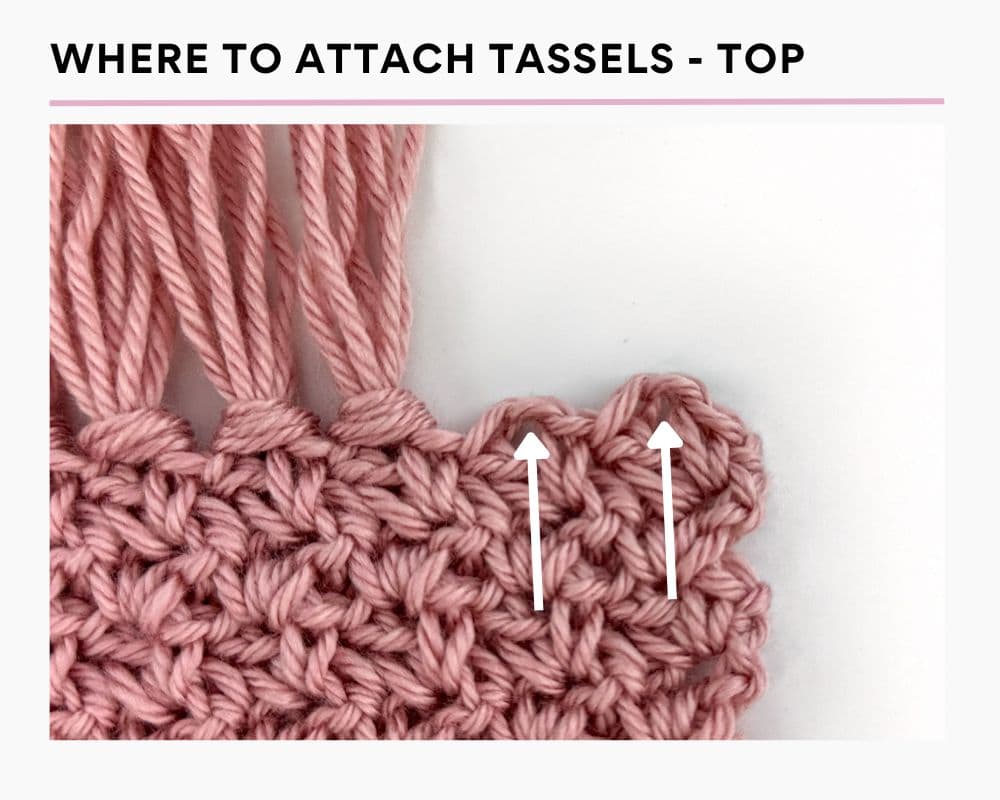
Where to Attach Tassels
It doesn’t matter which side of the scarf (front or back) you attach the tassels to, just ensure it’s the same for the bottom and top.
Bottom (start of scarf): The tassels on the bottom go under the first V-sts made in Row 2, into the sc sts made in Row 1 (only the sc sts with V-sts).
Top (end of scarf): The tassels on the top go into the ch-1 spaces made in the last row.
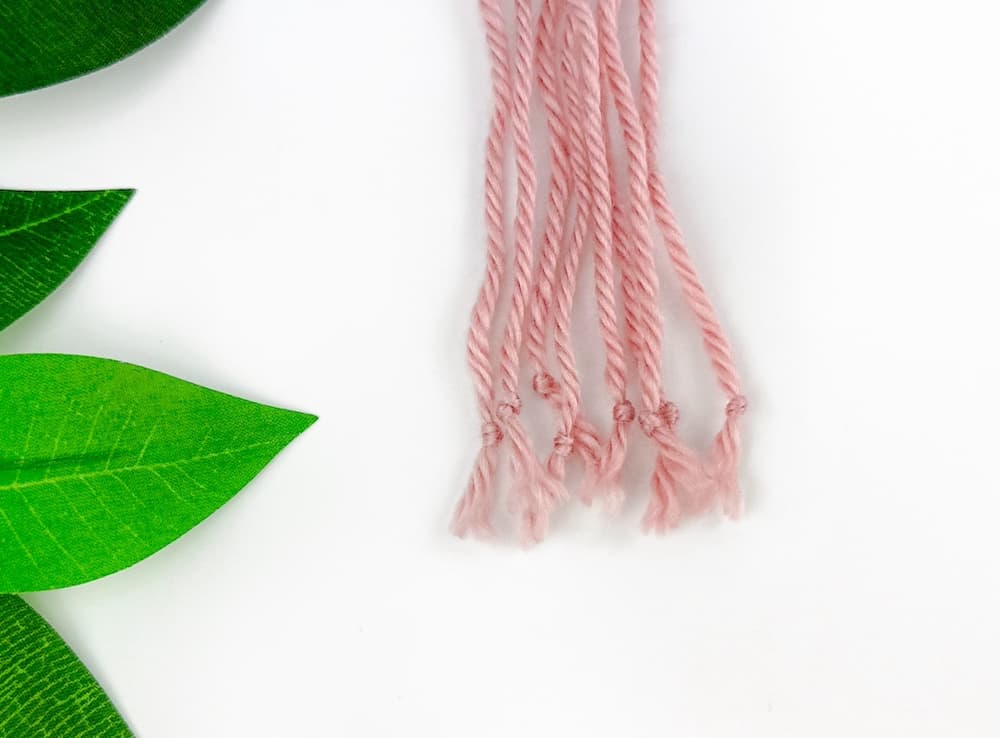
How to Attach the Tassels
A) Insert your hook from the back of the scarf to the front. Take the strands of yarn, fold them in half and place them on your hook.
B) With your hook, pull the folded ends through the end of the scarf (which creates a loop).
C) Pull the ends through the loop.
D) Pull tight to make a knot.
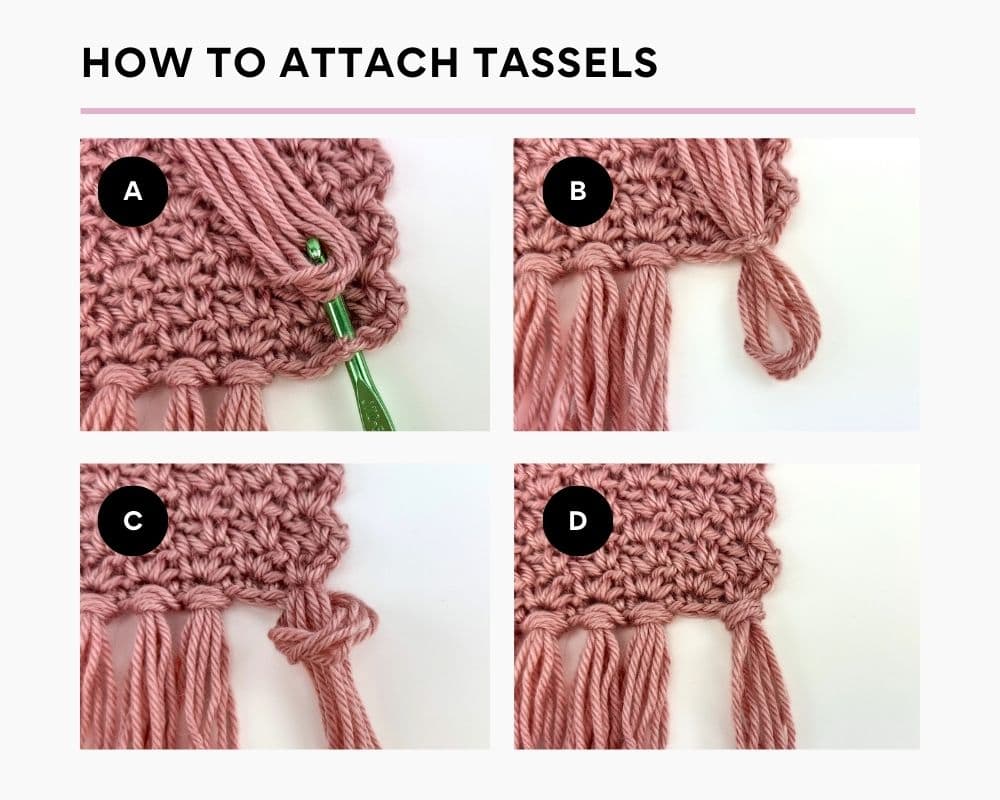
Repeat for each tassel.
Trim the strands to make them all one length. I cut mine to be approx. 6”.
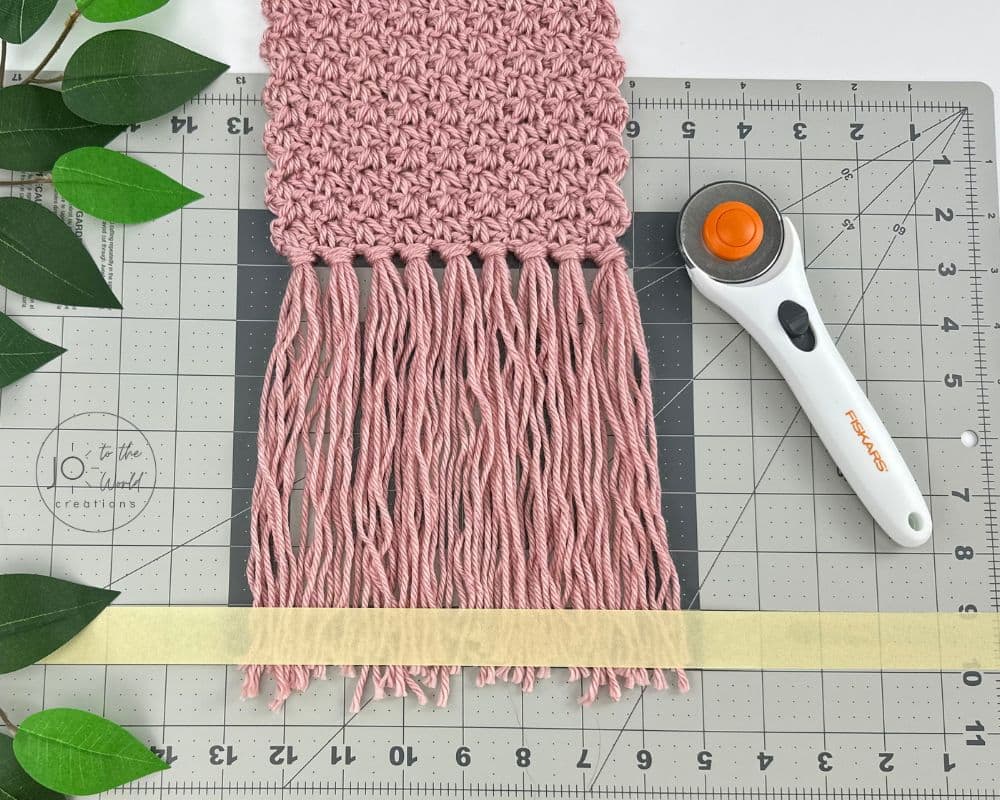
Learn more in this guide and video tutorial on how to add tassels to your crochet scarf and cut the ends perfectly.
Optional: To prevent fraying ends, tie a small knot at the end of each strand.
And now you have a new scarf!
More Crochet Scarf Patterns

I’m Jo, the designer behind Jo to the World Creations, and I’m dedicated to helping you make the perfect crochet gift! I love designing and sharing free crochet patterns that you can make for every gift occasion.
About →Let’s Connect
Download. Print. Keep.
Get Instant Access to ALL Printable Patterns
Make your crocheting more enjoyable, relaxing and productive with printable PDF patterns.
- 100+ premium crochet patterns.
- Download, save and print from any device.
- No ads or popups!
Not sure yet? Take a look at the Pattern Library and see all the patterns you can download once you’re a member.
Save with Pattern Bundles
For a limited time, I’ve grouped some of my most popular crochet patterns and I’m offering them as pattern bundles where you can get the printable versions for one low, discounted price. Check out these incredible Crochet Pattern Bundles.
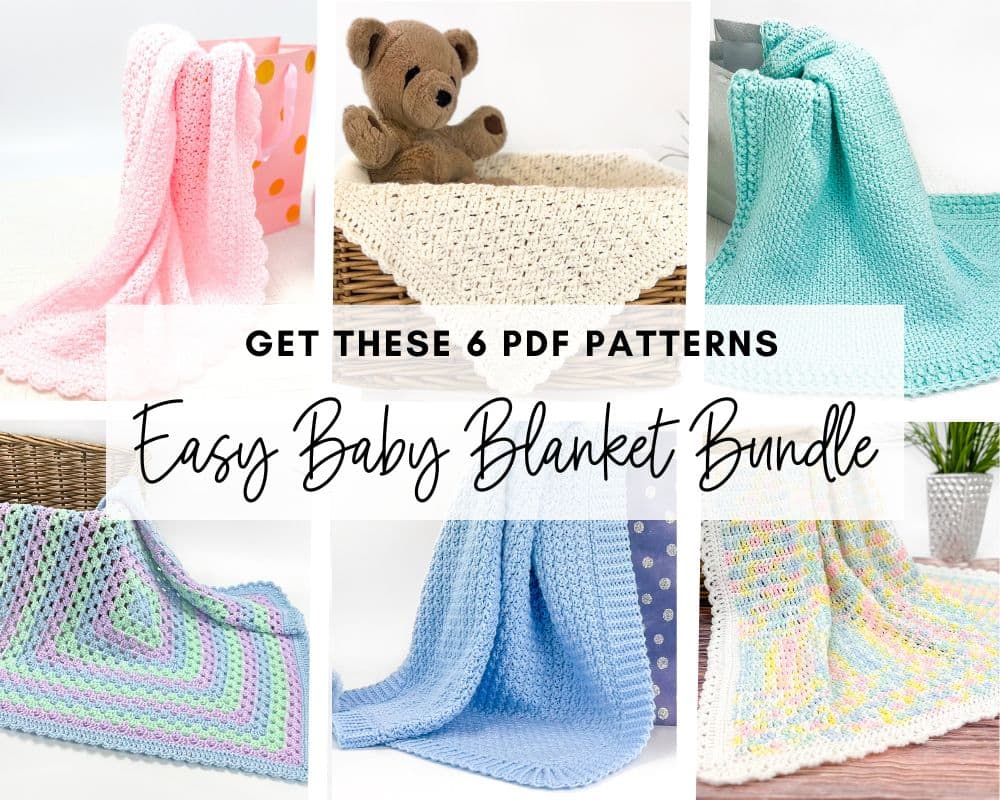
Easy Baby Blanket Bundle
With this Easy Baby Blanket Bundle, you’ll get SIX easy crochet baby blankets as printable downloads. Each pattern includes step-by-step instructions and a full video tutorial.
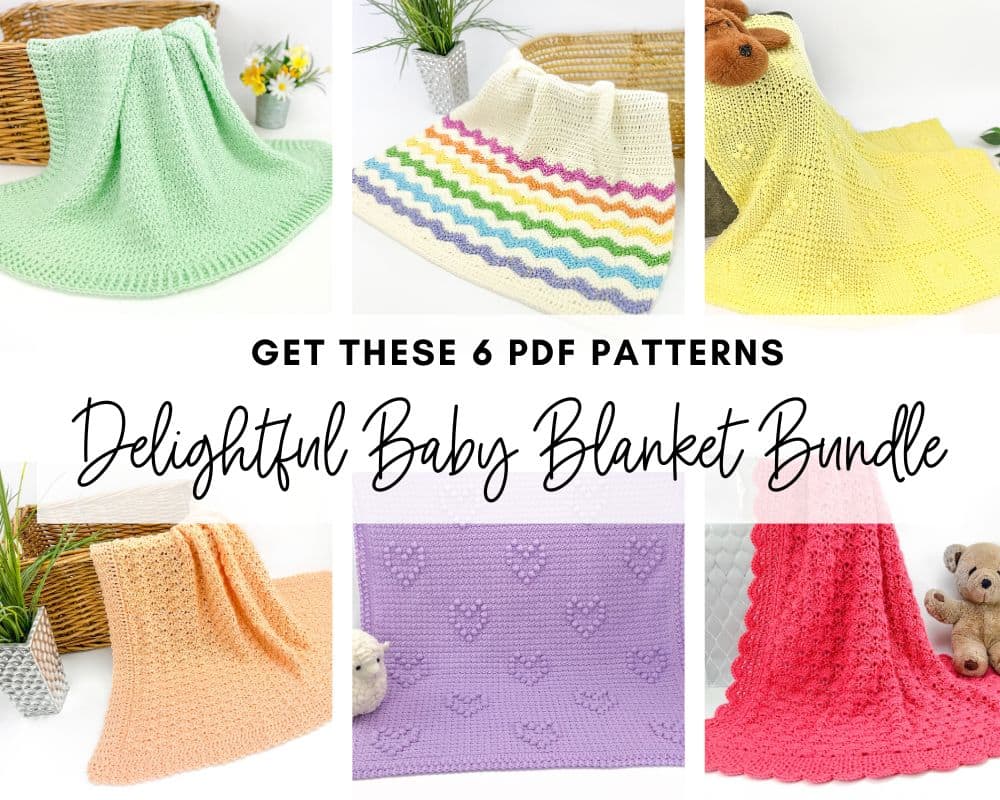
Delightful Baby Blanket Bundle
This incredible deal includes six SIX blanket patterns that are a delight to make and create truly stunning blankets – all as printable PDFs for one low, discounted price.
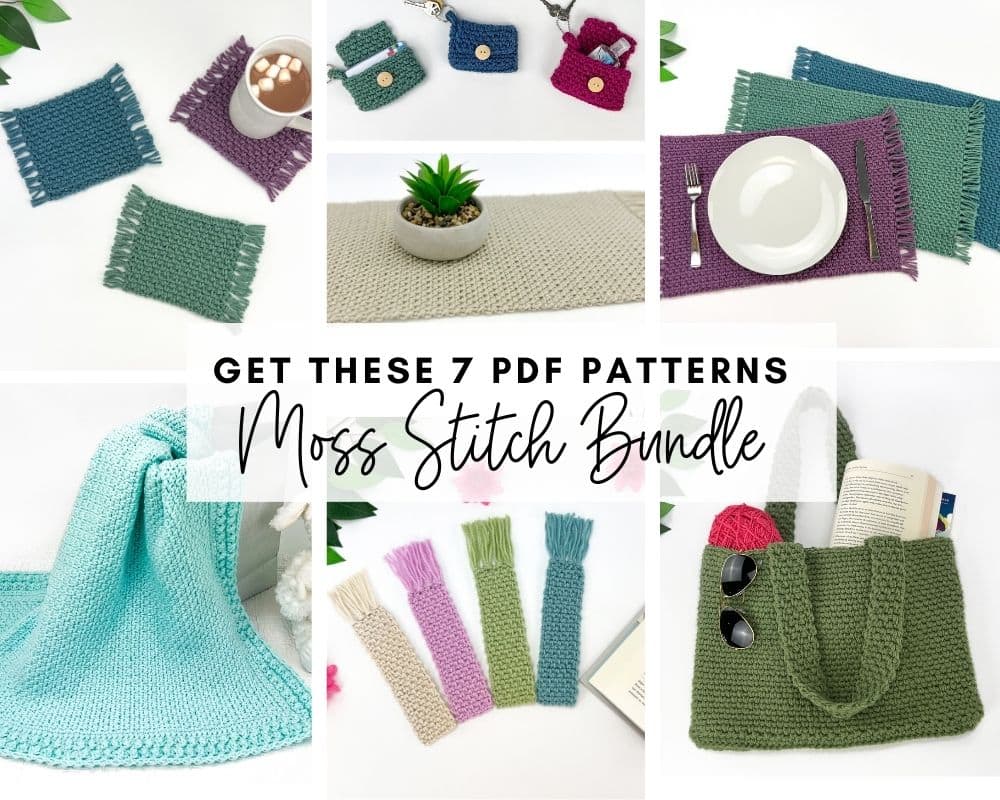
Moss Stitch Pattern Bundle
All your favorite Moss Stitch patterns in one bundle! Get SEVEN easy Moss Stitch crochet patterns as ad-free, print-ready PDFs to print, save and keep forever.
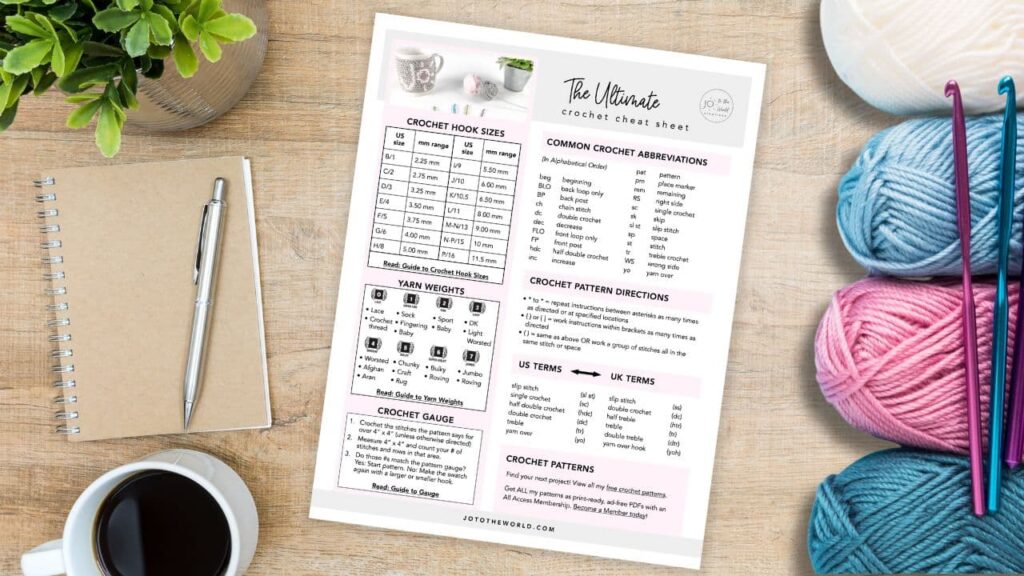
Free Crochet Cheat Sheet
Get instant access to this Ultimate Crochet Cheat Sheet! Plus you’ll receive free patterns for crochet gifts delivered right to your inbox!
Featured Crochet Patterns
Pattern Collections

Free Patterns for Crochet Gifts
Never miss a pattern! Get all my secrets to making incredible crochet gifts as well as new free crochet patterns and exclusive deals when you sign up for my newsletter (it’s free!).